Everyone wants to keep a good amount of data in their iPhone as iPhone is handy and easily accessible but, unfortunately, it is not possible to store everything in iPhone due to limited storage space. You can think of expanding the iPhone memory, but there are restrictions when it comes to iDevices.
There are people who are fond of collecting photos, music, and creating playlists, they require ample amount of storage space on their iPhone or iDevices. The people who are tech-savvy, use iPhone for work related activities like emails, productivity applications, messages and many other data. iPhone serves different purposes to different people but when it comes to storage space everyone gets worried.
The problem is now solved with iPhone built-in applications (free or paid) as well as third-party applications that allow you to keep your data safe by transferring it from iPhone to your computer system. Data transfer is the best way to vacant the storage space and add other data into your iPhone. You can perform iPhone to PC transfer process quickly, easily and safely.
- Part 1. How to transfer videos from iPhone to computer with dr.fone
- Part 2. How to directly transfer videos from iPhone to computer
Part 1. How to transfer videos from iPhone to computer with dr.fone
Transferring files from your iPhone to Mac is very easy with dr.fone. There is much other third-party software available in the online market, and it becomes increasingly difficult for the users to decide on which software to purchase. dr.fone is not just an ordinary software; this software offers you a hassle-free way to transfer videos, photos, music, playlists and other data in a quick and safest manner. It offers various features like:
- Copy music from iPhone, iPod, iPad to Mac or iTunes.
- Export videos from iPhone, iPad, iPod to iTunes/Mac.
- Transfer all photos from photo album to Mac or iTunes.
- Add music, videos, photos from iTunes/computer to iPhone, iPad.
Step 1. Run the program and connect your iPhone to the computer
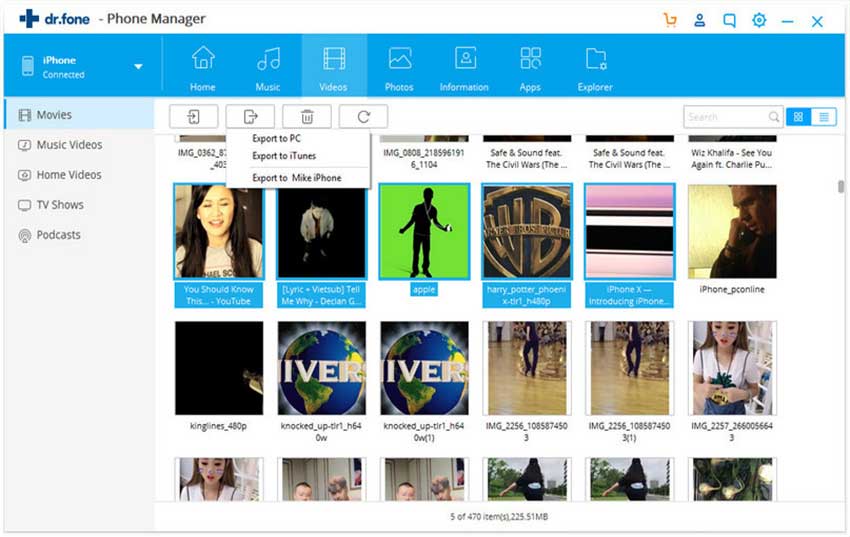
Connect your iPhone to your computer with USB cable. Launch dr.fone and you will see that your device information will display on the screen below.

Step 2. Begin transferring videos iPhone to Mac
Now, select the videos you need by clicking on "Video" button on the top of the program, and finally click “Export” >>"Exprot to Mac" to transfer the videos from your iPhone to Mac.

Part 2. How to directly transfer videos from iPhone to computer
To transfer the files on your computer, direct transfer is facilitated through USB cable you receive with your iPhone. This is the most convenient, easy way to backup and transfer data. Let's learn how to transfer your videos directly from iPhone to Mac.
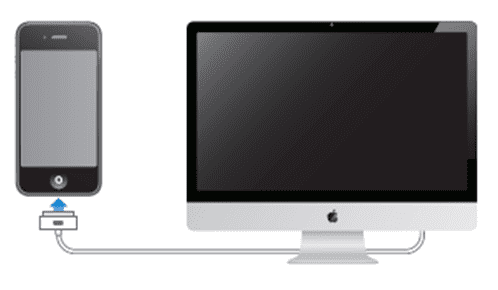
Step 1. Plug your iPhone into your computer using the standard USB cable you received with your iPhone. If you are connecting iPhone first time, wait for the various drivers and software to install automatically.
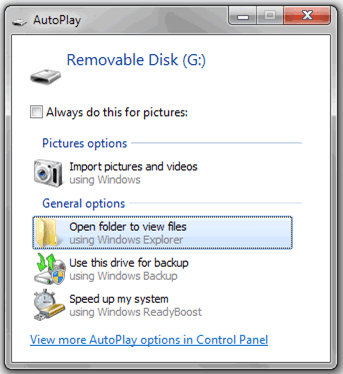
Step 2.Your iPhone will then appear as a Portable Device and you will see an AutoPlay window displayed on the screen. On the AutoPlay window, select the option of "Open device to view files."
Step 3.On entering the folder, select videos and save them to your computer. Right-click the selected video and copy it to the new folder at your desired destination in your computer. The videos will then be saved on your computer's hard drive. Wait for the transfer to complete successfully on your computer. You will get an instant notification once the transfer is complete.
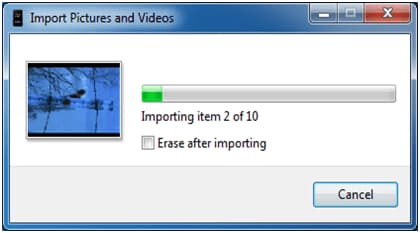
It is advisable to test the video playback to make it sure that the transfer was successful. You can confidently proceed to delete the video files from your mobile device once a successful transfer is made to the computer.
Part 3. How to transfer videos from iPhone to computer via iTunes
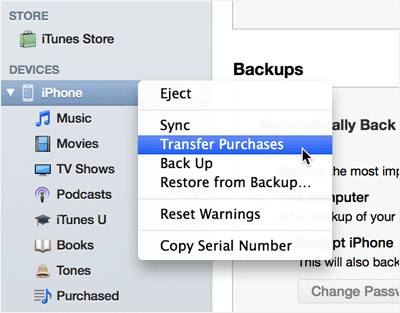
iTunes is a comprehensive tool that manages your music and videos. ITunes allows you to organize, purchase, and play music, movies, television shows, and videos on your iDevices. iTunes facilitate synchronization of content between all your iDevices. iTunes makes it simple to add content already on your computer to your iTunes Library or transfer content from any of your iDevices. To import videos to your Mac via iTunes, the files format must be either .m4v or .mov files. Let’s learn how to transfer videos from iPhone to computer via iTunes. Follow these instructions to import videos from iPhone to Computer via iTunes.
Step 1: Install iTunes in your computer.
Step 2: Connect your device with computer and Click "File" menu and select "Add to Library."
Step 3: Select the file or folder that contains videos you want to import into iTunes. Click "Open" and the videos will be copied to iTunes.
Step 4: Once you download the videos, you can find them under "Movies" tab on the iTunes homepage.
Step 5: Click and drag your video files into your iTunes Library.
Step 6: Now, open iTunes and minimize the iTunes window. Open "Macintosh HD" icon on your desktop to locate your video file. "Movies" folder is the default location for videos on a Mac. You can find "Movies" folder on the left menu bar of the "Macintosh HD" window.
Step 7: Finally, click on the video file drag the file into the iTunes window and drop the file into your iTunes Library. When file downloading is complete, you can find your video under the "Movies" tab on the iTunes homepage.
