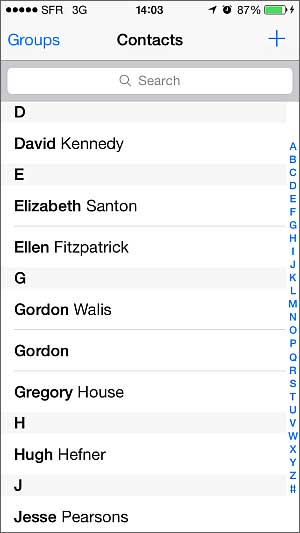
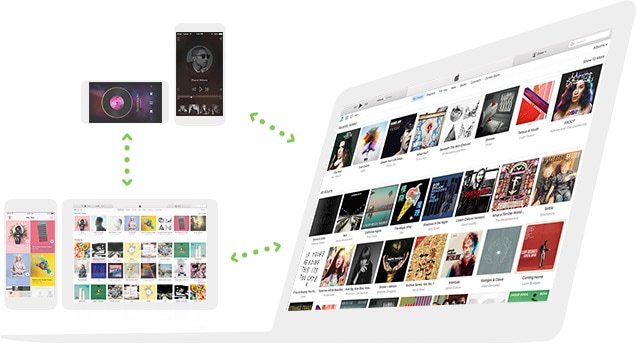
Transferring contact to a new phone be it iPhone or Android or either transferring them to computer has bothered many users and many users are looking for a way to do it. Well! We are going to inform you all some ways of transferring iPhone contacts to different mediums using iTunes and with no iTunes. Are you also one of them who want to learn how to transfer iPhone contacts without iTunes or transferring with iTunes? Scroll down and acquire skills on different transfer ways.
Part 1: How to Transfer Contacts with iTunes
The first way includes transferring contacts from iPhone to iPhone with iTunes. iTunes is an application for iOS devices management developed in 2000. It allows many functions like, playing or downloading music, podcasts, audio books and more. All the iOS devices contains iTunes store from where the users buy and download various media content. iTunes also helps in updating to newest OS, restoring and yes of course, transferring contacts. Here are the steps on how to transfer contacts from iPhone to iPhone with iTunes.
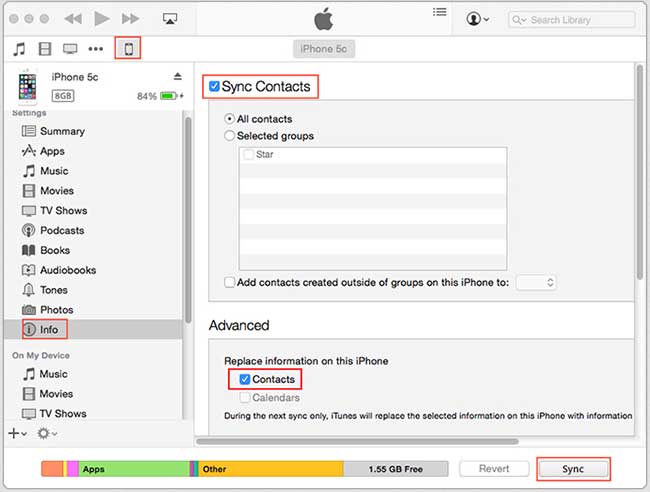
Step 1: Connect your old iPhone to the computer or Mac and open the iTunes’ latest version. Choose your device and hit “info”. Ensure to turn on “Sync Contacts”.
Step 2: Now click on “All Contacts” and subsequently hit “Sync” button.
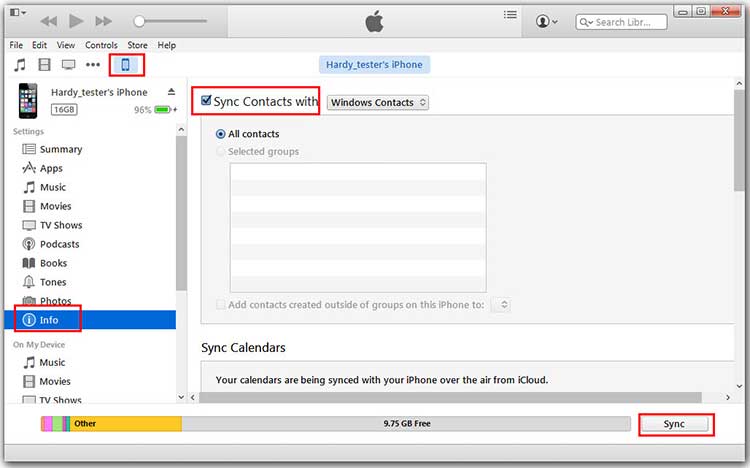
Step 3: Wait until syncing gets complete and now hit on the “Eject” button to unplug the iPhone. Now, plug the new iPhone to PC/Mac. After that, again select your device and hit “info”. Click on “Sync Contacts” and select “All Contacts”. Last of all, hit on “Sync” to transfer contacts from iPhone to iPhone with iTunes.
Part 2: How to Transfer Contacts without iTunes
iTunes undoubtedly is a very good way to transfer your data but the process is a little time consuming and lengthy one. There are two ways through which you can transfer contacts without iTunes. Let’s master the ways.
- Method 1: Transfer Contacts from Phone to Phone
- Method 2: Transfer Contacts from Phone to Computer
- Method 3: Transfer Contacts with iCloud
dr.fone allows the users to transfer contacts from iPhone to iPhone without iTunes in an absolutely easy way. It also can help in transferring contacts from iPhone to Android without iTunes. This is a very useful program holding a huge number of brilliant features. We will provide the tutorial for how you can transfer contacts from iPhone to iPhone/Android without iTunes and transfer iPhone contacts to computer. But before going ahead to those steps, let’s grasp some knowledge on its features.
- It’s a perfect phone manager helping in transferring music, images, contacts, SMS etc. among any iOS and Android device.
- This terrific tool can help you in photos, contacts and media backup. With this tool, the users can also have fun by converting their videos to GIFs or creating their own.
- Not just phone to phone transfer, you can transfer from computer to iOS/Android devices and vice versa or iTunes to iOS/Android devices and vice versa.
- What’s more, you can root with the help of this tool too.
- You can directly send SMS to the Android device from your PC.
Method 1: How to Transfer Contacts from Phone to Phone
Step 1: Download, install and subsequently launch dr.fone on the computer. Connect both the phones to the computer. Now, you are required to choose one device as the main device. this means, the device from which your contacts will be transferred. After all this, hit on “Phone to Phone Transfer” option.
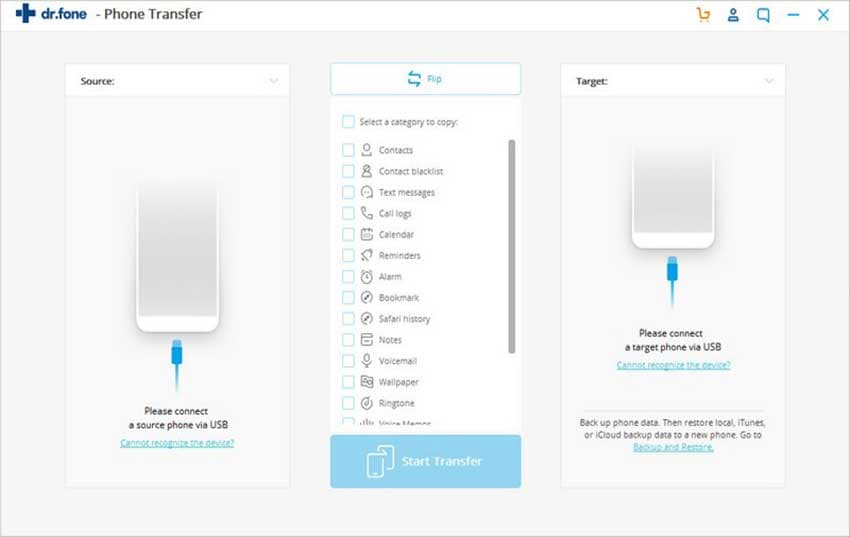
Step 2: Now, click on the drop-down arrow and choose another phone as the target device (which is the new device and will get the transferred contacts). Once selected, hit on the “Next” button.
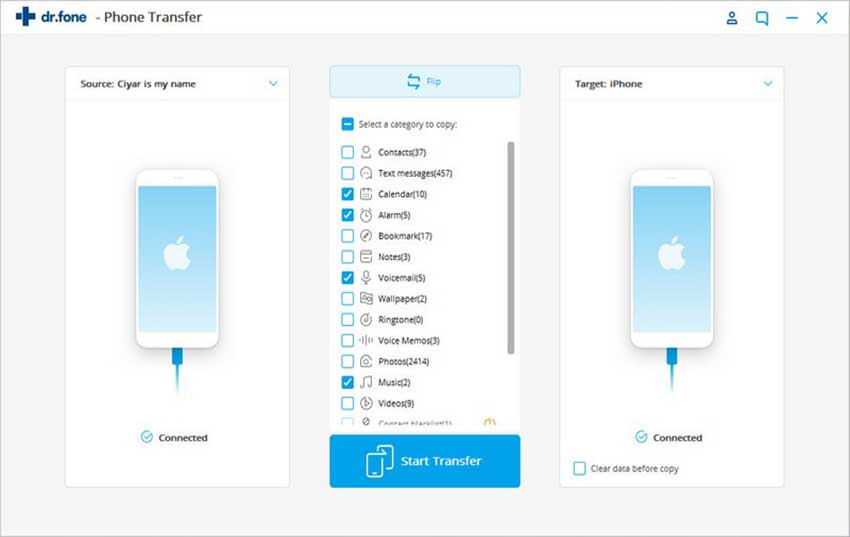
Step 3: Now, when you choose the target device, all your device’s contents will be transfer on your new device. You need to uncheck all the contents except “Contacts”. Now, to transfer contacts, click on “Delete contents on taget device then transfer” button to delete all contents other than Contacts. Now, click on “Transfer” button and lastly hit “OK”. Let's download it and try yourself!
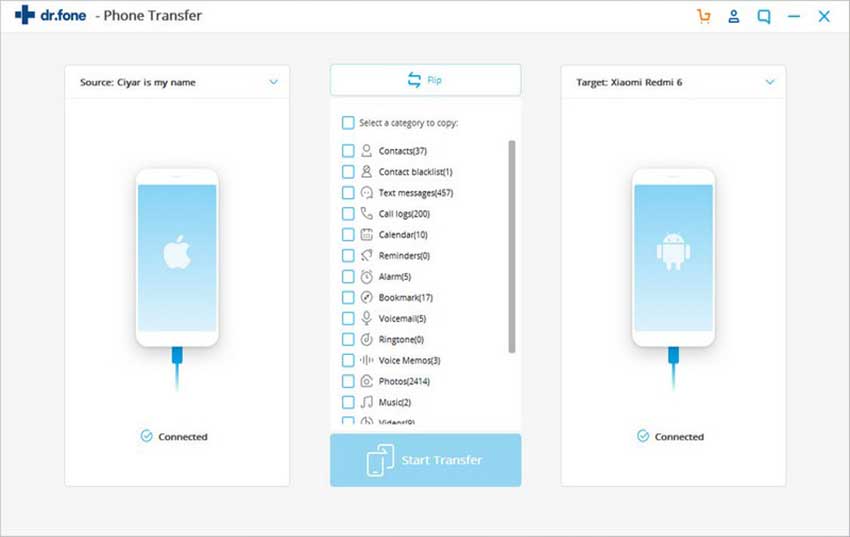
Method 2: Transfer Contacts from Phone to Computer
Step 1: Open dr.fone after downloading and installing it on your PC. Connect your iPhone to the PC. Now, click “Information” button at the top in the navigation bar. This will scan your contacts.
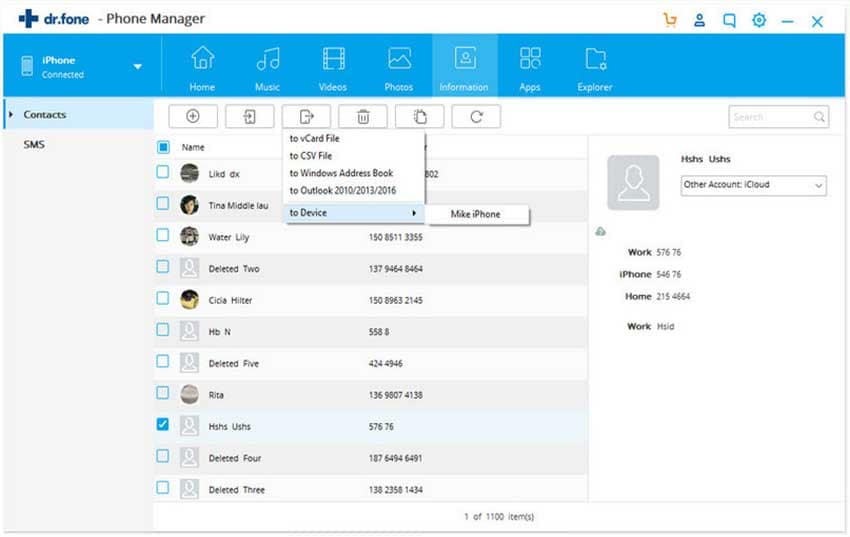
Step 2: Now, your contacts will display on the left side of the screen. Select the contacts to transfer. Hit “Export” and right click the chosen contacts. You can export them to the desired file from ‘Vcard File’, CSV File’, ‘Windows Address Book’, ‘Outlook 2010/2013/2016.
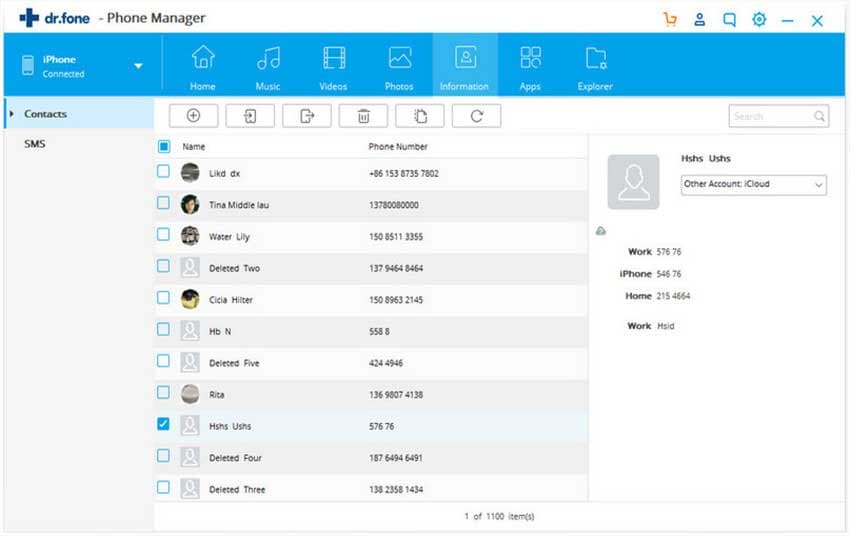
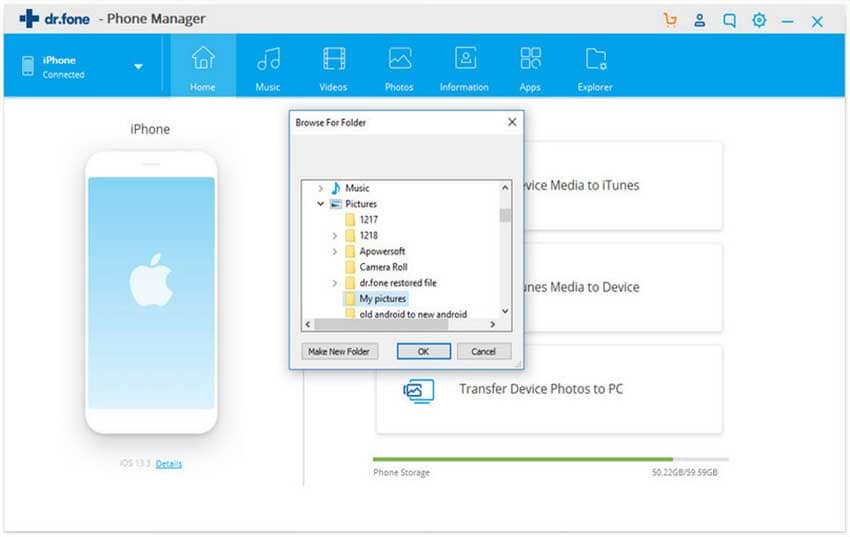
Step 3: Now, a pop-up window will be noticeable. Select a folder where you want to save the contacts. Click “Save” and your contacts will be transferred effortlessly. Now, press “OK” button. It’s done.
Method 3: Transfer Contacts with iCloud
Here is another way to transfer contacts from iPhone to iPhone without iTunes. iCloud is a cloud storage service by Apple that provides users many features and benefits. You can backup your documents, photos and more. Here is how to transfer contacts. Follow the steps below and it’s to keep in mind that both the iOS devices should be connected to the same Wi-Fi.
Step 1: Start with logging into the iCloud account that should be same on both the phones.
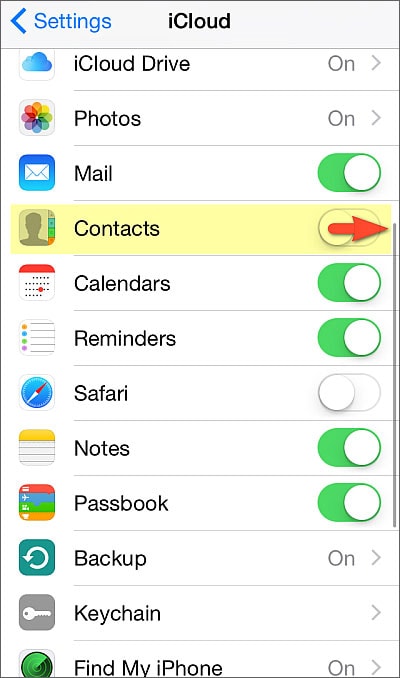
Open “Settings” tap the name at the top. Now tap “iCloud” and ensure to turn the “Contacts” on by sliding the toggle button.
** iOS 10.2 or older users need to go to “Settings” > “iCloud”. **
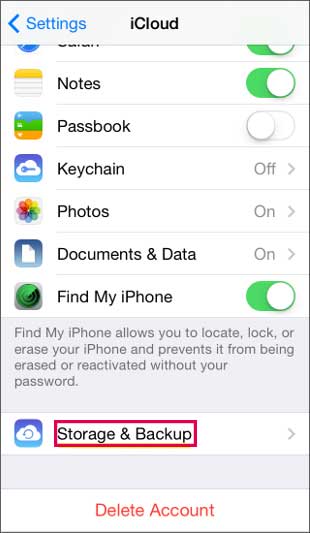
Step 2: Now, move down to “Storage & Backup” and tap on “Backup now”.
Step 3: Take the other phone where you want to transfer contacts. Go to “Settings” and then “iCloud”. Again turn on “Contacts”. After that, go to contacts app and reload it. Within just a few minutes, the contacts will transfer to the new iPhone.
