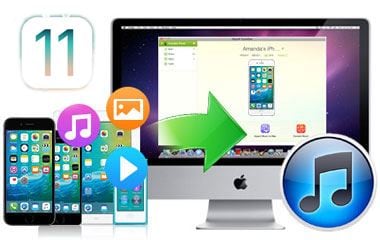
Have any difficulty in sharing music between iPhone and iPad? It isn't a big deal any more, because there are some easy-to-go solutions. I have prepared the instruction: for purchased songs in iPhone, you're able to transfer them to iTunes Library first, and then sync to iPad; For non-purchased songs, you must try the iTunes companion - dr.fone to do the task, for Apple doesn't let you do it via iTunes. To learn more details, please read the guide below.
Part 1. How to Transfer Purchased and Non Purchased Music from iPhone to iPad
- What you need: dr.fone, an iPhone and an iPad, a USB cable and a computer running Mac OS
- Difficulty: Easy for everyone
- Time Required: 5 mins (depending on the number of music you're going to transfer. The more, the longer.)

Share Any Song between Any iPhone, iPad and iPod
The dr.fone is designed as iTunes companion, doing what iTunes can't - SHARE MUSIC BETWEEN iPhone, iPad, iPod, Mac and PC. It means you can transfer music from any iPhone, iPad and iPod. So, you can try it to get music from iPhone to iPad, or the other way around. idr.fone has version for Windows and Mac and now the dr.fone Windows version allows you to connect iPhone and iPad the same time and copy songs between them. As for Mac version, it take 1 more step to do the task. In this case, below I'll focuses on how to transfer music from iPhone to iPad with dr.fone Mac.
Step 1. Connect iPhone and prepare the transfer
Connect your iPhone and iPad to the Mac and then launch dr.fone. When connected successfully, you can see that both of them are listed in the device drop-down list. Please make sure you have selected the source device. The source device should be displayed in the main window.

Step 2. Transfer exported iPhone music to iPad
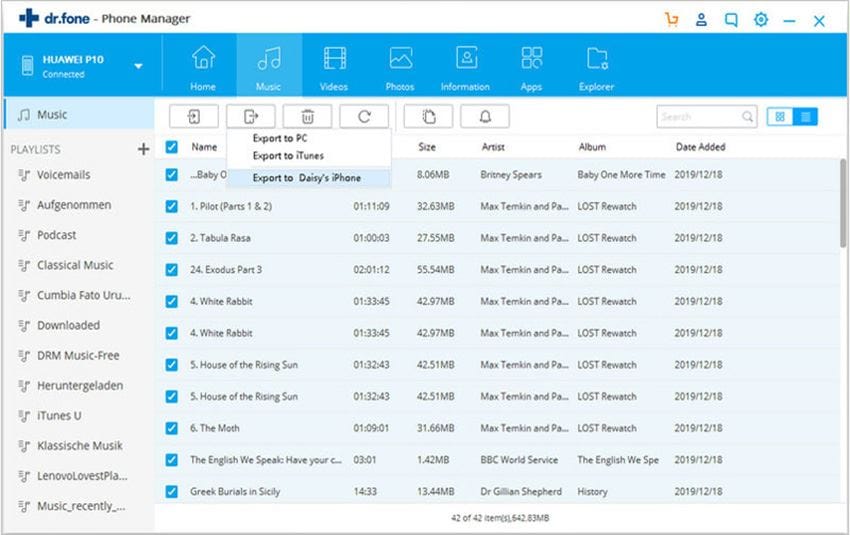
Now click "Music" tap on the top of the main windows, and the songs on your iPhone will be listed. Just tick the songs you want to transfer and click "Export">>“Export to (the name of your iPad)” to transfer them to iPad. If you want to transfer all the music that your iPhone has, you can just tick "Name" at the top of the song list to transfer all the songs.
Quite easy, isn't it? Find the killer features in dr.fone by yourself now!
Part 2. How to Transfer Purchased Music from iPhone to iPad via iTunes
Step 1: Sync music files between your iPhone and Mac
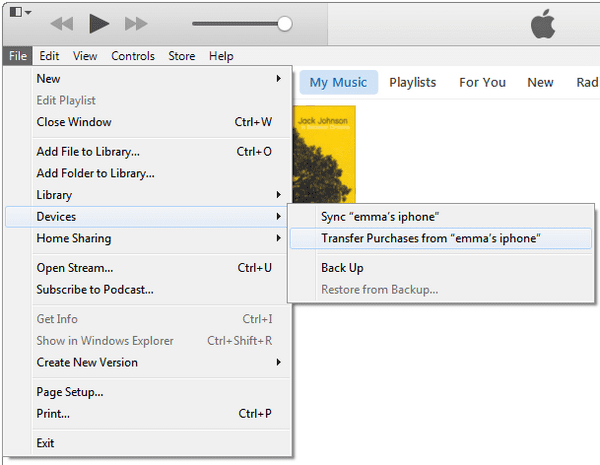
Plug in your iPhone and launch iTunes. The program's interface will pop up. Right click the name of your device. Then choose "Transfer Purchases" to transfer your purchased music from iPhone to iTunes.
Step 2: Sync the music files to your iPad
Now disconnect your iPhone and get the iPad connected. Once iTunes has detected your iPad, choose you iPad from the device list. Click on the "Music" tab and check the "Sync Music" box. Check the boxes besides the music that you want iTunes to proceed with. Click "Apply" to start the transferring process. Wait until iTunes finish syncing before unplugging your iPad.

There are some limits for using iTunes to transfer music from iPhone to iPad, please check out:
#1. Cannot convert incompatible music filesYour iPhone and iPad may be running on different versions of the iOS. ITunes will not be able to convert these files to the compatible formats required by the iOS. To solve this dilemma, use a third-party app, like dr.fone, which is able to convert incompatible files during the transferring process to your iPad.
Your music downloaded from other resources and purchased from other sites can't be transferred by iTunes. It only help to transfer the music you purchased from iTunes store.
Part 3. More Info: iCloud Can't Be Used to Sync Songs from iPhone to iPad
iCloud only allows you to re-download music purchased from iTunes Store to iPhone or iPad. To transfer music bought from other providers, you can subscribe to iTunes Match for $25 per year.
Apple only provides free storage of 5GB but it can get filled up quickly if you tend to store a lot of media files. Good news is that Apple does not count the size of the music files purchased from iTunes Store into the storage limit.


