I want to convert iPhone Live photos into videos. Is there areny way to do it?
Live photo is a new feature in iPhone 6s and it is actually a video in the photo. The principle of Live Photos is pretty simple, whenever you try to take a photo using Camera of your iPhone 6s, it will automatically record 1.5 seconds video before that picture and 1.5 seconds video after taking the picture. Now, people widely assumed that live photos are actually videos that is wrong. Live Photos are actually photos in the .mov video format. When you import iPhone live photos to computer to share online, they become still images. By saying converting iPhone live photos into videos, I think you must be in want of keeping the Live photos Live - playing like a video. This article includes 2 parts for you to convert iPhone Live Photos to videos.
- Part 1. Turn iPhone Live Photos to GIF images - Keep Them Live
- Part 2. Turn iPhone Live Photos (Animated GIF in Part 1) to Videos
Note: if the purpose you want to convert iPhone Live photos to videos is just for keeping them live, part 1 is enough. If you insist on converting iPhone Live photos to videos, then you should go through from part 1 to part 2.
Part 1. Turn iPhone Live Photos to GIF images - Keep iPhone Live Photos Live

dr.fone for Mac - Turn iPhone Live Photos to GIF Images (iPhone 8, iPhone X supported)
dr.fone has ability to directly export the Live Photos as GIF images from your iPhone to your computer. It is actually a complete image, audio and video file manager for Mac and Windows PC. You can create new album in the software, transfer any types of photos or videos from your Mac to iPhone and vice versa. The best part about dr.fone is that the conversion feature is located right on the main screen and using one simple click, users can import the Live Photos as GIF images. These GIF images can be later used in an appropriate video editing software to make the perfect videos. Here’s how you can use dr.fone to export iPhone Live Photos as GIF images.
Step by Step guide to use dr.fone for Mac to Export iPhone Live Photos into videos
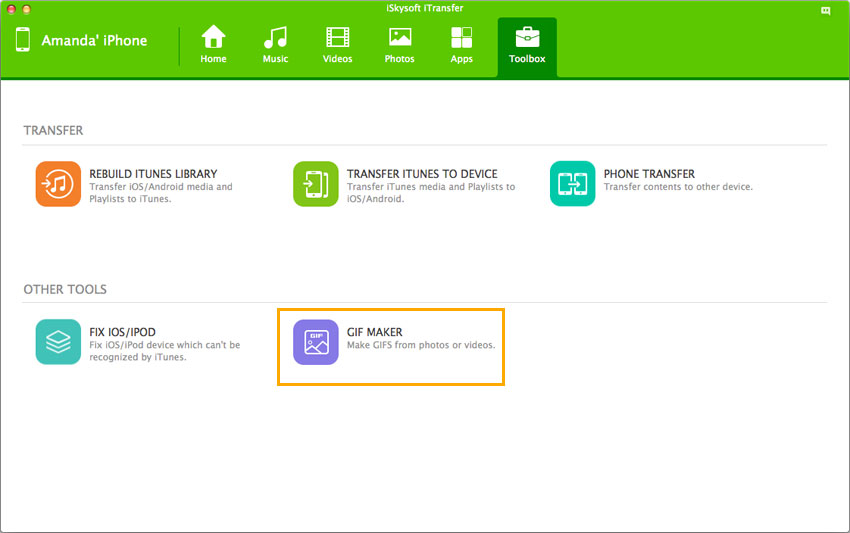
Step 1. Download and launch the dr.fone for Mac. Connect your iPhone with the PC using USB cable. You can see "Toolbox" button at the top of the main window. Click it and there is a "GIF Maker" button.
Step 2. Click the “Add” button to browse photos on your Mac. Press the Command button and click photos to select them (at least 2 photos) from your Mac. Click “Convert GIF”.
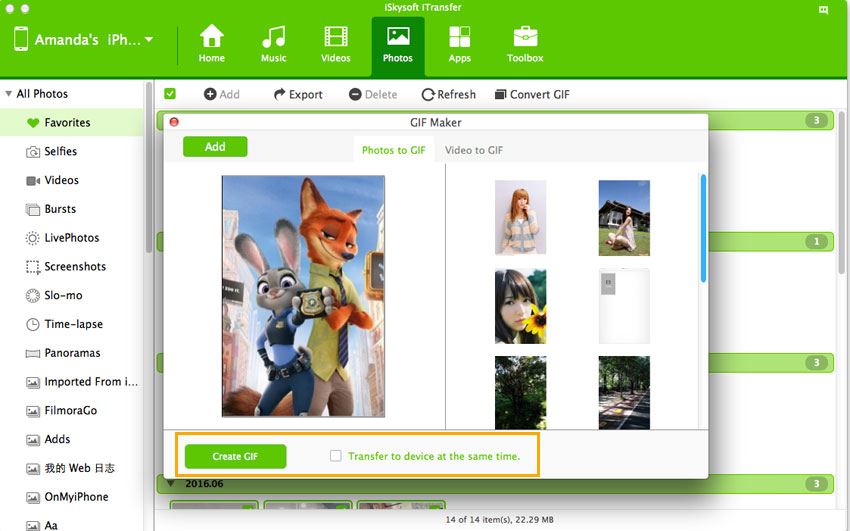
That’s it! Now, it will move the GIF images to your Mac. You can also turn these live photos to videos using Filmora video editor. Check out the steps in part 2.
Part 2. Turn iPhone Live Photos (Animated GIF in Part 1) to Videos

Filmora Video Editor - Turn iPhone Live Photos to Videos
Filmora video editor is a pretty simple yet powerful video editor for the basic and professional video editors. The editing features are embedded in such an amazing way that a newbie can create the full professional videos using all the features of Filmora video editor. As we know that GIF images don’t have sound, so, you can either add your own track or can select one of the tracks from the music library of the Filmora video editor.
Step by step guide to use filmora video editor to import gif images for making a video
Step 1. First of all, download and install Filmora video Editor on your Mac. You can get it from the link given below. Follow the plain and simple instructions to install it on your computer. After installation of the software, launch it and click on the Import button at the center of the main screen of Filmora video editor. Select the recently imported GIF image and click on Load
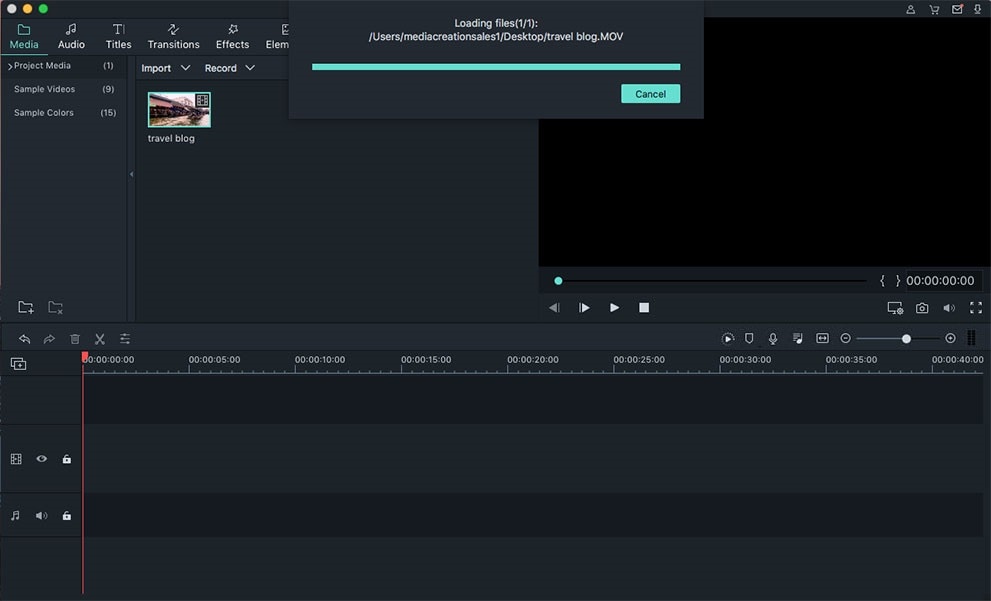
Step 2. Now, the video will be in the media library of Filmora video editor, the next step is to move this video in the timeline for editing purpose. Simply, hold the video and drag it to the timeline.Here, you can perform the basic editing functions on the video such as Crop, cut, split and speed changer. To perform any functions, double tap on the video in the editing area and select any basic video editing feature. You can also add sound to the GIF Image, use the Mic to add narration, import the sound track from the computer or use one of the already present tracks in the Filmora video editor.
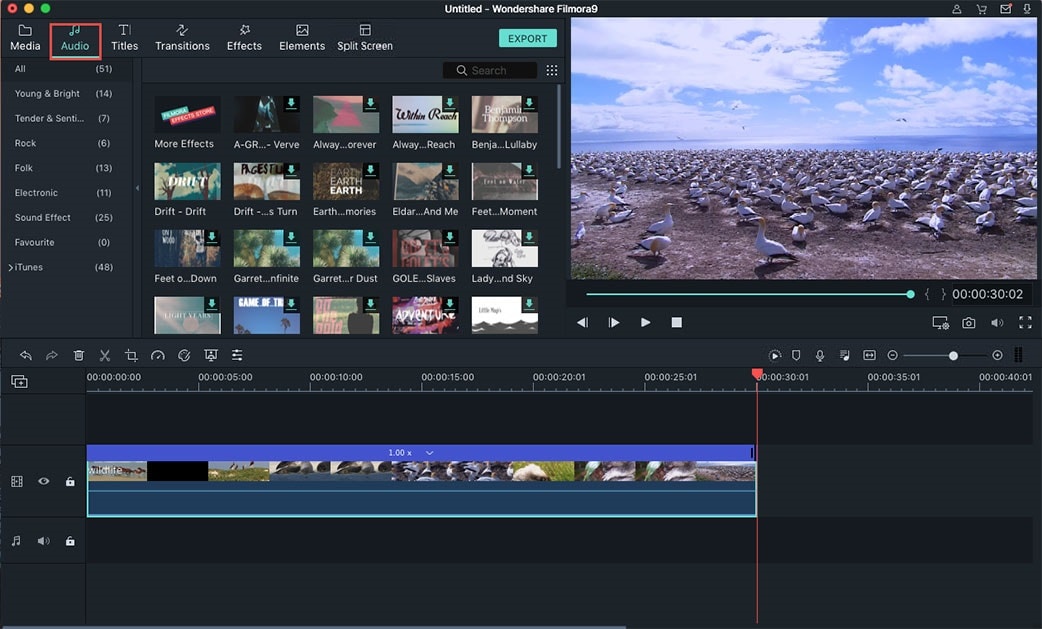
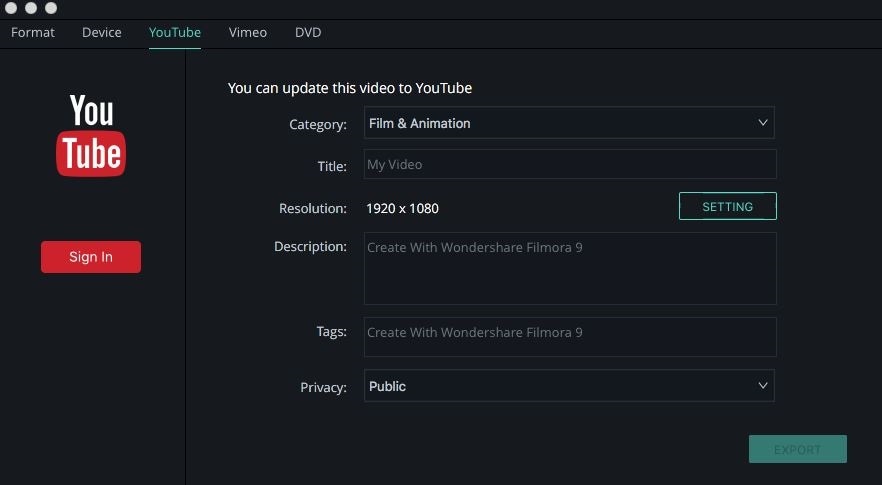
Step 3. Once you have converted the GIF image into suitable video, click on the Export button on the left side of the video. Select the appropriate format to export it to the computer or upload it to the YouTube, Facebook or Vimeo.
