As the name depicts, backup assistant Android is an idea which makes sure that the work is done in line with the requirements of the users. It is related to the backup of data onto the Android device and therefore this assistant is something that is used the most. It is also one of the ideas which the users want to use. The fact of the matter is that the users want to make their data safe and secure. This idea of backup assistant is the one which makes this happening with ease and therefore it is highly used and in demand. On the other hand the users also want to make sure that the data is saved to a place that saves the device storage. This idea is also applied to make sure that the same happens.
Part 1: How to Backup Android with Backup Assistant
How to Backup Android with Backup Assistant
It is a service that has been included to all the Verizon wireless devices and therefore there are no charges at all. The download of the service require approx. 1MB of data for which the standard charges are applied.
It is a sort of primitive service when it comes to the other apps and software programs and the offerings they have to make. It is also to be noted that the user can only save the phone book i.e. the contacts using this service.
Step-by-Step Guide to Backup Android with Backup Assistant
Step 1. From the Verizon's website the Android compatibility is to be checked to begin the process. The link has also been mentioned within it for ease of users.
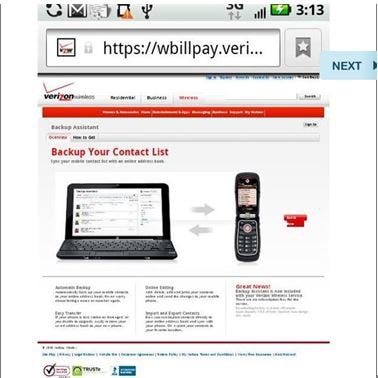
Step 2. The user then needs to download the "Backup Assistant" app onto the Android.
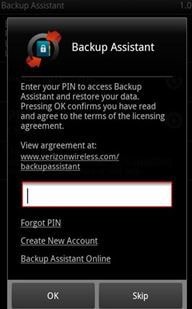
Step 3. Once it has been done the user needs to enter the Verizon cell number to proceed with the process.
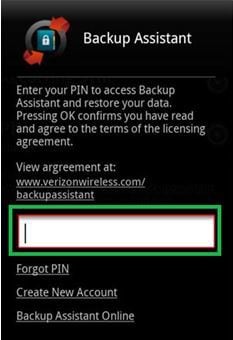
Step 4. Once the number has been entered the "OK" button is to be pressed.
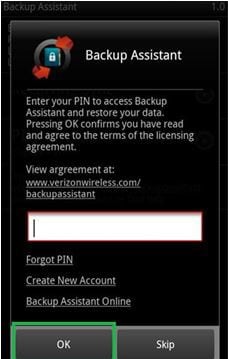
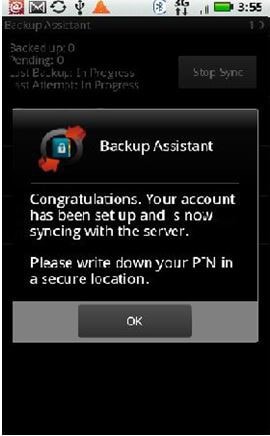
Step 5. The PIN is then to be entered. It is to be noted that it is the most important thing and is to be kept in a secure location.
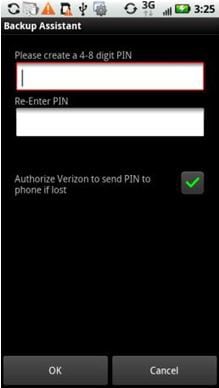
Step 6. Once the PIN has been accepted the tick icon is to be pressed so that the following screen appears. Once the backup has been completed the user will be notified. It also completes the process in full.
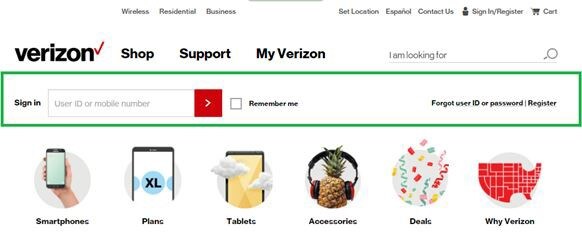
Step 7. To use it online the user needs to visit this website and login to the account on the main panel
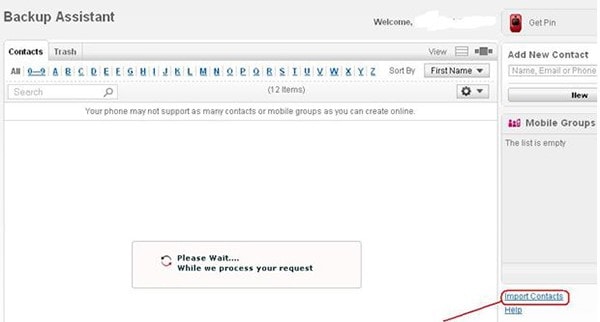
Step 8. Once logged in the user can use the CSV file import function to upload the contacts to the system. To create the CSV files please visit here.
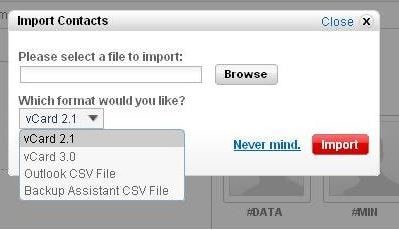
Step 9. The outlook CSV file is to be selected to proceed.
Part 2: What is Verizon and How about Verizon Cloud?
Verizon is a USA based largest wireless telecommunication company that was founded in the year 1983. It has a strong subscriber base and offers contracts for the handsets that are new in the market. It also offers network locked handsets as well and therefore it is one of the most known telecom companies of the West.
Verizon Cloud is an Android app that has been developed to ensure that the data on the Android is back up. It supports contacts as well as the other media that is present onto the device. It is also to be noted that 5GB free storage space is also provided for every Verizon cloud user.
Step-by-Step Guide to Backup Android with Verizon Cloud
Step 1. Visit the Verizon products and services page at this website.
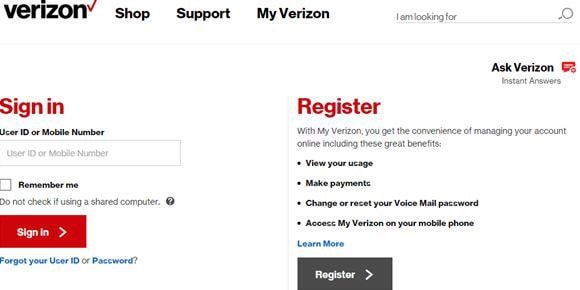
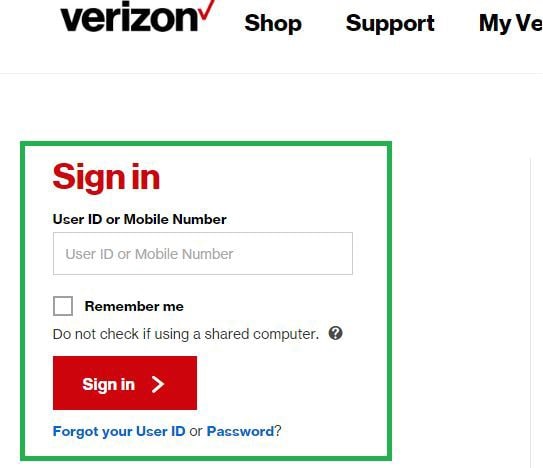
Step 2. You then needs to sign in to your Verizon account to proceed with the process.
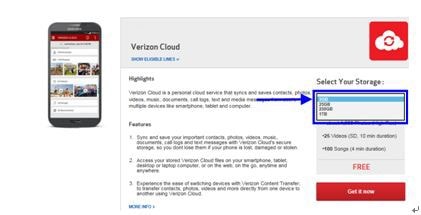
Step 3. The storage is then to be selected to proceed.
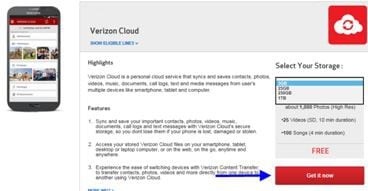
Step 4. The "Get it now" link is then to be clicked.
Step 5. The other Verizon lines can also be added to the plan if required.
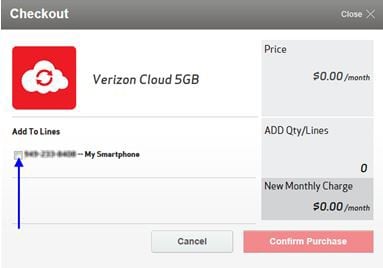
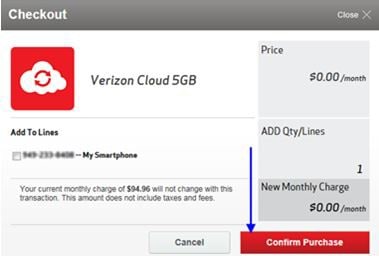
Step 6. Click "Confirm Purchase". If 5GB storage has been selected then no charges are applicable. For more package plan info please visit the "Verizon Wireless" website.
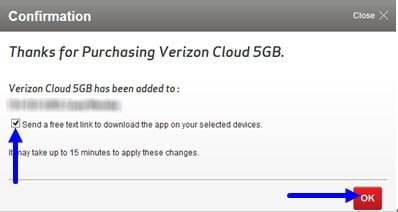
Step 7. Press "OK" and this completes the process in full. The normal process of finding and uploading of CSV files then follow to upload all the contents to the online storage.
Part 3: The Best Tool to Backup Android
The MobileTrans for Mac (or MobileTrans for Windows) is one of the most used and desired programs to get the work done in this regard. It is one of the best ways to ensure that the work is done in line with the demands of the users.
Key Features of MobileTrans:
- The GUI that has been embedded allows the users to overcome the hassle which the other difficult programs present.
- It is also easy for the user to use the program without any assistance as there are scores of guides for every process over the official website.
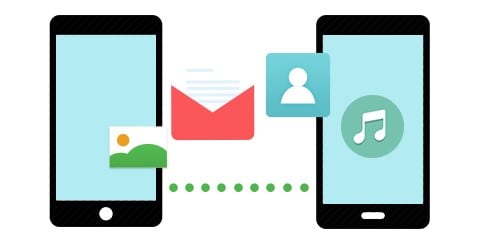
- The user can take advantage of cross platform transfer such as Android to iOS and vice versa.
Step-by-Step Guide to Backup Android
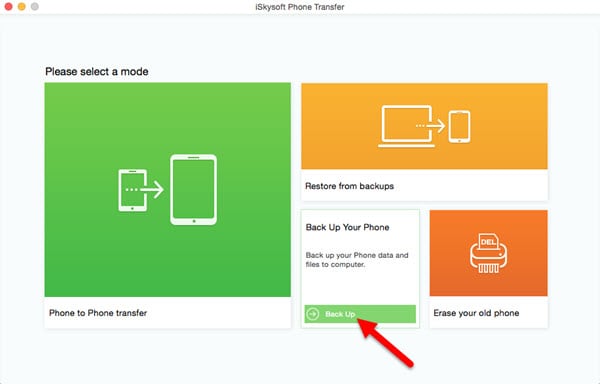
Step 1. Begin by downloading the program on to your Mac. Once it is successfully installed, launch the program. You should see the following window.

Step 2. The "Back Up Your Phone" option is to be clicked to proceed with the process.
Step 3. The Android device is then to be connected to Mac moving forward.
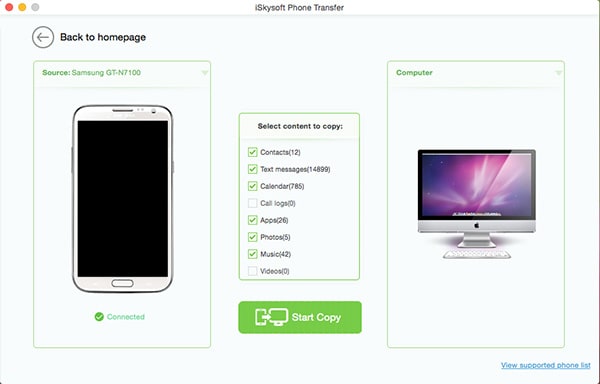
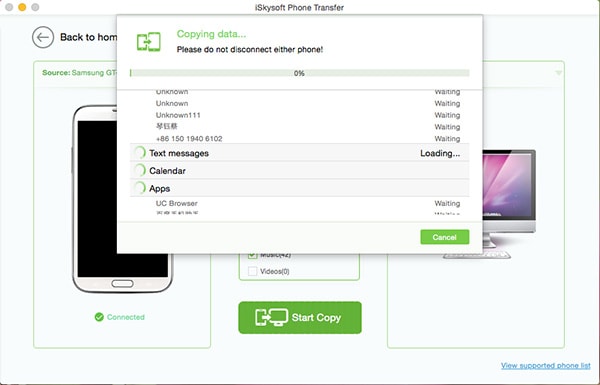
Step 4. Now all you have to do is check the types of data you would like to include in the backup and then click "Start Copy". The program will immediately begin creating a backup of your Android device on the Mac.
