There are a lot of apps available on the Google Play Store that can help create a backup your device but none is as effective as Helium. The main reason why most people would choose Helium over other apps is simply because it can be used for both rooted and non-rooted Android devices. It also comes in a paid and free version with the only difference being that the paid version is completely free of ads. Another advantage of using Helium is that while other apps will only allow you to back up your data to an SD card or a computer, Helium backup Android comes with a lot of options that allow users to back up their data to cloud drives such as Dropbox or Google Drive.
- Part 1: How to Backup Android with Helium
- Part 2: The Best Helium Alternative Tool to Backup Android
Part 1: How to Backup Android with Helium
Before we begin using Helium to back up your device, you need to install it on to your Android device. So, head over to the Google Play store and search for Helium. Once you have found it click on install and wait for the process to be completed. If your device is un-rooted, you also have to install the Helium Desktop Installer as well.
Step-by-Step Guide to Backup Android with Helium
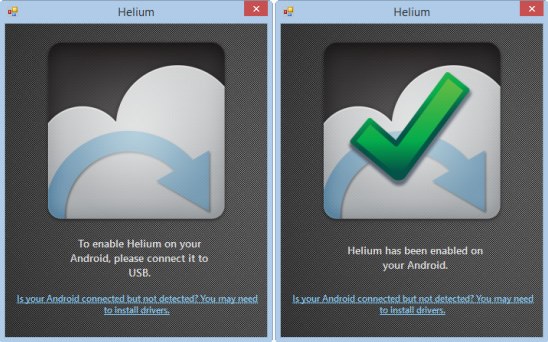
Step 1. Once you have installed both of these, Open the Helium app and then if your Android phone is rooted, grant it root access and you are ready to use it.
Step 2. Once Helium is open on your Android device, select the apps you would like to backup. You will see that Helium will tell you the apps it can backup and those it cannot. Typically, Helium can't backup certain apps such as Live Wallpapers, Chrome and YouTube. Once you are happy with your selection, tap "Backup" and in the next window, select the backup destination.
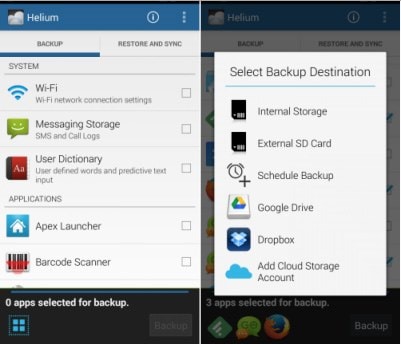
You can also use Helium to restore the backup. All you have to do is open the app and then tap "Restore & Sync" and then select the backup from where it is stored.
Part 2: The Best Helium Alternative Tool to Backup Android
Helium is without a doubt an easy and effective solution. But it does require that you download the app on to your device in order to use it. if this seems like something you don't want to do or you are looking for an even better solution MobileTrans for Mac (or MobileTrans for Windows) is a great one.
Key Features of iSkysoft Phone Transfer:
- All you have to do is connect the device to your computer and let the program do the rest.
- It can also be used to backup all the data on your device including contacts, music, messages, call logs, apps and their app data among many others. There is nothing that will be left out of the backup.
- Restoring the backup is just as easy. As a matter of fact, MobileTrans for Mac offers you the option to restore data selectively. You can also restore data from iCloud and iTunes data files.
- As the name suggests, this program is a great phone to phone transfer tool. It allows users to transfer all types of files from one device to another. It supports all devices and Operating systems.

Step-by-Step Guide to Backup Android
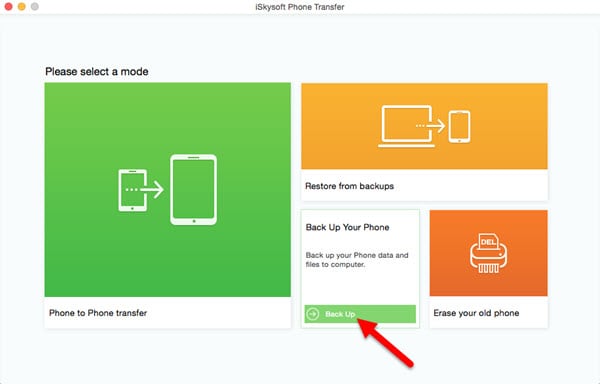
Step 1. Begin by downloading MobileTrans for Mac on to your Mac. Once the installation process is complete, launch the program. You should see the following primary window.

Step 2. From the options presented, select "Back Up Your Phone". This will open the backup window.
Step 3. Connect the Android device to your Mac using USB cables. All the available data on the device will be displayed in the middle pane of the resultant window.
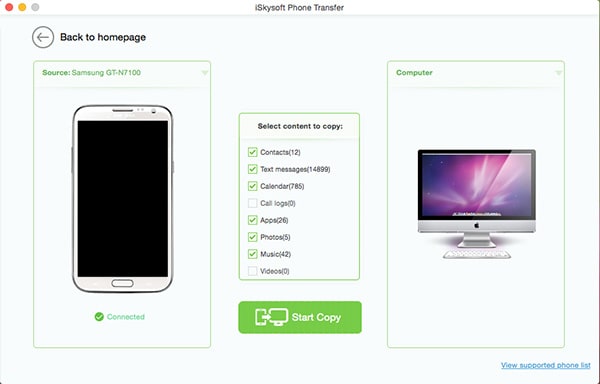
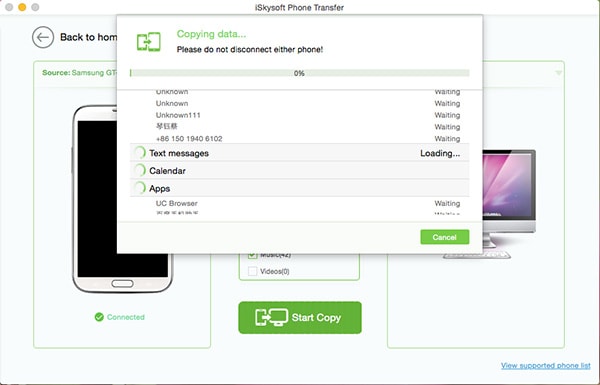
Step 4. Select all the data you want included in your backup and click "Start Copy" to begin the process. Ensure that you keep your device connected to the Mac during the entire process. Depending on how much data you want to back up, you may have to wait a while for the process to be completed. Once it is done, all the data you selected will be backed up your Mac.
