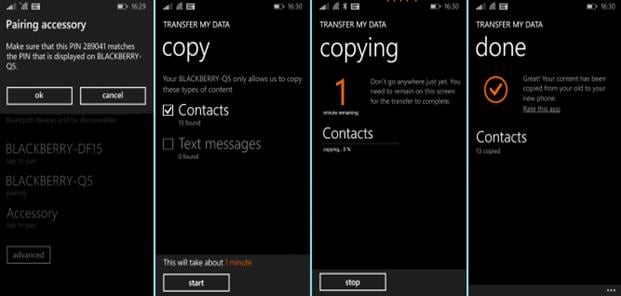
If you have decided to ditch your Windows Phone and join the global trend of owning an iPhone, this step by step guide will help you to import contactst from Windows Phone to iPhone, including iPhone 6S.
- Part 1: Transfer Contacts from Windows Phone to iPhone 6S in 1 Click
- Part 2: Import Contacts from Windows Phone to Computer
- Part 3: Transfer Contacts from Windows Phone to iPhone through Computer
Part 1: Transfer Contacts from Windows Phone to iPhone 6S in 1 Click
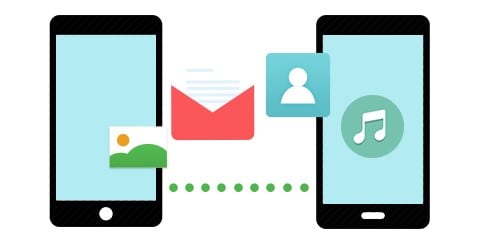
Phone Transfer is an amazing solution for transferring data from Windows Phone to iPhone. It can transfer with ease, be it photos, music, videos, contacts, calendar, messages, apps and call history between iOS including iOS 11, Blackberry, Symbian OS and Android within 1 click. Irrespective of how fancy or upgraded your phone is, this mobile transfer program safely transfers all your data as the original data. Highly recommended tool for phone transfer relating Windows 10. This transfer includes minute details as well. Like contacts with number, name, job title, email id, company name and more; artist, album info, lyrics, playlist, photo stream, photo album, camera roll and more. It’s a cross platform program. Given below are directions for Windows Phone. ( MobileTrans for Mac version is also available.)
Step-by-step guide to Import Contacts from Windows Phone to iPhone
Step 1: Run the phone transfer
To begin with, download and install this application onto your Computer or laptop. After this open the program and select the "Phone to Phone Transfer" mode.

Step 2: Connect Windows Phones and iPhone to PC
Time to get both of your Windows Phone and iPhone connect on the PC with USB cables. This program will detect your phones and show your devices information with the contents details of the source phone.
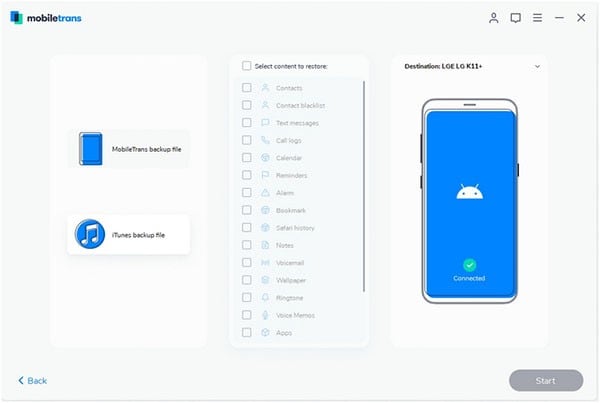
Step 3: Start transferring contacts from Windows Phone to iPhone 6S
Check the "Contacts" option. Click on "Start Copy" to initiate the transferring process. It may take quite a few minutes to complete depending upon your data. After that you would have successfully completed transfer procedure.
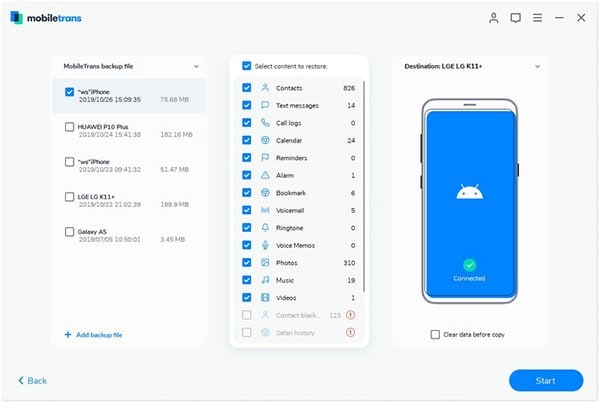
Part 2: Import Contacts from Windows Phone to Computer
There may be situations where you have to transfer files from your Windows Phone to computer. If so, Phone Transfer can also help you to handle the backup process easily. It should assure safety and security along with transferring 100% original files.
Steps on transferring files from Windows Phone to computer
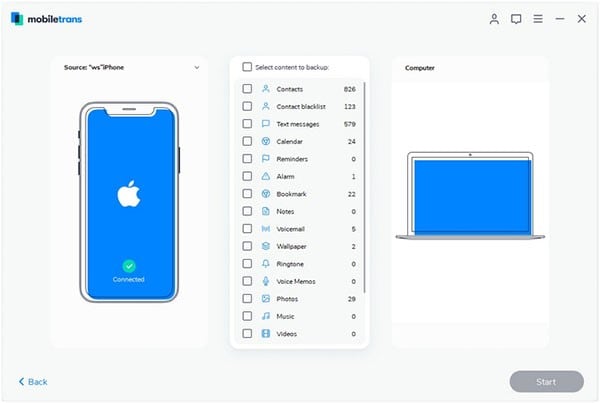
Step 1: Begin by launching the program. Then to the "Back up your Phone" option to view backup window.
Step 2: Connect the smartphone to the computer with USB cable. This software will recognize your phone as connected drive. Your phone information will be displayed in the window.
Step 3: Choose the files you desire to copy from your copy, then select "Start Copy" to begin file transferring from your phone to your PC.
Part 3: Transfer Contacts from Windows Phone to iPhone through Computer
To transfer your contacts from Windows to iPhone, first we need to move them into to your Computer, in Windows Contact Program.
Probably your Windows Phone should already have a Window Live account set up on your phone and have internet connected. If these conditions are met, your contacts will be saved in the Windows live website. Go ahead, Sign in with Windows Live. Enter your email address and password when asked.
1. As soon as you see your contacts click, select Manage at the top of the screen and click on Export found in the dropdown list. Now your contacts will download as a .csv format file in your PC.
2. On your PC, click on the start menu and open Contacts.
3. In the top of the contacts window, click Import and opt CSV as file format. Select Import to proceed.
4. Select Browse option to search for your downloaded copy of your contacts from Windows Live. Once found it, select Next to start the process of importing contacts to the computer’s address book.
5. Your contacts are now stored in Windows Contacts, which can sync with iPhone with the help of iTunes. If you still haven’t downloaded iTunes, do it from Apple’s website.
6. When your iTunes is installed and ready, connect your iPhone with the USB cod given. Click on Info button at the top of summary page.
7. In the info tab, you will find a tick-box regarding syncing your contacts. Once your iTunes is ready to synchronize with Windows Contact, check the box and click Sync in the extreme bottom left of iTunes.
8. Now your contacts will be displayed in your iPhone. If you have signed in to your iCloud account on your phone, your contacts will start backing up with Cloud storage.
