If you are planning to buy a brand new iPhone, you must be very excited, but at the same time nervous of making the switch from the old iPhone to the new iPhone. This article will guide you on how to make transition to your new iPhone by exploring the best 2 ways on how to effectively transfer your data. This is the best way to ensure that your files are secure, safe and sound. Losing an iPhone is one of the most painful life experiences. It is even worse if you have never transferred your data from your old iPhone to the new iPhone. Backing up your data through iPhone to iPhone data transfer will actually save you a lot of headaches in case your phone fails or gets stolen in feature.
- Part 1: Transfer Purchased and Non-purchased Music from iPhone to iPhone in 1 Click
- Part 2: Transfer Music from iPhone to iPhone Using iTunes
Part 1: How to Transfer Purchased and Non-purchased Music from iPhone to iPhone in 1 Click
MobileTrans for Mac(or MobileTrans for Windows) is a great and innovative app that offers you with the best opportunity to transfer both purchased and non purchased music from iPhone to iPhone. You can also transfer videos, messages, playlists, photos, apps, calendar and call history between Android, iPhone, Symbian OS, iOS and BlackBerry.
- With iSkysoft Phone Transfer, you will be able to backup your data and retrieve them at any time.
- It allows you to transfer iTunes music, videos, and playlist to iTouch, iPod, iPhone as well as Android phones.
- iSkysoft Phone Transfer has a friendly interface which makes it easy to use.
Step to Transfer Music from iPhone to iPhone
Step 1: Install and launch the program
You will be able to retrieve data from iCloud Backup which can then be transferred easily between phones.
Install iSkysoft Phone Transfer and open it. Double click the iSkysoft Phone Transfer in order to launch it.
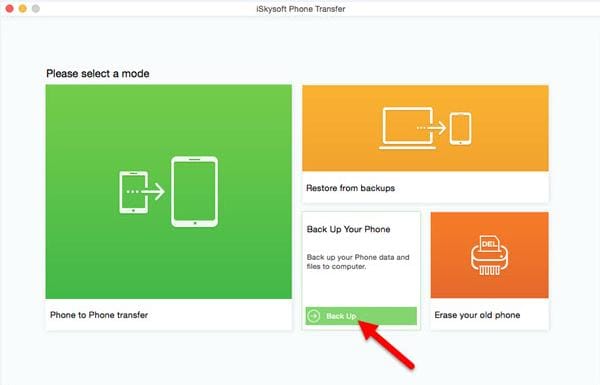
Step 2: Connect two iPhones with computer
Use the USB cables to connect your two iPhones devices. Click the Phone to Phone transfer tab. The two iPhone devices will appear on the next window.
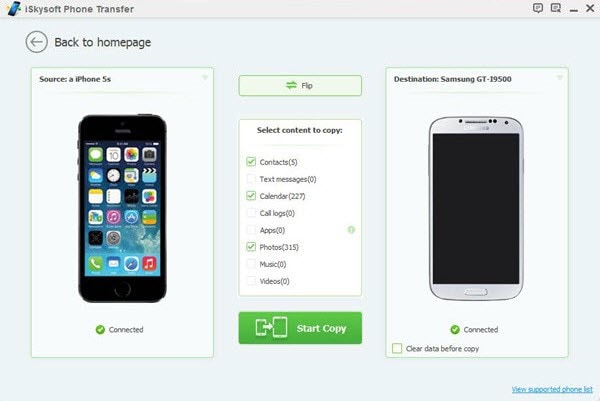
Step 3: Select and transfer music from iPhone to iPhone
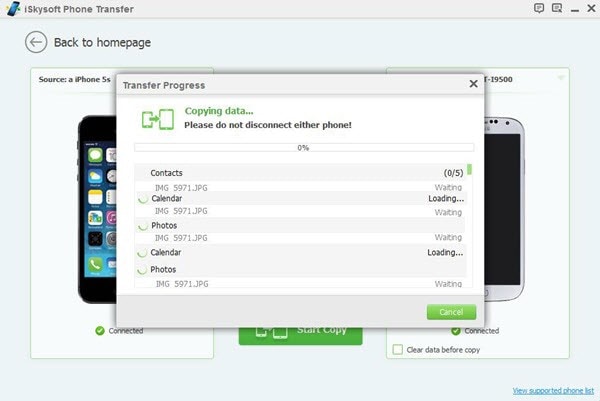
Select the data that you want to transfer, in this case, music. Click the start copy button to transfer music from iPhone to iPhone.
Part 2: Transfer Music from iPhone to iPhone Using iTunes
iTunes enables you to get all your favorite purchased music on your PC with ease. You will therefore have the opportunity to sync your favorite music with your iPhone and other devices. All you need is a PC and your two iPhones.
How to Transfer Music from iPhone to iPhone Using iTunes
Step 1: Download and run the software
Download and install the latest iTunes in your PC. Launch it by double clicking its icon. For a more familiar interface, go to View> Show Sidebar.
Step 2: Connect your iPhone to computer
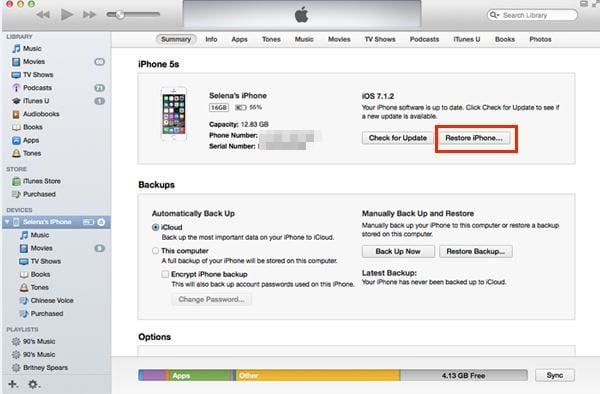
Connect your old iPhone from which you would like to transfer your favorite music through the USB cable. iTunes will recognize your device and show its name under DEVICES on the side bar.
Step 3: Select and transfer music from iPhone to iPhone with iTunes
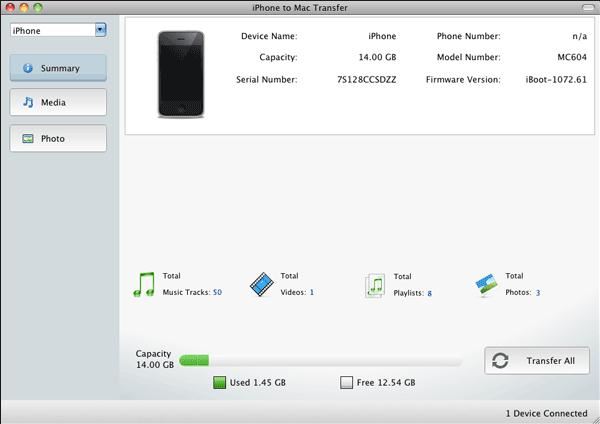
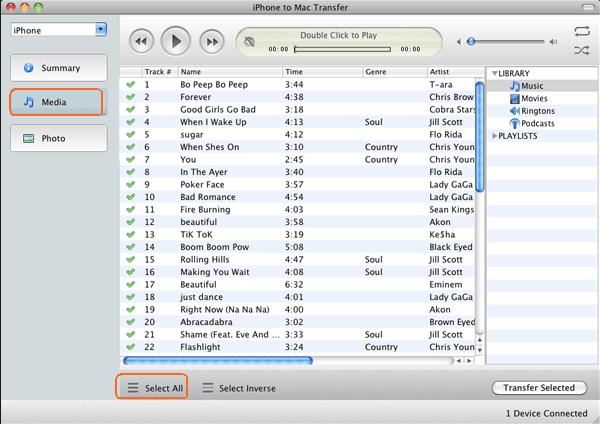
Right Click on the old iPhone name and then you will see the context menu. Select and click on the transfer purchases. In the next window, click on transfer. All your content including apps and music will be transferred to iTunes. Disconnect the old iPhone from the computer after the files have been successfully transferred. Connect the new iPhone to the PC and once iTunes recognizes it click on its name. iTunes will then sync all the contents automatically to the new iPhone if you have enabled auto sync. If not so, click on Music in the Menu bar. Choose your preferred option and click Apply for the files to sync, and in this case, click music.
Common Issues and Solutions on using iTunes to Transfer Photos
1. iTunes Doesn’t Open or Quits Unexpectedly
This may be as a result of corrupted preference files or possibly out of date plugins. To fix this, you will have to remove preference as well as third party plugins before you can transfer your music from the old iPhone to new iPhone. Delete the following; · C:\Documents and Settings>Your Username Here>Application Data>Apple Computer>iTunes · C:\Documents and Settings>Your Username Here>Local Settings>Application Data>Apple Computer>iTunes · C:\Documents and Settings>All Users>Application Data>Apple Computer>iTunes>SC Info
2. iTunes not Syncing with iPhone
To solve this problem, you should ensure that you have the latest iTunes version. If the syncing problems still exists, quit and relaunch iTunes and then try performing a manual sync. You can also use other methods which includes rebooting your iPhone, restarting your computer and using the opposite syncing methods through Wi-Fi or USB.
3. iTunes Does not Detect iPhone
Have you ever experienced a situation where you have plugged an iPhone into your computer and nothing happens? The first step in fixing this issue involves quitting and relaunching iTunes. Other methods include using a different USB Cable or port and restoring or resetting the iPhone.


