You must have used your new iPhone iOS 9 for taking photographs. And now you want to share the photos with your family or friends who own an Android phone. So, you need to know how to transfer photos from the iPhone iOS 9 to the Android. There are certain applications that can help you to transfer photos from one platform to another. Below are the easiest ways for you to transfer photos from iOS 9 to Android for free.
Part 1: Transfer Photos from iOS 9 to Android via Phone Transfer
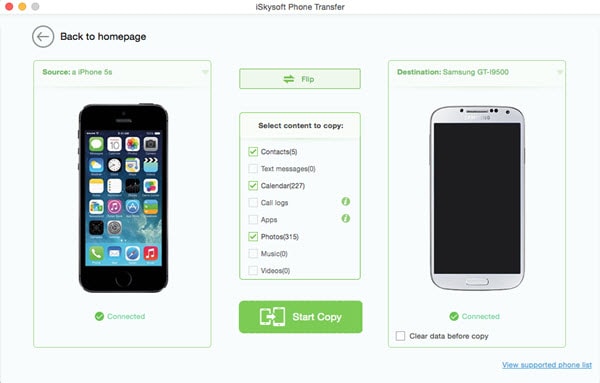
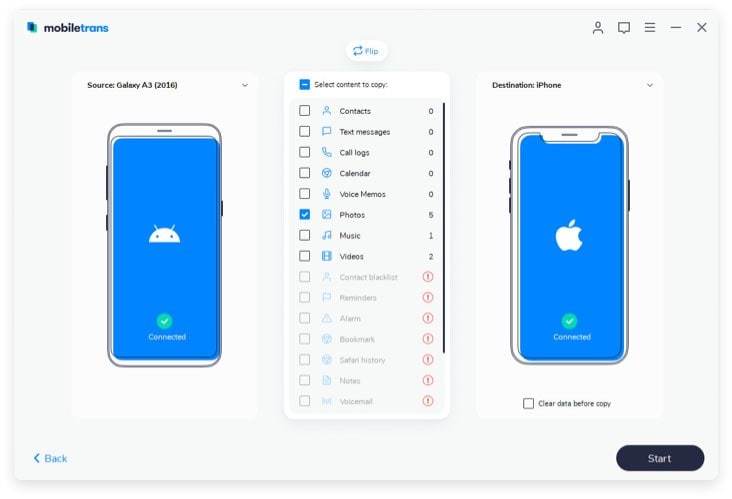
To transfer iOS 9 photos to Android, you need a robust application like MobileTrans for Mac ( or MobileTrans for Windows). It is a phone to phone transfer that allows you to transfer any data, including photos, contacts, music, videos, messages and more between iOS, Android, Blackberry and Symbian. It comes with several attractive features that you can use on phone data transfer:
- 1 click transfer any phone data.
- Support more than 3500 phones.
- Back up phone data to Mac or PC.
- Restore phone data from backup.
- Erase phone data permanently.

Steps to Transfer Photos from iOS 9 to Android Phones and Tablets
Step 1: Launch the phone transfer
At first, you need to download and install the software. And then launch the program and go to the main interface. To transfer photos from iOS 9 to Android, you should click the "Phone to Phone Transfer" tab.
Step 2: Connect iOS 9 and Android devices to computer
Now, connect both the iOS 9 device and the Android device to your Mac or PC with USB cable. You will see your two phones shown in the main interface.
Part 2: Transfer Photos from iOS 9 to Android by Dragging and Dropping
To transfer photos from the iOS 9 to the Android phone, you simply can achieve this on the Windows PC by dragging and dropping.
Step 1: Connect your iOS 9 and Android phone to Windows PC.
Step 2: Once the PC detects the photos and images that are stored in your iOS 9 phone, you can select the ones that you want to transfer.
Step 3: Now, just drag and drop them to the Android phone interface that is opened in the PC.
It is advised that you create a separate folder for keeping the files that you download from the iPhone to be transferred to the Android phone. You can store all the files into this folder that you want to transfer to the new Android device. Once you back up all the files or the images that you need to transfer, you now need to connect the destination phone to the PC and restore all the data into this new device. For restoring data, you can also use the drag and drop technique. Here are the steps that need to be followed:
Step 1: You just need to open the window that contains all the photos that you need to transfer to the new Android phone that you have bought.
Step 2: Use drag and drop technique to transfer the photos to the photo library window. If you do this, the photos will automatically tart uploading.
You can select and drag multiple images at the same time. When all the images are uploading, you can select and add more to the list.
Part 3: Transfer Photos from iOS 9 to Android with Dropbox
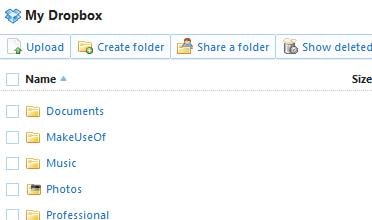
There are different applications that you can use to transfer your photos from your iOS 9 device to the Android mobile phone that you are presently using. One of the applications that can help you to conveniently transfer photos is Dropbox. It gives you different ways to upload files from your iOS 9 to your Android mobile. You need to upload all the files to your personal Dropbox account. Once all the files are uploaded, these files will sync with your Dropbox on your PC and with all the other devices. The Dropbox can automatically upload the photos taken from the Windows. This feature of Dropbox is called the Camera Upload. You can turn that on using the app's settings. You can upload the photos manually that you want to transfer. You can also upload the desired files from the device. Once the upload is done, you can restore the files from the Dropbox app in your new Android. Thus, you can have all the desired files in your new device.

Uploading photos manually in Dropbox
- You need to navigate to that location in the application where you need to keep the photos.
- There will be a set of options that will appear if you swipe in from the bottom edge of the app.
- Tap the Upload icon in the bottom application bar. To upload, you can manually select the photos from the gallery of the iOS device that is now connected. The photos will appear in thumbnails and you will be able to choose to upload.


