Contents
People love taking pictures via the phone they use. The problem with users is not the taking of photos but storing them safely for future viewing. Also user of a smartphone needs the memory card to be cleared so that new pictures can be taken. For this very purpose, you might need to transfer pictures from phone to computer. Also viewing pictures in a larger screen makes people enjoy their shooting capabilities more. Here we would like to share 4 ways on how to transfer pictures from phone to computer.
Part 1: The Simplest Way to Transfer Pictures from Phone to Computer
To transfer pictures from phone to computer, you need a reliable transfer tool. MobileTrans for Mac ( or MobileTrans for Windows) is considered as one of the safest and fastest ways to transfer photos from a phone to a computer with no hassle. This application can easily be handled by novices of computer. In this application, you do not have to get constantly distracted by advertisements popping up in the side bars. There are several wonderful functions you can use:
- You can back up and restore important data. In case a phone gets misplaced, this feature comes in very handy for a user.
- It supports across all platforms, such as Android, Blackberry, iPhone, Symbian etc. This huge variety of cross platform acceptance of this application makes it stand out in the application market.
- The other important feature that it possesses is the option to permanently erase or delete data so that personal information does not get leaked by any chance.

Simple steps to transfer pictures from phone to computer (Mac or PC)
By following a few simple steps, you can easily transfer images from your phone to computer via Phone Transfer application. The steps to follow are:
Step 2:
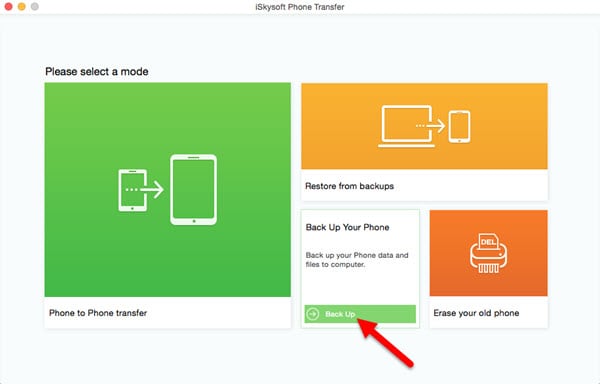
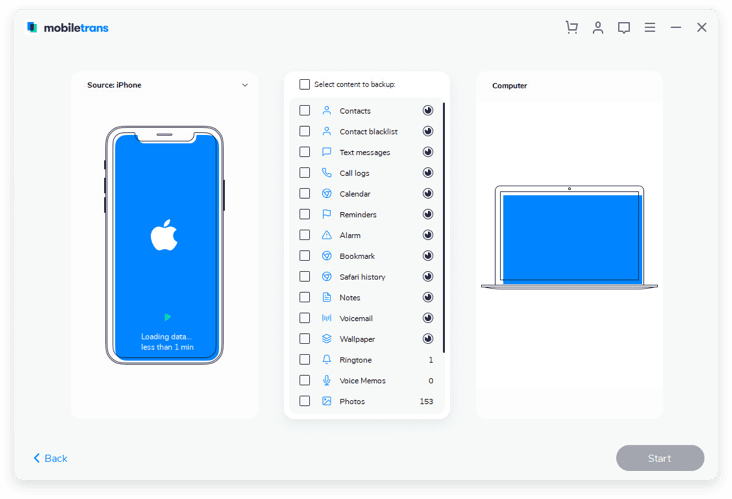
Then connect the phone from in which the pictures are to be downloaded with the help of a USB cable. And click “Backup Your Phone” on the program main interface.
Part 2: Transfer Pictures from Phone to Computer via iTunes
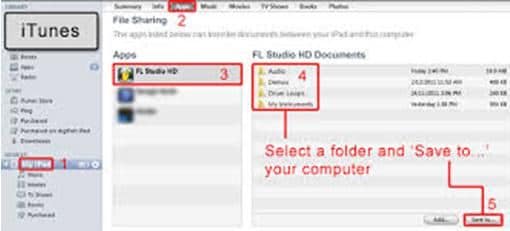
Transferring pictures from iPhones to computers can also be done via iTunes. This is another method that is easy but not easier than Phone Transfer. Still many people prefer this as the method for transferring photos. The main requirements for this method include a iPhone, a USB cable for connecting with the computer, a computer, iTunes and iTunes account. The step by step procedure is given below and this will definitely help any user looking to use iTune as the option for photo transfer from phone to computer.
Step 1:
Firstly, bring all the photos that need to be transferred within a folder. There can be numerous folders within this main folder. The important thing is creating a main folder with all photos.
The second step includes plugging in the iPhone with the computer via the USB cable and then opening iTunes.
Step 3:
Then click the tab “Photos”. Then the user has to check the box “Sync Photos From”.
Browse to the folder where all the photos are stored for transfer. Now click “Sync”.
All photos will get easily transferred to the computer. The memory card gets more space and the person can view the pictures in a bigger screen.
Part 3: Sync Pictures from Phone to Computer via iPhoto
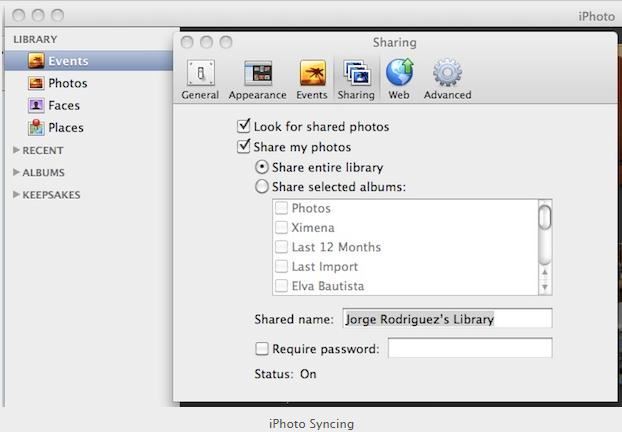
iPhoto is another application that comes in very handy while transferring pictures from phone to computer. Whenever a iPhone is connected with the computer via USB cable, this application checks for new photos taken. Then iPhoto asks the user whether he wants to transfer those photos to the computer. There are several steps of this process.
Part 4: Transfer Pictures from Phone to Computer using Memory Card (SD Card)
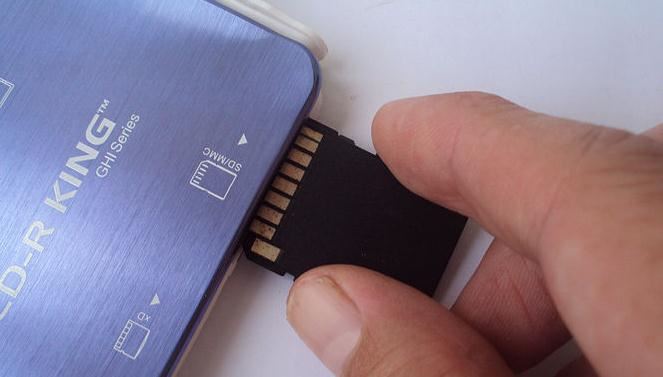
Pictures can also be transferred from phone to computer using the memory card or SD card very easily. This is also a very hassle-free process. In this process, the person firstly needs to take out the memory card from the phone. This procedure also requires a card reader and a USB cable. The following steps need to be taken by the user for transferring photos.
Step 1:
Firstly, the card reader needs to be inserted into the computer with the help of USB cable.
Now the memory card that was taken out from the phone needs to be input into the external card reader.
Step 3:
Now the card reader’s drive will have to be opened in the computer.
Now create the folder where the transferred images are to be kept. The folder also needs to be opened.
The final step involves dragging and dropping the images from the card to the folder in the computer. All images will get transferred.


