Can I Remove Background in Photoshop Cs6, Cs5 and Elements?
Whether it's Photoshop Cs6, Cs5 or Elements, you will be able to remove backgrounds from your photos with a lot of ease. All these versions of Photoshop have editing tools to make that accomplishment easy and successful in record time and with minimal effort.
- Part 1. How Can I Remove Background with Photoshop Cs6?
- Part 2. A Quick and Easy Way to Remove Image Baackground
Part 1. How Can I Remove Background with Photoshop Cs6
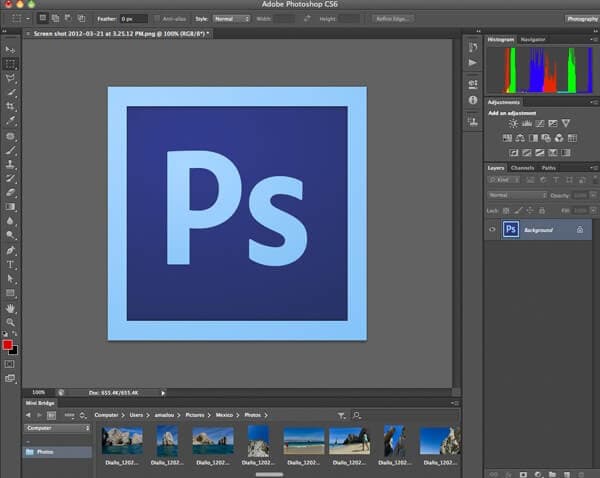
Just like all other versions, the steps involved in removing backgrounds with Photoshop Cs6 are straightforward. You will understand them with ease and they are not problematic following. Of course, it will be a bit hard as a first timer but wait until you are used to this program, it will always be enjoyable and an experience you cherish all the time. Photoshop Cs6 has the "Background Eraser" tool that you will use for removing background from your images. It's sophisticated but it delivers very easy results. Photoshop Cs6 is very easy to use and will always deliver high quality results for your edited photos. Due to the many versions of Photoshop in the market, features development might take a lot of time to complete. Look at the following easy steps of removing image background in Photoshop Cs6:
- Step 1 - Start by making sure you have added the image to edit to the program. Make sure the image you are using has very fine details of the subjects not to struggle when erasing.
- Step 2 - Then, locate the "Background Eraser" tool and drag it to the background. The background will immediately change into a layer and ensure the hot spot is maintained on the pixels while dragging.
- Step 3 - All the pixels within circumference of the tool will be deleted. Make sure you have saved the changes made to your photo.

Part 2. A Quick and Easy Way to Remove Image Background
Truly, PhotoScissors will offer you an easy and fast alternative for removing backgrounds from images. The efficiency of this program is beyond question and has ease of use for customers to enjoy. Whether you want a free or paid version, the program offers all that and it will be upon you to make the right considerations. Furthermore, it is friendly to both new users and professionals since no skills are required. You should not get discouraged by the initial challenges you face using this program to remove background in your images. It will all cool down after you get used to the procedures.
The distinguished features of PhotoScissors are:- Added "Offset Boundary" option.
- Added "Crop & Resize" option.
- Added "Shadow" option.
- Superior usability and stability - this is because of the user-friendly interface and uncomplicated editing tools.
Step-by-step Guide on How to Remove Photo Background with PhotoScissors
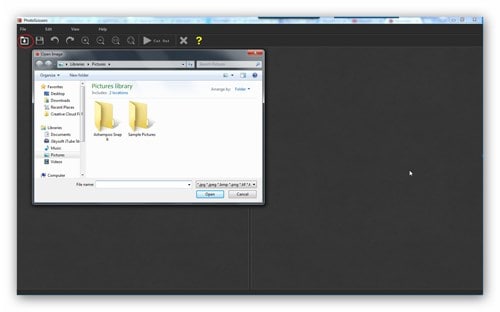
Step 1. Import Image
Start off by installing PhotoScissors to your computer system then add the file to edit. The right installation instructions have to be followed to the letter. This ensures the installed software functions flawlessly.
Step 2. Outline Your Image
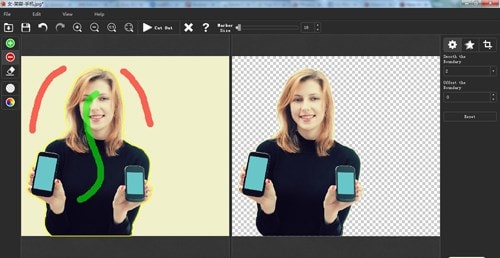
Open the file and mark it out using the red and green markers that are well visible on the program. That should be able to separate the background that is to be erased and foreground that is to remain intact.
Step 3. Apply Changes
After you are through with marking out, apply all those changes and then save your file in a format that is compatible. Don't take any chances with this one.


