It is possible to create photo slideshow in Windows (including Windows 8, Windows 7, and Windows 10) using the available free slideshow makers for Windows over the internet. The good thing with these slideshow makers is that you do not require any video editing or advanced photo skills to make a professional slideshow. This software is the ones that do all the work for you. All you need to do is only to upload the photo, choose the theme that interests you and then share the photo slideshow to your friends over the internet. Read on and get the best solution for you.
The Best Windows Photo Slideshow Maker
One of the best Windows photo slideshow makers is iSkysoft Slideshow Maker for Windows. This magic software enables you to create attractive photo slideshow and save the most precious memories. You can as well record audio, create personalized DVDs and slide show them with the full details and customization. (iSkysoft Slideshow Maker for Mac is also available.)
Key features of photo slideshow Windows maker:
- It comes with a big list of modification and editing options which you can modify the photos after you have uploaded them.
- It enables you to easily import pictures, music, videos and compile them into one.
- You can save the slideshow to your Windows, mobile or any Windows devices.
- You can share your slideshows on YouTube instantly and even watch them in high definition.
- You can easily burn your slideshows to DVDS so as to watch them on television.

Steps to Create a Photo Slideshow in Windows
Step 1 Launch the Windows photo slideshow software
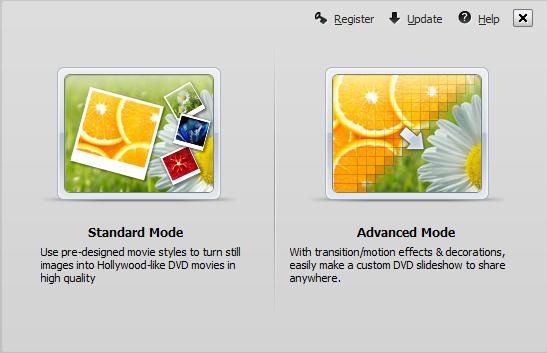
The first thing to do is to download and then install iSkysoft Slideshow Maker for Windows, run the program. After downloading and running the program, you can choose either Standard Mode or the Advanced Mode. The former will help you to make your pictures into movies while the other offers you with more customization options.
Step 2 Import pictures
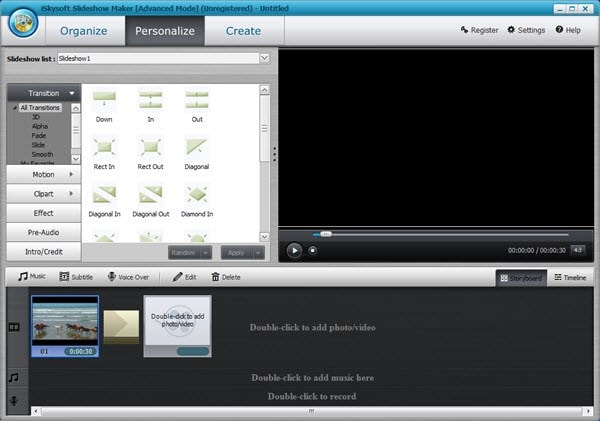
You can easily import your images using the Slideshow Maker for Windows. You simply need to use the Advanced Mode. Add Files and then choose the photo file. Finally, click on Personalize so as to customize your slideshow.
Step 3 Personalize the slideshow
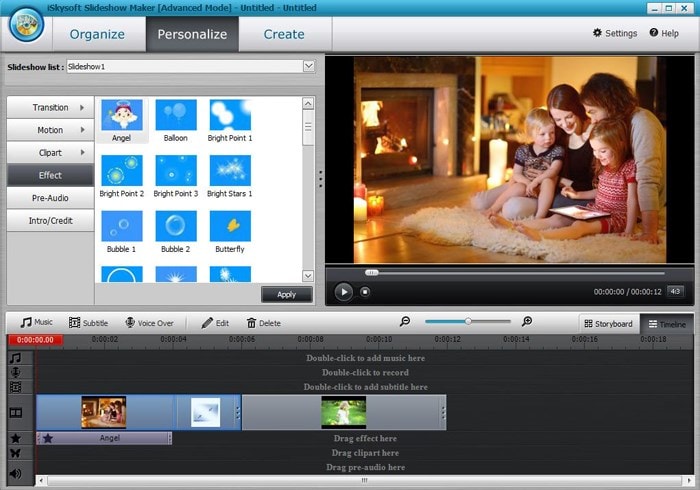
After you have imported the images that you wanted, you can personalize your slideshow. Click the "Personalize" tab and you can customize the Transtion, Motion, Effects, Audio and more.
Step 4 Edit slideshow
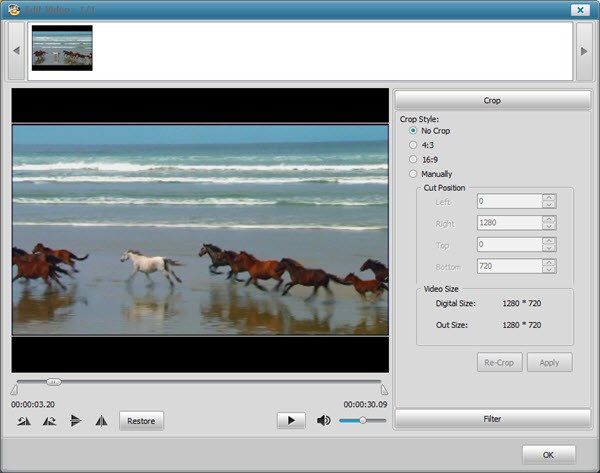
Before sharing your photo slideshow for Windows to your friends, you can modify the photos to appear as you want. There are several editing options at your disposal. You can adjust, caption, add background music or add text to your photos. To do this, you simply click the "Edit" button in the "Personalize" tab, and you can process the editing.


