When you share multiple photos on Facebook at the same time, only a few users will be able to scroll through them since Facebook has a poor interface for multiple photos shared in a single post. However, if you can create and share a Facebook photo slideshow, a high percentage of users will be able to view your photos because Facebook picture slideshows are lightweight and can be watched on every device regardless of the internet/ connection speed. Below we introduce you to the best Facebook slideshow maker to make a slideshow for Facebook.
Part 1: The Best Facebook Slideshow Maker
Filmora Video Editor is a powerful and advanced Facebook slideshow maker that’s designed with the latest technology. The program comes with excellent tools for customizing, transforming and organizing your photos, video clips and audio recordings into super personalized slideshow videos that will impress and excite almost all of your friends, clients or followers once you share them on Facebook or other social networks.
While creating Facebook slideshows with Filmora Video Editor, you’ll be able to add titles to your videos, utilize different types of clipart on photos, use filter & effects function, adjust brightness, add intro & credit, crop photos, add texts to pictures, rotate images from any angle, select colorful & professional templates, etc. Generally, you’ll have the freedom to edit your slideshow videos according to your desires.
Why Choose This Facebook Slideshow Maker:
- You can easily repair red-eyes on your photos.
- PreAudio feature lets you play an intro in audios and videos.
- The software can directly burn slideshows to DVD.
- Apart from social networks, you can also share your slideshows via mobile devices or TV.
- The built-in trimmer feature helps you stitch audio files according to your needs.
Steps to Create a Facebook Slideshow with Music
Step 1 Launch the Program
Download Filmora Video Editor and then drag the setup file to “Applications” so as to install it on your computer. Run the program by double-clicking its icon and then you’ll see the primary interface.
Step 2 Import Pictures
The software features a media browser that can be activated or deactivated with just a click. It enables you to easily upload audio, images, and videos to your project. When you add media files to the storyboard, drag and then drop the specific slides to arrange them. If you want to remove a media file, you can drag it out of the program, and it will be deleted.
Step 3 Apply Slideshow Styles
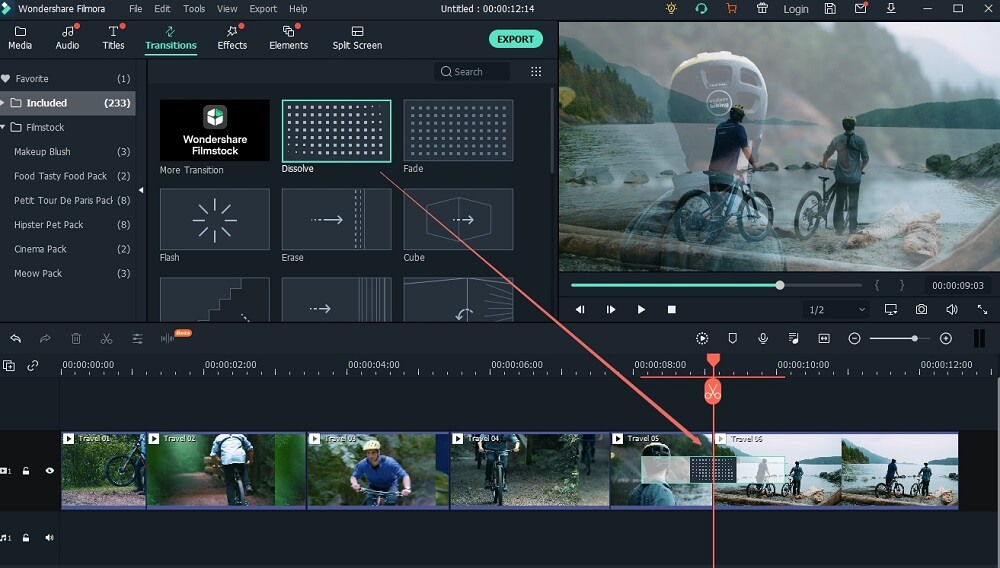
When videos/photos are imported to the project, random themes are applied automatically. You can decide to keep or change them based on your preference. This software provides you with 100+ transitions to choose from, and to replace the existing one, just drag and drop any of your desired transitions.
Step 4 Edit Videos or Pictures
Double click any video/photo or select the “Edit” button after selecting any item to access the editing dialog and then click “Return” button to confirm your intentions or hit the “Restore” button to discard the changes.
You can also change the volume of a video by dragging the slider that’s next to the preview window on the panel. At the bottom of the "Preview" window, you can access the options to split the video into multiple pieces. Just set the start point and click the “Cut” button. “Mark-in” as well as “Mark-out” buttons will then appear so that you can easily adjust the duration.
Step 5 Create the Picture Slideshow for Facebook
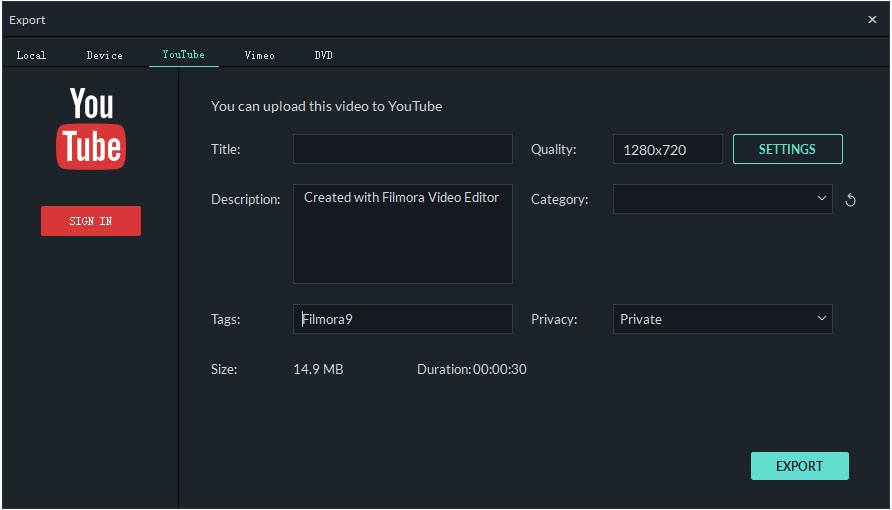
Preview the slideshow and if it makes you happy, go to the “Share” menu located at the top of the program's interface or click the “Share” button on the middle left-hand side and select how to share the slideshow, (Directly upload the show to Facebook). Note that you’ll have to provide your Facebook account information before you can click the “Publish” button.
Part 2: How to Create Picture Slideshow in Facebook Slideshow
Facebook allows you to create and then share photo slideshows that are incredibly eye-catching and engaging. The feature was created to help businesses reach customers in emerging and high growth markets, but anyone can use it. Facebook slideshow comes with amazing features that also allows you to edit the output shows by adding titles, captions, links, CTA, descriptions or categories. Once posted, the slideshows auto-play in the newsfeed and on the pages of users who have enabled Facebook video auto-play.
Steps to Create Picture Slideshow in Facebook Slideshow
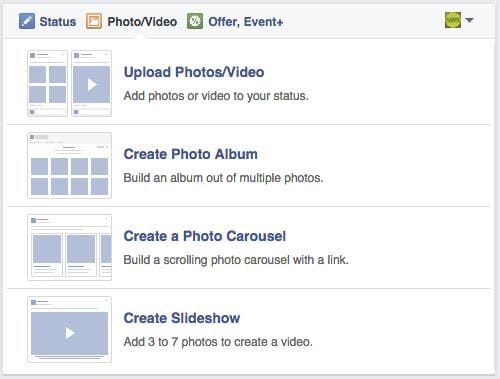
- Step 1: Select the “Upload Photo/Video” from your Facebook page.
- Step 2: Once you click the “Upload Photo/Video” option, the next window displays four options as shown in the image below. Select the “Create Slideshow” option.
- Step 3: Upload 3-7 photos of the same size which are then turned into a slideshow that’s displayed as a video. Drag and drop slideshow images in your preferred order. Select the “Publish” button to create a slideshow that will be 5-15 seconds long.


