Do we have an easy way on how to make a slideshow on Windows 7? Of course yes! You can get multiple ways on how to make slideshows not only on Windows 7 but also on Windows 8 and 10 straight from the internet. Some may recommend on creating a slideshow with photos and music using Media Center while others may recommend on iSkysport slideshow maker. When using the media center, you’ve to make sure your PC has a TV connection so as to make the program more advantageous. When looking for the best program to make slideshows for Windows 7, 8 and 10, then look no further. Here is the best solution for you.
The Best Tool to Make a Slideshow on Windows
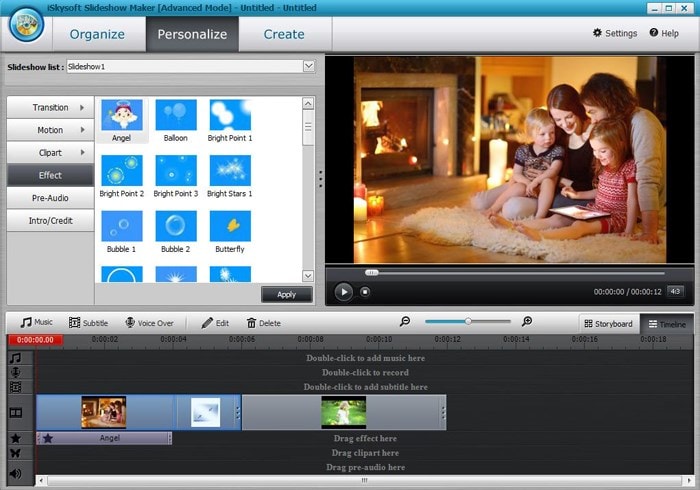
iSkysoft Slideshow Maker for Windows is the highly recommended slideshow maker for Windows PC. This is because this Windows slideshow maker allows you to customize and make magnificent background music on the slideshow that will be critical in making a slideshow. This feature will enable you to choose the appropriate music for setting a right tone in making the slideshow. There’s a built-in trimmer for editing your music if it is too long for a slideshow. Also, you can add voice over to your slideshow. You can also share your slideshows on YouTube, Facebook, TV and on other mobile devices. Other features that make iSkysoft Slideshow Maker an excellent software to go for include red-eye removal, text effects, DVD menus and transition effects. It will always be a superb way to personalize the slideshows with your favorite music.

How to Make a Slideshow on Windows
When creating a slideshow, it is good that you’ve multiple background music’s to break the monotony. That’s one thing you should consider when creating a slideshow on Windows 7. The main aim of having some background music in slideshows is to make sure you enjoy the best way possible. Ensure that you have used the favorite and most relevant music to the slideshow pictures. Presenting below is a guide on how to make a slideshow on computer.
Step 1 Launch the program
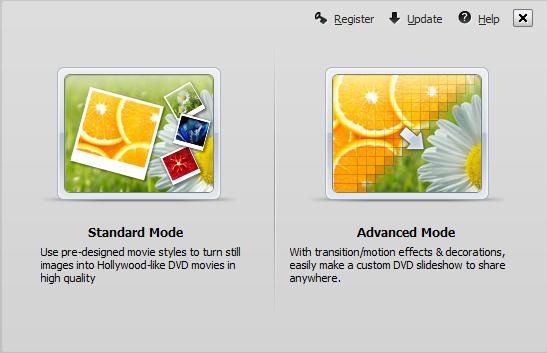
Download the iSkysoft Slideshow software, install on your windows and then run the program.
Step 2 Import photos
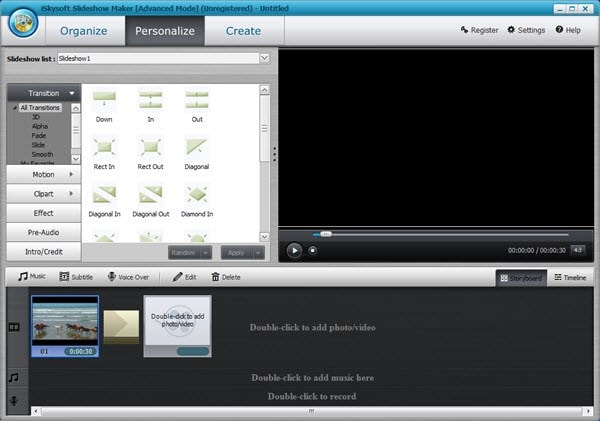
To add photos and videos as well as customize the slideshow, you should use the Advanced Mode press. Click on "Add Files" key to browse files in your computer and then choose the photos or videos you want to add to the Windows slideshow maker.
Step 3 Personalize the slideshow
Then Click on Personalize button to customize the slideshow. You can edit the slideshow. You can then adjust and crop the pictures/videos to make them fit according to your creative idea. To do this, double-click on the picture you want to edit. Then you’ll come to the appropriate picture.
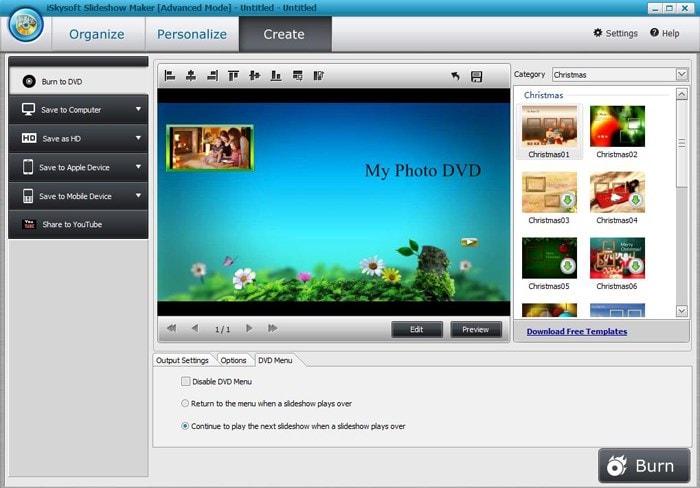
Step 4 Create slideshow on Windows
The last step after you are through with everything is to click on “Create" key to publish the slideshow you’ve created. After saving it, you can share on social sites like YouTube, Facebook, and Instagram where you friends can get to enjoy.


