How to create a photo slideshow on Windows 10? When search around the Internet to look for a way to make a photo slideshow on Windows 10, you might get several solutions including using Windows Media Player, Media Center and others. But which one is the best and most reliable one? No worry! Here we introduce you to the easiest way to create a picture slideshow in Windows 10.
The Best Software to Make a Photo Slideshow for Windows 10

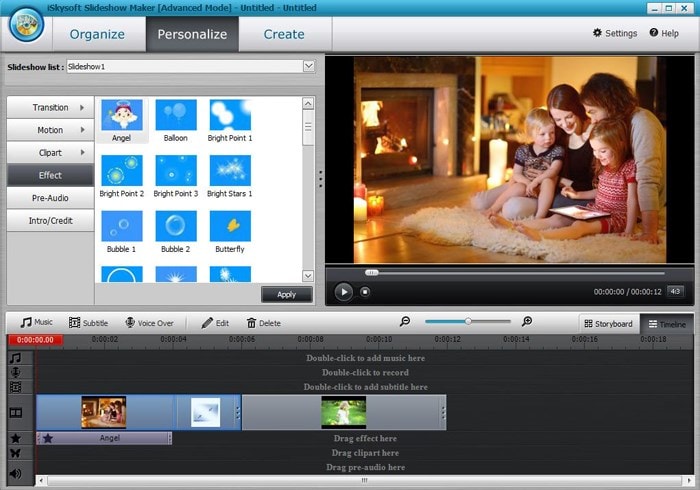
If you are in the market looking for the best software program to make photo slideshows, iSkysoft Slideshow Maker for Windows will be a sure bet to satisfy your needs. It will allow you to personalize your videos in any way you feel like including rotating and cropping your photos, adding special effects, voiceover and titles as well as custom transitions. Once you are through with creating your slideshows, iSkysoft Slideshow Maker will allow you to share your work to others or on online sites like YouTube where many people will get to share their moments.
For better experience, you will have the opportunity to output your slideshows in high definition formats that are supported by the program. You will leave nothing to chance in getting the best from your use of iSkysoft Slideshow Maker. The notable features for this program are background music, text effects, red-eye removal, transition effects and DVD menus.
Simple Steps to Make a Photo Slideshow with iSkysoft Slideshow Maker
Step 1. Add Photos to the Slideshow Maker
Your photos should be taken in advance and stored in a computer folder where is easy to access. When your program has been launched, click on "Add Files" button for the browse window to pop up. From that, choose the photos you want to add. This will be the step to have your images customized as you may wish.
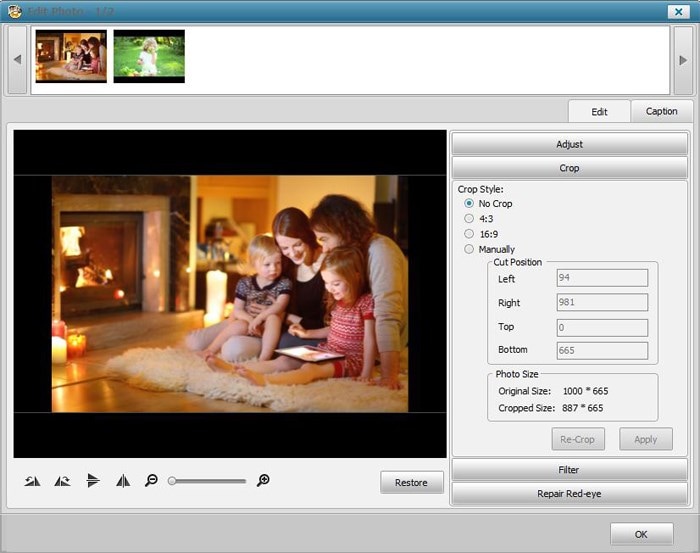
Step 2. Crop and Adjust Photos
After adding your photo into iskysoft Slideshow Maker, now you can adjust and crop your photos, making it suitable for the style of your creative idea. The only thing you will do, that is double-click the photo which you need to edit. Then you will come to the right picture.
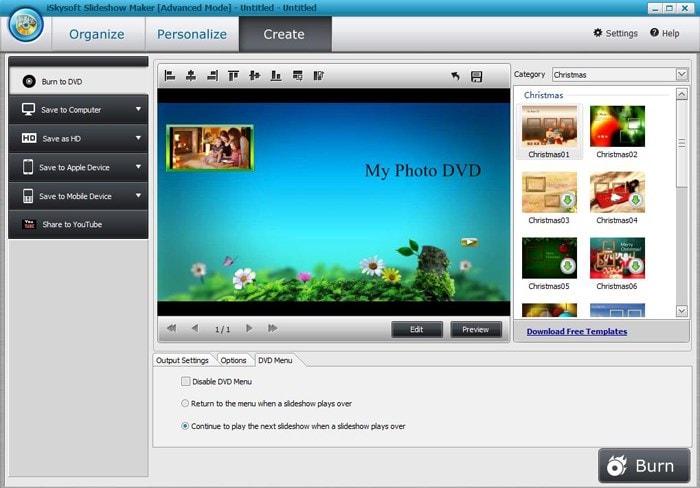
Step 3. Select DVD Menu
This is an optional step but very important when creating slideshows. You will get to do that right from the menu tab where you will have the privilege of clicking on any menu template that impresses you. Make sure you have looked over all the templates available until you have fallen for the one that impresses you to select.
Step 4. Publish Slideshow
Once you are through with creating the photo slideshow, the last step will be publishing it. You will have to click on the "Create" tab and the slideshow will be published automatically.

Burn Photo Slideshow to DVD on Windows 10
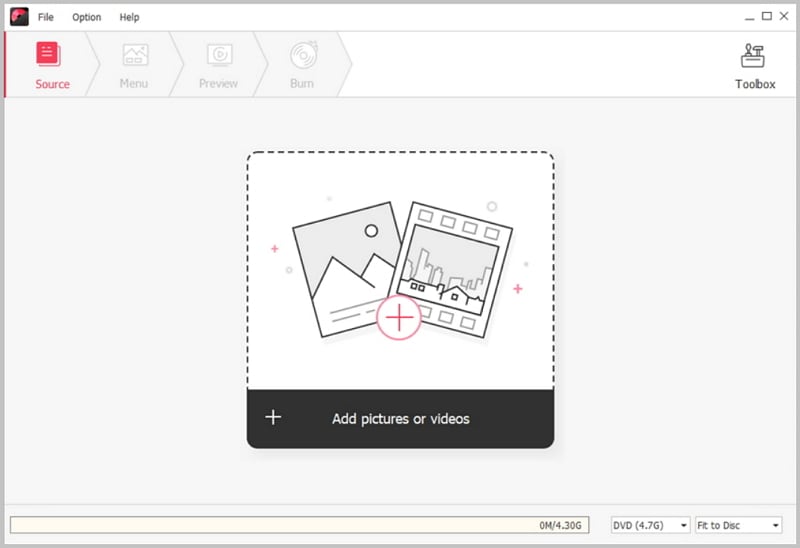
To burn slideshow to DVD on Windows 10, iSkysoft DVD Creator for Windows is the highly recommended DVD burning tool. It can help you to burn Blu-ray DVD with your slideshow or any videos. To make your DVD special, you can use the built-in video editor to edit your slideshow or videos and add effects to them. You can view more features of this DVD creator:
- Create DVD from photo slideshow and videos.
- Convert MP4, MOV, WMV, MTS, 3GP, VOB, FLV, MKV, and more to DVD.
- Convert videos from YouTube, Facebook, Vimeo, and more to DVD.
- Burn videos captured with camcorder, iPhone, iPad and others to DVD.
- Edit videos and provide free DVD menus to customize your DVD.


