What is the easiest way to make a slideshow with music on Windows 10? You will get several methods to create slideshow with music on Windows 7, Windows 8 and Windows 10 from the Internet. Some might recommend you to make slideshow with music and pictures with Media Center. But you have to make your computer system has a TV connection to let Media Center more advantageous. And you will find this and that limitation when using Media Center. No worry! Here is the best solution for you to create slideshows without hassle.
The Best Software to Make a Slideshow with Music for Windows 10
Don’t look any further than Filmora Video Editor when you are in search of the best software program for making slideshows with music for Windows 10. This is because it lets you customize and make beautiful background music on slideshow which will be very critical in creating your slideshow.

Key Features of Filmora Video Editor:
- The software supports almost all available videos, images, and video formats. Besides, it also supports GIF files and 4K resolution videos.
- Allows to import images and clips from Facebook, Twitter, and other social media channels.
- The app also provides advanced functions, such as the audio mixer and picture-in-picture support, and basic functions.
- Allow you to select the right music for setting an appropriate tone for the slideshow.
- There is a built-in trimmer to use for editing the music in case it’s too long for the slideshow.
- And you can also add voice-over to the slideshow.
- You can apply effects including text effects, red-eye removal, and transition effects.
For a quick glance of how to make unique slideshow with Filmora, check the short clip below!
Simple Steps to Create a Slideshow with Music for Windows 10 Using Filmora Video Editor
Step 1. Import photos and music
This will be the very first step where you add your videos, photos and music. You will need to click on the "Import" button to browse for all that in your computer.
Step 2. Add files to timeline
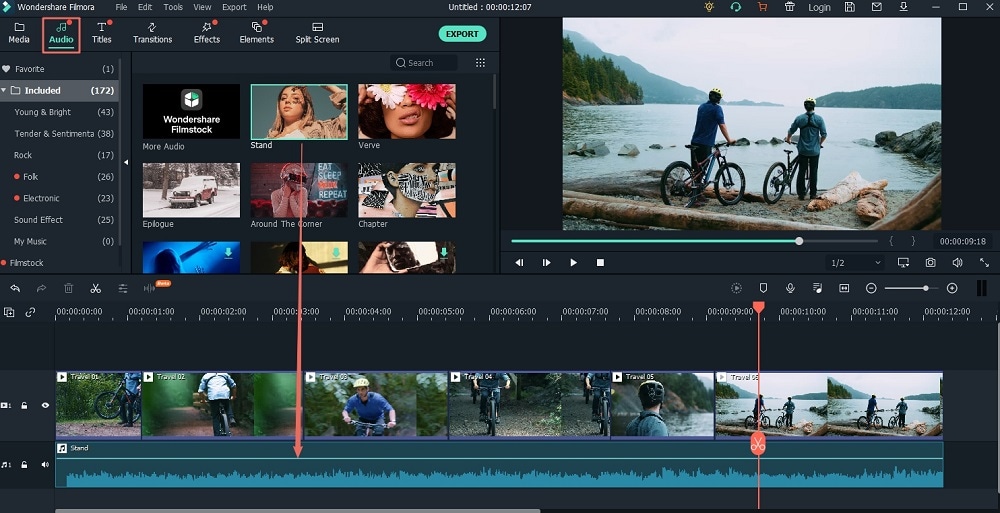
Drag and drop your photos in timeline in order. Then choose the background music from your media library or Filmora library, drag it to the audio track in the timeline. And do any necessary changes.
Step 3. Add transitions to slideshow
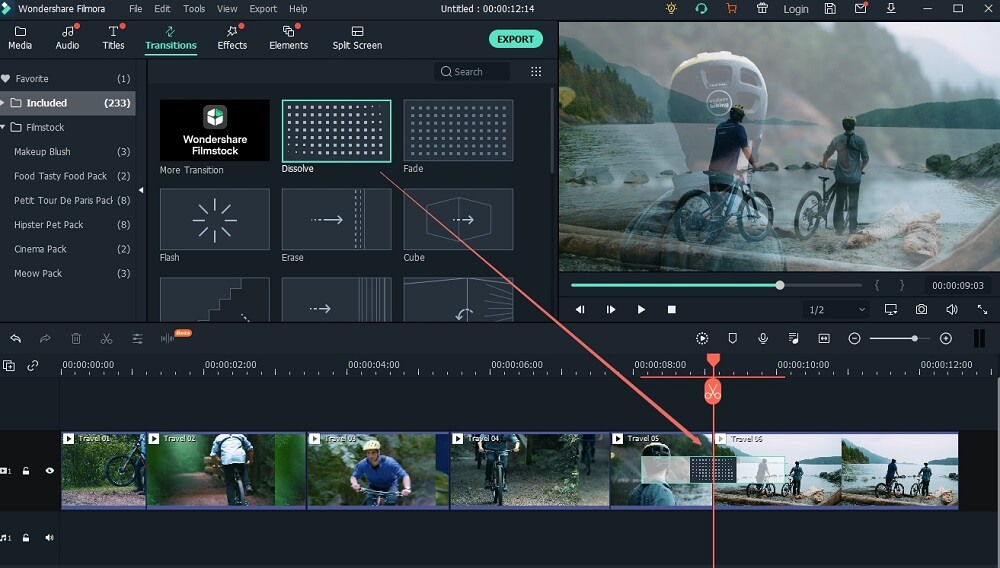
In most cases, this is an optional step, but you should take it seriously. From the Transition tab, you will see many transitions for the slideshow from which you will have the privilege of selecting the one that you feel best suits your slideshow. For a professional slideshow, it will be in the best interest that you choose dynamic transitions.
Step 4. Export your slideshow
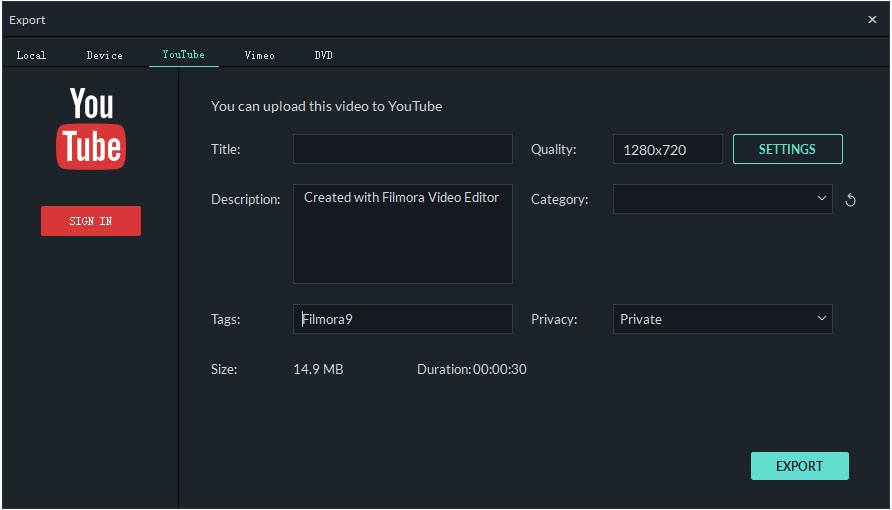
Lastly, click on the "Export" button to save the slideshow you have created. You can burn your slideshow to DVD or share it on online sites like YouTube where friends will get to enjoy.
How to Create a Slideshow with Music on Windows 10 Media Center
When you are creating a slideshow, it is only good that you have some background music to break any monotony. That is one thing you must consider when making slideshows with Windows 10. The main advantage of having background music in a slideshow is to ensure you enjoy in the best way. Make sure you have used your favorite music and that which is relevant to your slideshow photos. In this article, you will learn a few things on how to make a slideshow with music on Windows 10. To come up with a quality slideshow on Windows 10 with music, follow these guidelines:
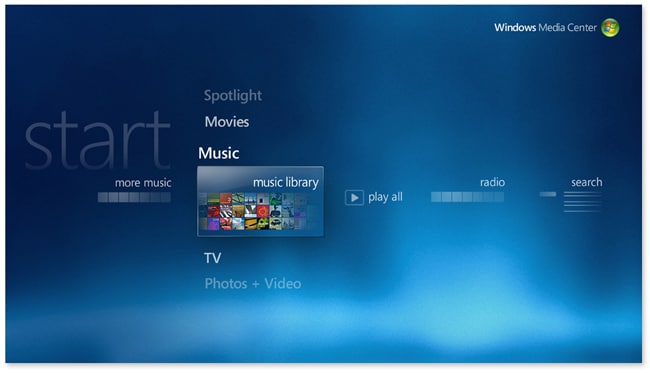
Step 1. Launch Media Center - Click on the button marked "Start" and then "All Programs" before following it up with "Windows Media Center".
Step 2. Create Slideshow - When the screen pops up, scroll down to "Pictures + Videos" followed by "Pictures Library". You will get to see the "Slideshows" option to click and then "Create Slideshow".
Step 3. Save Pictures - When you have successfully added your pictures, click on the "Save" button from the top column, add a title for the pictures and then press "Return".
Step 4. Add Music - There are instructions given after that which you will follow to add music, photos as well as give your slideshow a name. Once through, click "Create" to actualize your slideshow.


