Photos and videos are a great way to preserve and cherish our precious moments, and some of us cannot imagine not having them in our PCs or other devices. But what most people don't know is that photos and videos can be quite enjoyable when put in a nice presentation.
One of the greatest ways to present photos and videos is to create a slideshow. You can use a slideshow to present photos or videos of your holiday, birthday celebration, wedding or Christmas party. To create the best slideshow on your computer, you just need to use the best photo slideshow software for PC. Here is the best solution for you.
The Best Photo Slideshow Maker for PC
According to my own experience, the best photo slideshow software for PC is iSkysoft Slideshow Maker for Windows. There are many slideshow maker tools out there, but this iSkysoft-owned stands out from the crowd. With the help of this program, you can create stunning slideshows from photos, videos or music in just a matter of minutes.
The software is equipped with a number of features that make the whole process of creating slideshows simple and easy. If you are a photographer, you can boost your business with this software. It is quite effective in creating slideshows with many photos. Musicians can also benefit from the program as it can create great music and video slideshows.
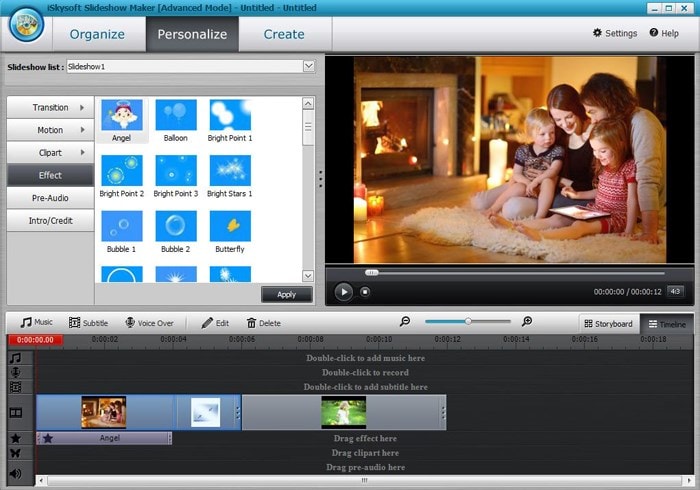
Key Features of the Slideshow Maker for PC:
- Various templates to allow you create slideshows that suit your style or event.
- Tools to share slideshows anywhere as you want.
- Tools to personalize your slideshow with much less effort.
- Awesome editing tools such as filter, pre audio, motion, repair red eyes, arrange and rotate.
Steps to Create a Photo Slideshow on PC
Step 1 Launch the program
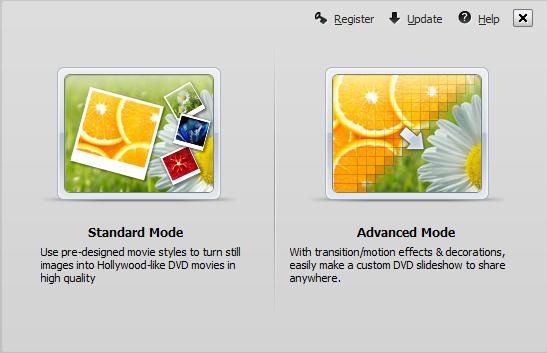
Once you have downloaded and installed this best slideshow maker for PC, click on its icon (on desktop or any other place you chose when installing) to launch it. After you have launched the program, choose "Advanced Mode" to access more customization options. You can also choose "Standard Mode" if you want to make a photo movie.
Step 2 Import pictures
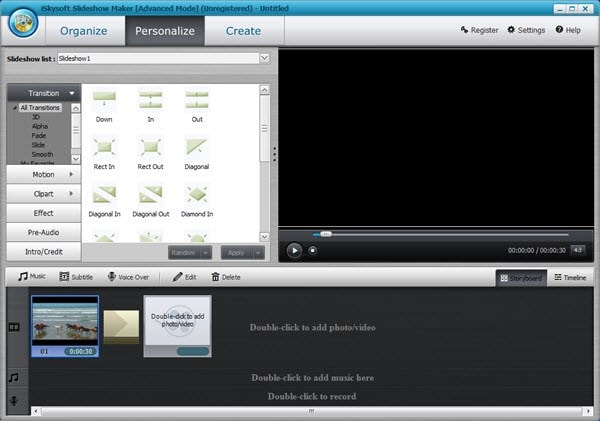
Click on the "Add Files" button and choose your photo file to upload it. You can also import songs and videos by clicking on the same button and choosing your stored files.
Step 3 Personalize the slideshow
Go to the "Personalize" menu and do any changes you want. The program has Transition, Motion, Clipart, Effect, Pre-Audio, and Intro/Credit. You can select the option you want and customize your slideshow.
Step 4 Edit slideshow
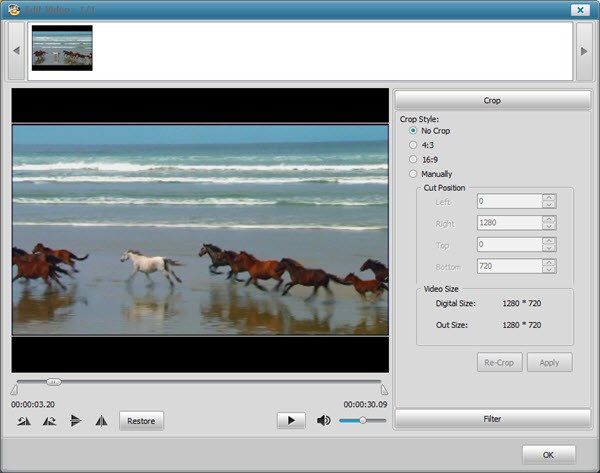
Click on the "Edit" button to personalize your photos. The software has editing tools such as Crop, Trim, Rotate, Filter and more.
Step 5 Create photo slideshow
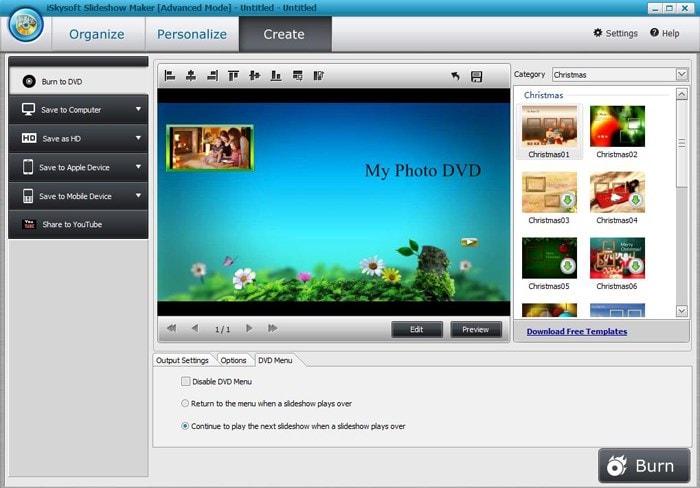
Click on the "Create" button to publish your slideshow. To save it as a video slideshow, click on the "Save To Computer" button and choose the output format you want to save the slideshow.
To save your slideshow on a mobile device, click on the "Save To Mobile Device" button or "Save To Apple Device" button. To publish it on YouTube, click on the "Share To YouTube" button. If you want to burn your slideshow for TV, click on the "Edit" button and do the necessary customizations. Then, choose the "Burn To DVD" option and select the right PAL/NTSE TV standards. Finally, click on the "Start" button to burn it.
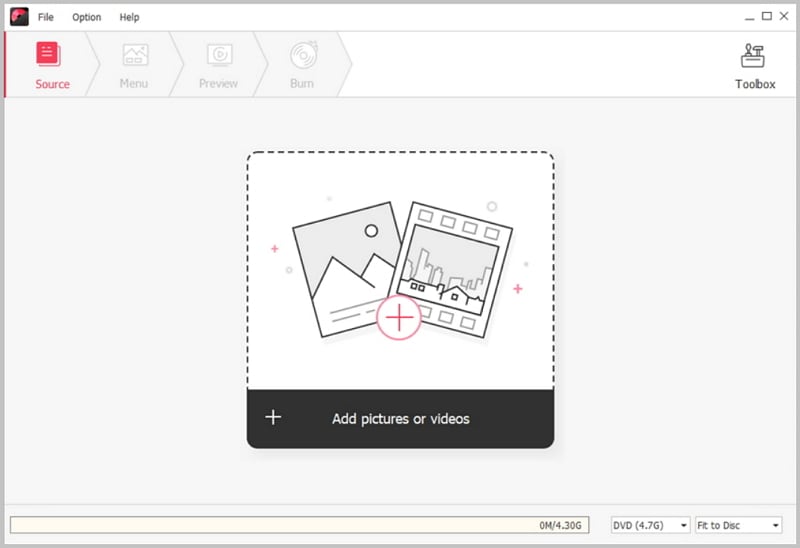
Burn Slideshow to DVD on PC
If you want to burn slideshow to DVD on PC, you can also use iSkysoft DVD Creator for Windows. This DVD creator allows you to simply import the slideshow and burn it to DVD disc, DVD Folder, .dvdmedia or ISO file. There are many wonderful features with it:
- Burn DVD from any format videos in high quality.
- Convert homemade videos, online videos, etc to DVD.
- Burn Blu-ray videos with BD (25G) or BD DL (50G).
- Provide editing tools and free DVD menu templates.


