Slideshow making software gives you a great way to combine pictures and videos taken at different times into one continuous beautiful story. Slideshow creation software are convenient in that you can make entertaining slideshows without having to learn complex editing skills associated with other software. Turn your old photos and videos into fresh memories by selecting the best software to make slideshow.
The Best Slideshow Making Software
There are several software to make slideshow and choosing the best can be challenging. For Mac users, I would recommend iSkysoft Slideshow Maker for Mac. This slide making software is easy to use. You can tweak different settings so that you can get the best results. (iSkysoft Slideshow Maker for Windows is also available.)
Why Choose This Slideshow Creation Software:
- Adding Cliparts- iSkysoft Slideshow allows you to add cliparts for better expression of emotions. You can move the cliparts to the exact position in your slideshow and set the duration that it will show.
- Cropping photos-You can crop photos with much ease. You can cut out the parts of the picture that you think are not important for the slideshow.
- Adding text- iSkysoft Slideshow software allows you to add text which helps you to add a story or comment behind a particular photo or video.
- Filter & Effect- The filter and effect feature allows you to make your photos and videos more unique by tweaking color density, warmth and intensity. It adds flavor to the slideshow.
- Red-Eye Repair- The software allows you to remove red eyes with much ease. You just select the eyes and get it fixed in a single click.
- Rotate photos- If you have some photos are in landscape and you want them in portrait, you can rotate them so that it fits to your current slideshow needs.
How to Use the Slideshow Maker Software to Make Slideshow
Step 1 Download and Launch the Program
You can run the slideshow making software by locating the icon on the desktop or on the task bar. Double click the program icon and the program will be launched.
Step 2 Import Pictures or Videos
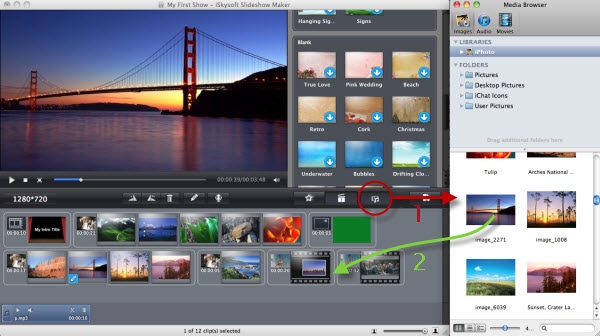
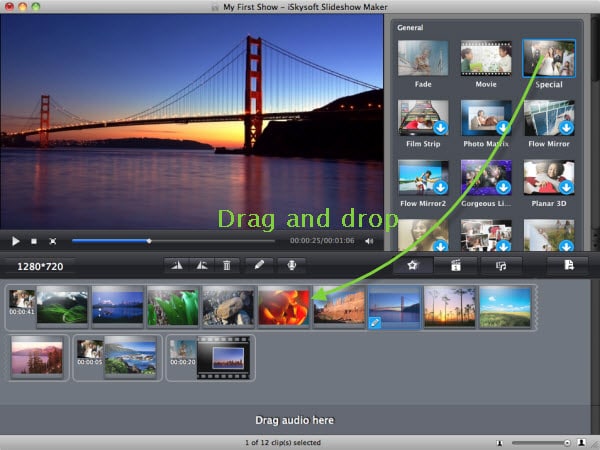
Import the pictures, videos and music you want to use for the slideshow. You import the media files by clicking the media icon on the program and you select the files you want. You can also drag and drop the media files.
Step 3 Choose a Style
When you import photos and videos, a theme will be automatically selected. You can choose a different theme and style to suit your personal needs.
Step 4 Edit Slideshow
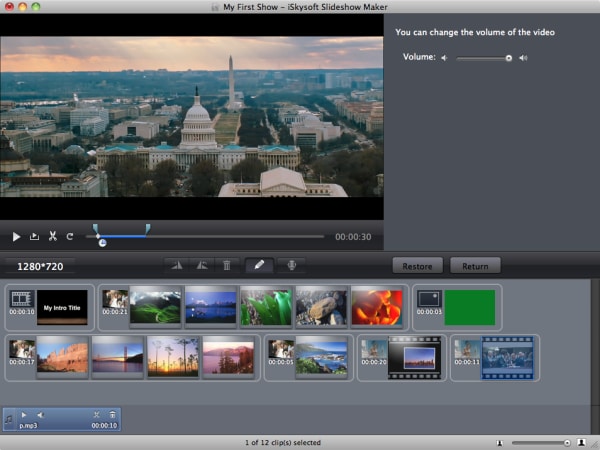
Edit the videos and photos by either cropping them, changing brightness or even rotating. You can also add text where necessary.
Step 5 Add Music to Slideshow
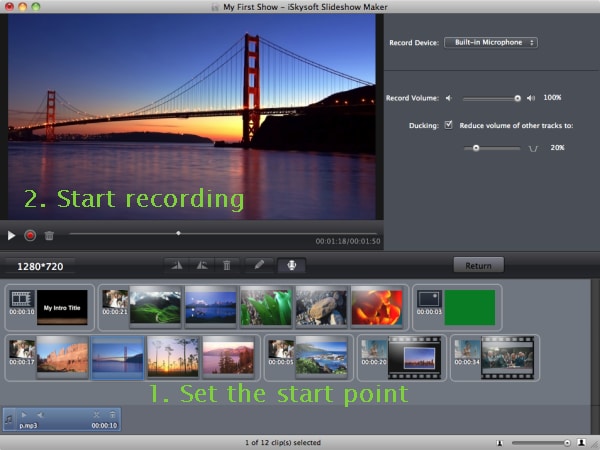
If you wish to add background music, you can do so by using the files you added with the other media files. Simply drag and drop to add the music.
Step 6 Burn Slideshow to DVD on Mac
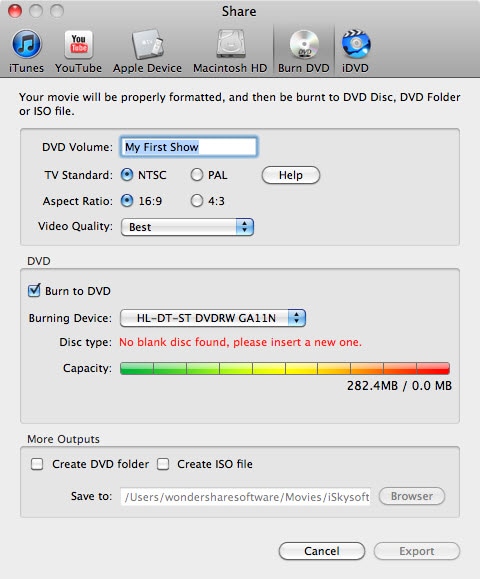
You can now go ahead and create the slideshow by arranging the videos and photos in the most convenient order. Go to the "Share" menu and select the options you want to create the slideshow. You can share teh slideshow to YouTube, burn to DVD, or just save to your hard drive.
By following the steps above, you will get a slideshow that you can share with your family members and friends.


