If you love taking photos as a way of keeping different memories of life, you need to look for the best slideshow maker and install it on your computer. If you are running on Windows operating system, you probably have access to Windows Movie Maker which is the default program for creating videos on Windows. Even though it is a really nice application for making simple video clips, Windows Movie Maker photo slideshow creation stop working sometimes. And it lacks some very important features that you need to be able to create the best video slideshows.
Create Photo Slideshow with Windows Movie Maker Alternative
The best alternative that you can use if you want to get the best results with your slideshows is Filmora Video Editor. With this application, it will not take much to personalize your project. It is rich in high quality templates that you can use to create exciting slide shows with ease. It also has more features that you can use to perfect your slideshows, including an inbuilt trimmer for cropping your music and filter for creating nice slideshows from photos and videos.

Key Features of Filmora Video Editor:
- It comes with multiple editing tools that allow you to edit your graphics and videos.
- It has a red eye repair tool for fixing areas that require red eye repair.
- You can choose a large number of templates and DVD menus.
- It has a pre-audio tool that you can use to give your slideshows an intro.
- You can burn slideshow to DVD or share the slideshow instantly.
Steps to Create a Photo Slideshow
Step 1 Launch the program
Before you can use this application, download the Windows Movie Maker Alternative and run the installation file to install it on your computer. After the program has installed successfully, launch it.
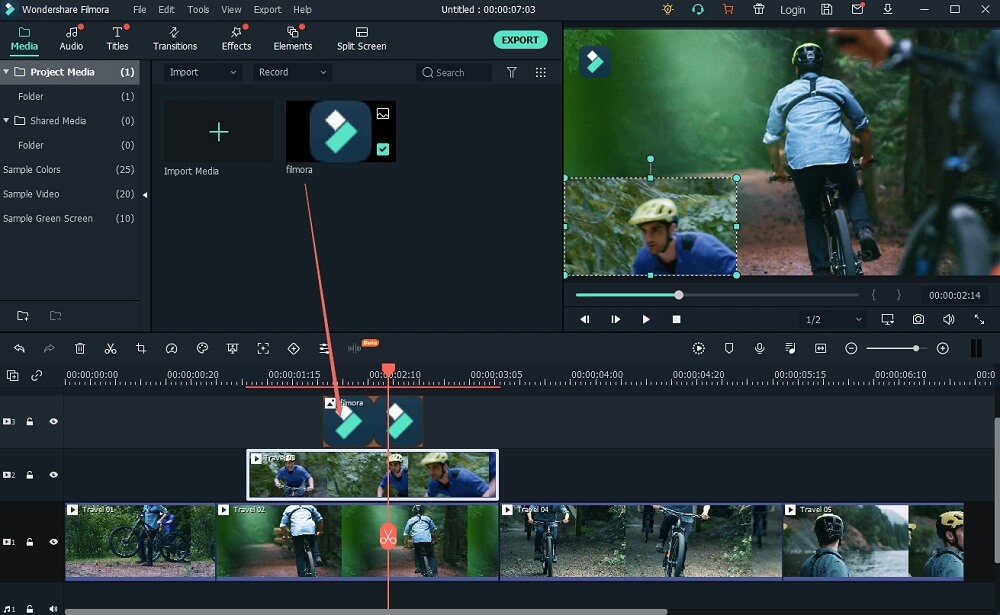
Step 2 Add pictures or videos
Importing the pictures is simple. You just need to click on "Add Files" in the Advanced Mode and then locate the photos on your computer to upload them.
Step 3 Personalize the slideshow
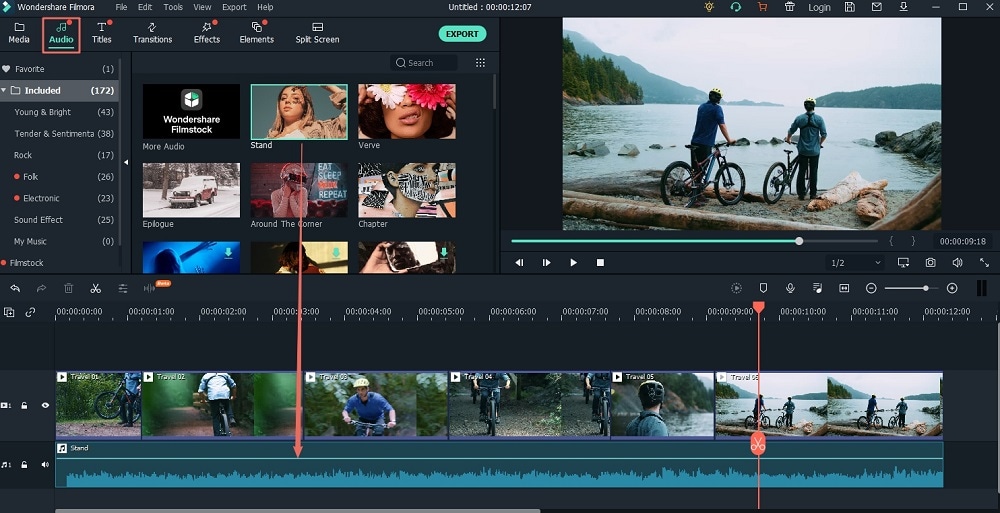
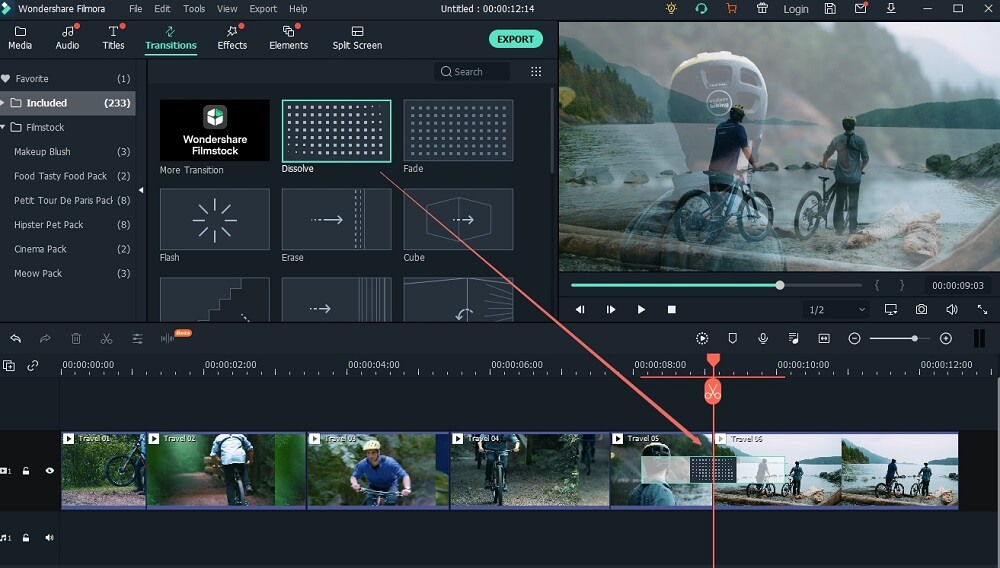
To customize your slideshow, you will need to change the transitions, titles and background music after uploading the pictures. You can simply choose the tools you want and apply the effects on your slideshow.
Step 4 Edit slideshow
Next, you will need to edit the pictures and make sure that they meet your needs. You will need to crop, rotate, filter and add special effects where possible. You will simply need to right click on a photo and then click on the Edit button to make the changes that you desire.
Step 5 Create slideshow on Windows
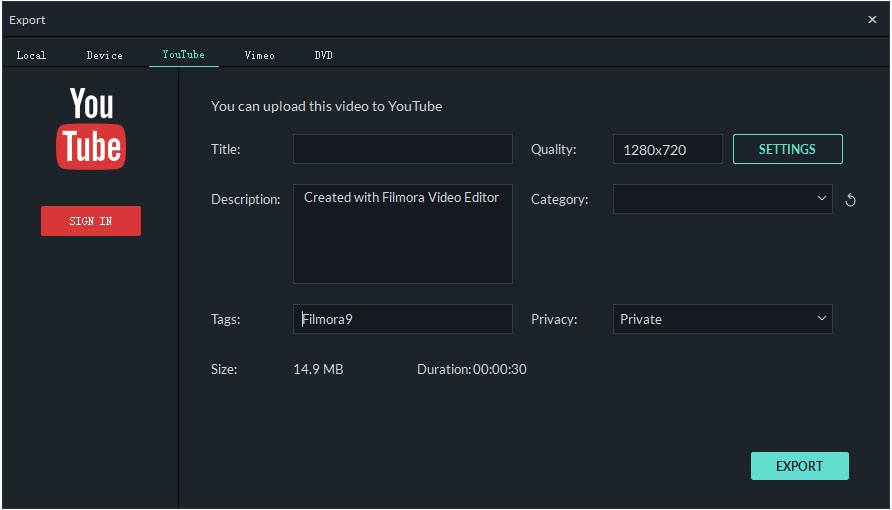
After you are done editing the slideshow, go ahead and create it. Go to the "Create" tab. You simply need to choose whether to burn to DVD or save the slideshow.
Windows Movie Maker Cannot Create Photo Slideshow? Fixed!
The following are some of the errors that you can encounter when using windows movie maker.
1. “Windows movie maker cannot save the movie to the specified location”
This error can occur when the folder that you are trying to save the slideshow in is locked by a folder lock software. It can also occur when the location does not have enough space. So make sure that you have enough space in the location you are saving the file and also check if the folder is locked.
2. Cannot add music to a video in Windows Movie Maker
When this happens, it is probably because the music that you trying to add is in a format that is not supported. Also, you may be using an older version of Windows Movie Maker. So make sure that you check these issues and resolve them.
3. Windows Movie Maker cannot start
When you get this error, try updating your video card drivers. You can also try restarting your computer because the program may have malfunctioned.
4. Windows Movie Maker suddenly stops working
When this happens, try running Windows Movie Maker in safe mode. This will prevent the incompatible video filter that is stopping it from being loaded.


