Why need an iExplorer alternative?
iExplorer is a well-known iPhone, iPod, iPad manager. You can use it to export music, playlists, photos and videos from your iDevice to iTunes library or Mac. It also allows you to transfer your iPhone Messages, Voicemails, Contacts, Calendars and more files to your Mac for backup. What’s more, it can make your iPhone/iPod/iPad as an external hard drive, so you can directly access your iDevice photos, videos or music.
However, iExplorer is not a perfect gadget. If you want to mount your iPhone/iPad/iPod to Mac and view the files directly, you have to install disk mounting and QuickTime drive. That will take up large space of your Mac hard drive. The worse thing is that iExploer does not allow you to transfer music, videos, photos and other files to iDevice. So you have to look for an iExlporer alternative if you want to do more things rather than exporting or viewing.
What is the best alternative to iExplorer?
After a lot of search, I luckily come across dr.fone for Mac, which is a perfect iExplorer alternative and comes with all the features that iExplorer own but better than iExlporer. It can intelligently transfer iPhone/iPad/iPod music to iTunes or Mac avoiding the duplicate contents. You can select particular iDevice songs, movies, photos, messages, contacts and more then backup them to your iTunes library or Mac. dr.fone also enables you to organize music, contacts, photos and other files on your iPhone/iPad/iPad with a few clicks. In the below guide, I will show you steps to manage your iDevice files.
dr.fone is fully compatible with iOS 11 now. It supports iPad Pro, iPhone 8, iPhone 7/7 Plus, iPhone 6/6s, iPhone 6/6s Plus and more.

Step 1: After you download dr.fone on your Mac, the installation can be very simple with the help of build-in installation wizard. Then launch the program and connect your iPhone, iPod, or iPad to Mac with USB cable. You will see your device information in the main interface.

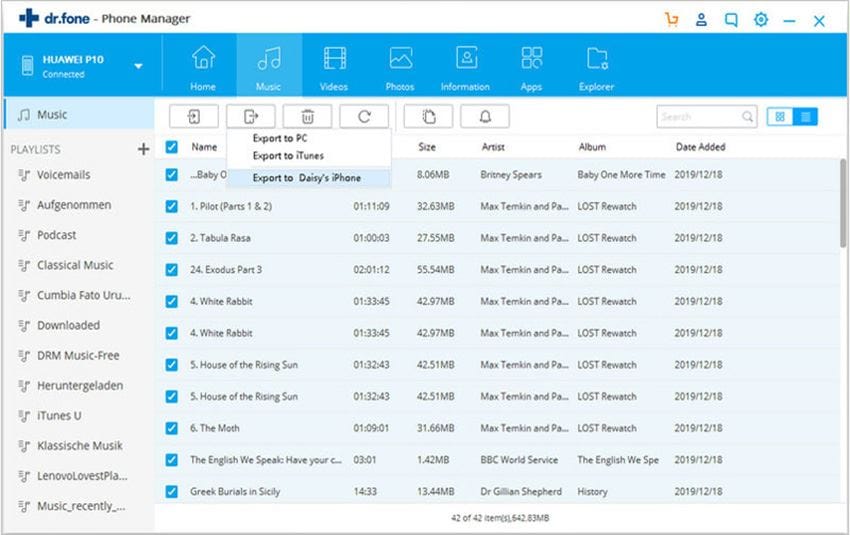
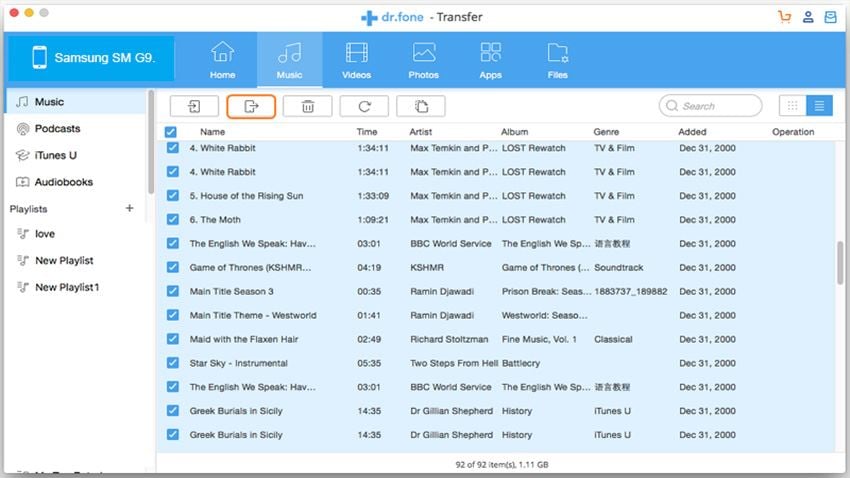
Step 2: You can select particular songs, videos or photos from your iDevice and export them to iTunes library or Mac. To export music, you can go to Music menu on the top of the main interface, and select the music files, and then click Export to Mac on top of the main interface to export the files. It will be the same operation to export videos and photos to Mac/iTunes.

Step 3: Transfer music, videos and photos to iDevice
If you want to add songs to your iPhone, you can go to Music menu and click Add button on top of the main interface. Then you will get a pop-up window allowing you to select the songs and import them to your iPhone. You can use the same method to add videos or photos to your iDevice.
In the Music, Videos and Photos menu, you can easily delete any files on your iDevice by clicking the Delete button on top of the main interface. On the right pane of the Music menu, you can click the Add Playlist to create a new playlist. Or you can go to Photos menu > Photo Library > Add Album to build a new album. Just try out this iExplorer alternative.
See more details in the below video:


