You might have lots of photos store on your iPhone and want to transfer photos from iPhone to Macbook for backup or releasing iPhone storage space. If so, you can choose iPhoto as the photo transfer. When you connect your iPhone to Macbook, iPhoto will launch automatically. Then you can select the photos and transfer them to your Macbook. While the downside is that you can only transfer the pictures shot by your iPhone to Macbook with iPhoto, or other Apple applications. So what can you do when you need to transfer the pictures downloaded from the Internet or imported from other devices? Don’t worry. Here is the solution for you.
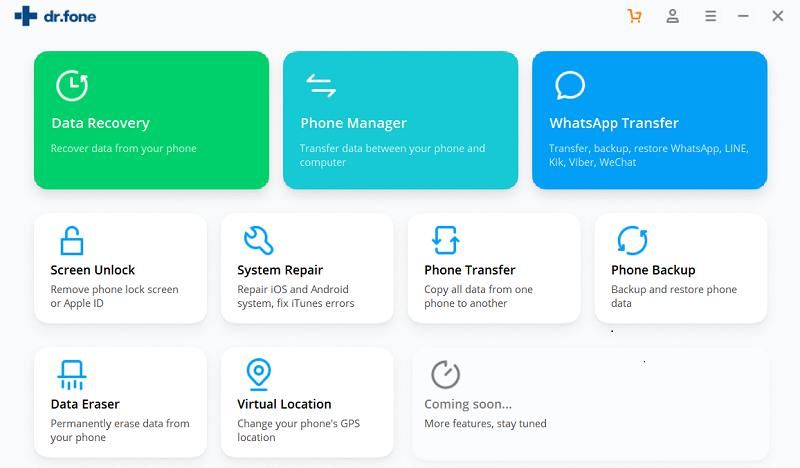
In this article, I would like to show you how to import photos from iPhone to Macbook easily with the help of iSkysoft dr.fone for Mac. With this application, you can transfer any of your iPhone photos to Macbook, even if you have updated your Macbook to the new OS X Mavericks. dr.fone also can help you to transfer iPhone/iPod/iPad music, playlists, videos, and more from and to Mac or iTunes. The below step-by-step tutorial will show more details on iPhone photos transfer.
Step 1: Install and launch dr.fone on Macbook
Click the above Free Download button to get the program file. Double click the downloaded program file, and you can open the installation wizard. Just follow simple steps to set up the program on your Macbook. When the installation is finished, launch the program.
Step 2: Transfer iPhone with Macbook
Use a USB cable to connect your iPhone to Macbook. The software will detect your phone. To transfer iPhone Camera Roll photos to Macbook, you can click Camera Roll on the left pane of the main interface and select the photos you want. Then click Export to start transferring iPhone photos to Macbook. To transfer the whole photo album, you can right click on the selected album in the left menus and choose export to.
See more details:


