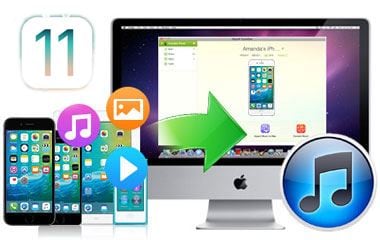
Got a new Mac and want to transfer iTunes library, say, transfer movies and move music from PC to Mac with, say, your iPod nano ( new iPods included), iPhone or iPad? In order to help you to do so easily, the following lines would introduce two free ways:
If you just want to transfer iTunes Store purchases like songs and videos, you can refer to the method 1. Or if you have songs and videos from other sources, refer to method 2 for detailed instructions about how to transfer all music and movies, including iTunes purchases, from PC to Mac with iPod (new iPods included), iPhone (iPhone 5 supported) or iPad. We'll take iPod as example to assist you to transfer iTunes library PC to Mac.
- Method 1: How to copy iTunes Store purchases from PC to Mac
- Method 2: How to transfer movies and music from PC to Mac with iPod
Method 1: How to copy iTunes Store purchases from PC to Mac
Open iTunes. From the Store menu, choose Authorize Computer. In the dialog that appears, the Apple ID button is selected by default. If you have an AOL account, select AOL. Enter your Apple ID or AOL screen name and password, then click the Authorize button. Note: If the iTunes Store purchases on your iPod or iPhone were purchased with multiple accounts, you will need to authorize the computer for each one. Or refer to method two for more convenient solution.
Connect your iPod or iPhone to the computer. If your iPod is synced with another iTunes library, the following dialog may appear:
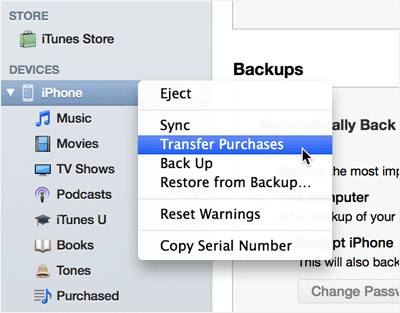
Click the Transfer Purchases button, Or, you can right-click (Windows or Mac) or Control-click (Mac only) your iPod in the iTunes Source list, then choose Transfer Purchases from the shortcut menu that appears.

Note: if you are about to transfer music from PC to Mac using your iPod (other iOS Devices included), you are no need to do the authorization, for Apple has removed the music DRM. So you can directly move songs from iPod to Mac. By the way, to move music from PC to Mac, there is a detailed guide you can refer to: Transfer Songs from iPod shuffle to Mac.
Method 2: How to transfer movies and music from PC to Mac with iPod

dr.fone is an easy-to-use iTunes transfer that can help you transfer your songs and videos to Mac without iTunes. You can easily copy movies and songs from iPod to Mac with only a few clicks, saving you hassle of changing the settings on your Mac running macOS 10.13, macOS 10.12, macOs 10.11 el capitan, macOS X 10.9 Mavericks, Mountain Lion, etc.
Tip: dr.fone can also support the new iOS 11, iPhone 8 and other earlier versions. It can auto detect your iDevice music, and figure out the difference between iDevice and iTunes library, then only copy the missing music to your iTunes library without duplicate contents.
Step 1. Launch dr.fone for Mac and connect your iPod to Mac
Sync your iTunes library from PC to your iPod first. Download the Mac app and install it, launch dr.fone and then connect iPod to Mac. After that, the main interface would like the image in the next step, and your iPod information will show in the main interface.

Step 2. Transfer iPod music to the iTunes
For this part, you have two options to finish the task:
Option 1. To transfer music to iTunes, you can directly click the "Rebuild iTunes Library" in the main interface. Choose the file types you want to transfer from your device to your iTunes Library and click “Start”. All of the music on your iPod will be transfered.
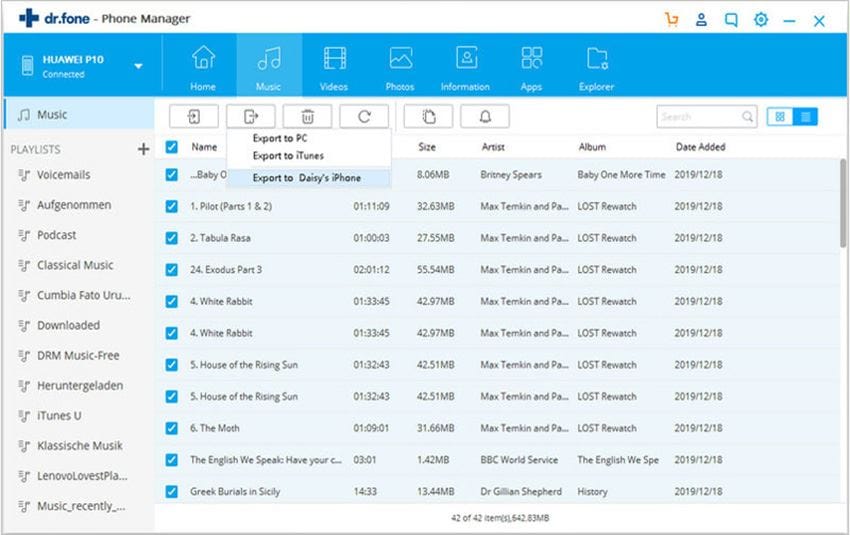
Option 2. You can go to the "Music" or "Videos" tab at the top menus to choose specific files to transfer. Select the files you want, and then click the "Export to Mac" to start transferring. It is the same to transfer iPod movies.

Now go ahead to practice on your own with the impressive helper—dr.fone to transfer iTunes library PC to Mac. Have a nice media experience!


