The coldness of winter, exciting music of Jingle bells, amazing presents for kids and family gatherings make Christmas a perfect day. It is such a great even in a year. You must have planned to record it as several video clips. No, no, no, it’s not the end. You’re supposed to export a far more interesting and professional-looking video after recording the Christmas videos. Ok, let’s go straight forward to talk about how to add Christmas elements to videos for making it stand out.
Filmora Video Editor — Add Christmas Elements to Videos with Ease
Filmora Video Editor (or Filmora Video Editor for Mac) has prepared so many Christmas elements in Filmstock for you to create your Christmas videos in a few simple steps. To add Christmas effects like the trees, Santa clause’s hat and socks type elements, you just need to drag and drop them to Timeline, adjust their positions. A perfect Christmas video is never completed without a perfect Christmas song, Filmora doesn’t only let you remove the audio track from your videos, but you can also add Christmas songs from your own music library or built-in library of the Filmora. And if you like, you can apply filters and overlays to change the whole look of your Christmas video, even making it in an old film style.
- More than 90 types of transitions to switching between 2 scenes.
- Editing, trimming, splitting, cropping, merging videos with ease.
- Music library offers some authorized songs and you can also import Christmas you like from iTunes Library or a folder on a local drive;
- Easily apply face-off, mosaic, tilt-shift, picture-in-picture effects to your videos.
How to Use the Audio Video Editor
Step 1. Import Videos: First of all, get the latest version of Filmora and install it on your computer. Run the software on your PC and select the easy or full featured editor. In this tutorial, we are using Full-featured editor. On the main screen of Filmora, Click on the big “Import” button to import different types of videos, audio and photos.
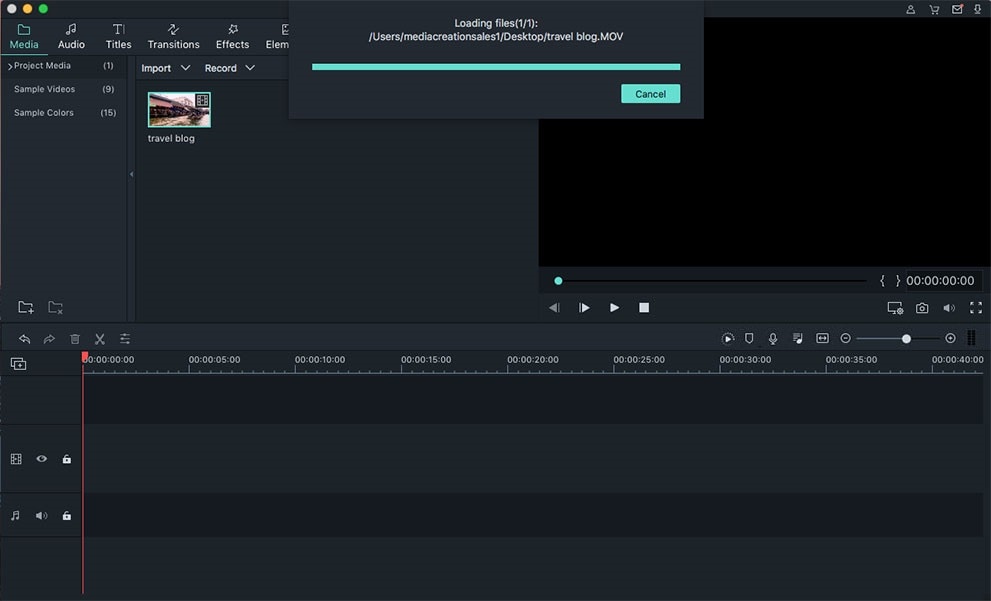
Step 2. Basic Video Editing: Once the photos or videos are in the media library, drag and drop them to the project as shown in the screenshot below. Now, right click on the video in the project to unveil the basic editing functions such as “Crop, trim, rotate, speed changer and even the auto enhancements” .

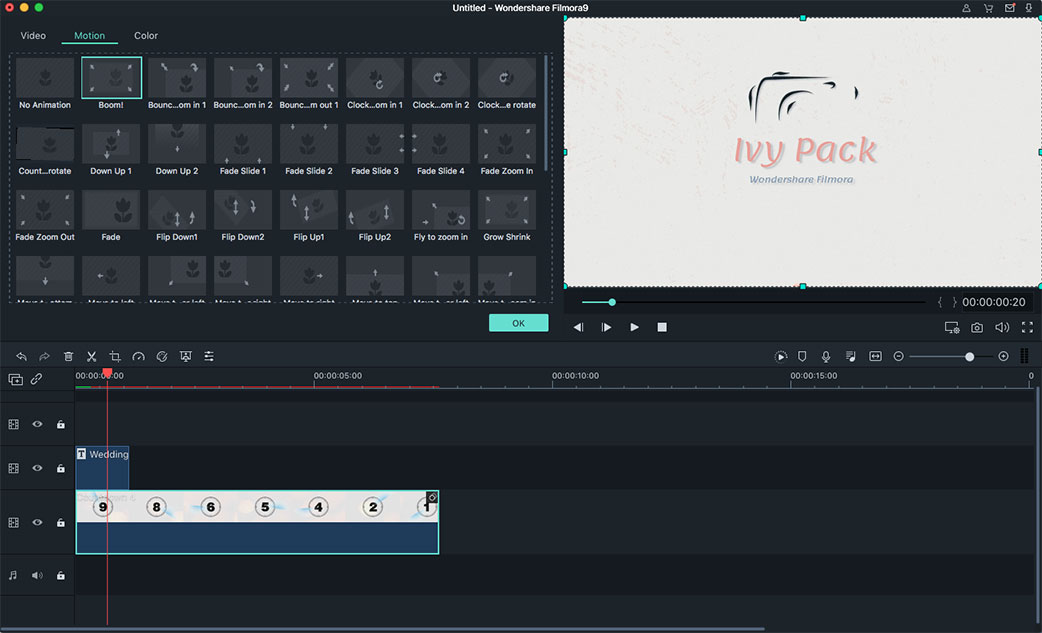
Step 3. Add Christmas Motion Effects: After doing the basic level video editing, the next thing you can add is Christmas like beautiful motion elements. Click on the “Elements”, scroll down and select a proper Christmas element to add in the video. You can simply drag and drop it to add it on the video. The overall length of the motion element can also be adjusted from the timeline.
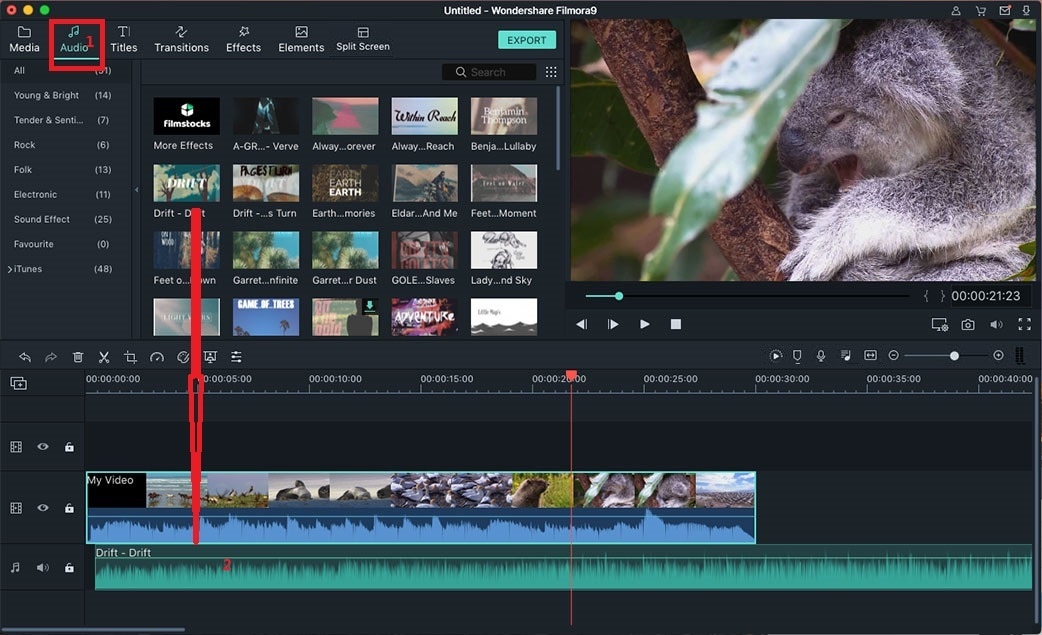
Step 4. Add Christmas background Music
If you want to add your own music, simple add it to the project from the media library just like the videos in the previous step. However, Filmora also give you some music to be added as a background without any hassle. Click on the music and select a track that you want to add to your video. The preview of the track can be listened before it can be added to a video. Now, simply drag and drop it to the timeline.
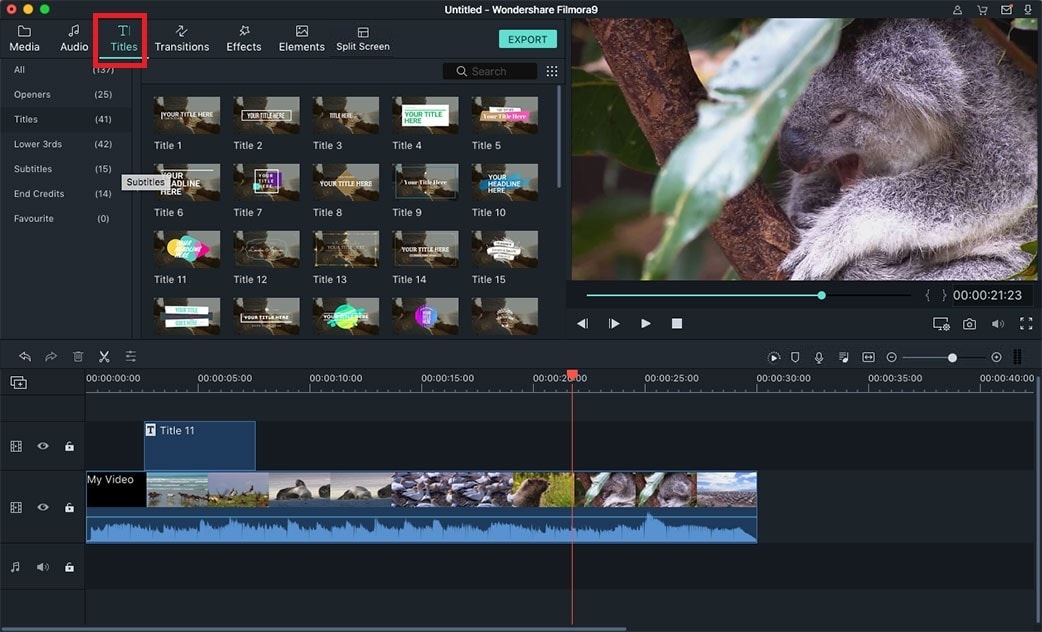
Step 5. Add Text
To add amazing introductions, credits or the text narration in a video, click on “Text” select a style that you want to add on your video. You can also adjust the overall length, size, font and even the color of the specific text as shown in the screenshot below. Double click on the text to reveal these settings.
Step 6. Overlay different videos
Overlaying a video on the other one is not as difficult as it seems. First, move the basic video from media library to the project and now, drag and drop the second video on the timeline right below the first video. That’s it! The size of the second video can be adjusted from the preview screen and it will work flawlessly.
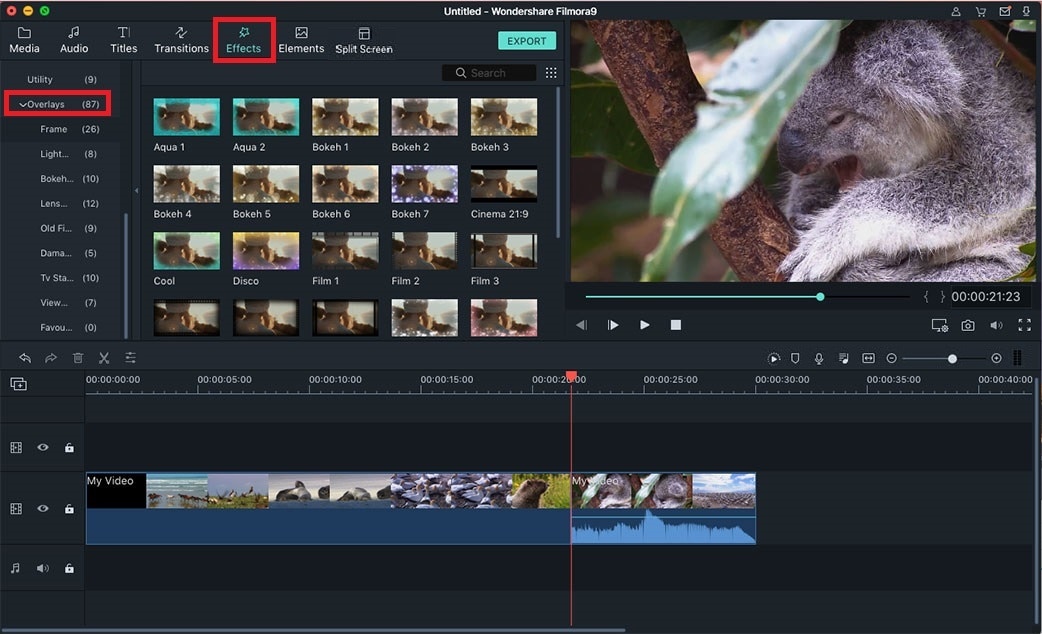
Step 7. Apply Filters
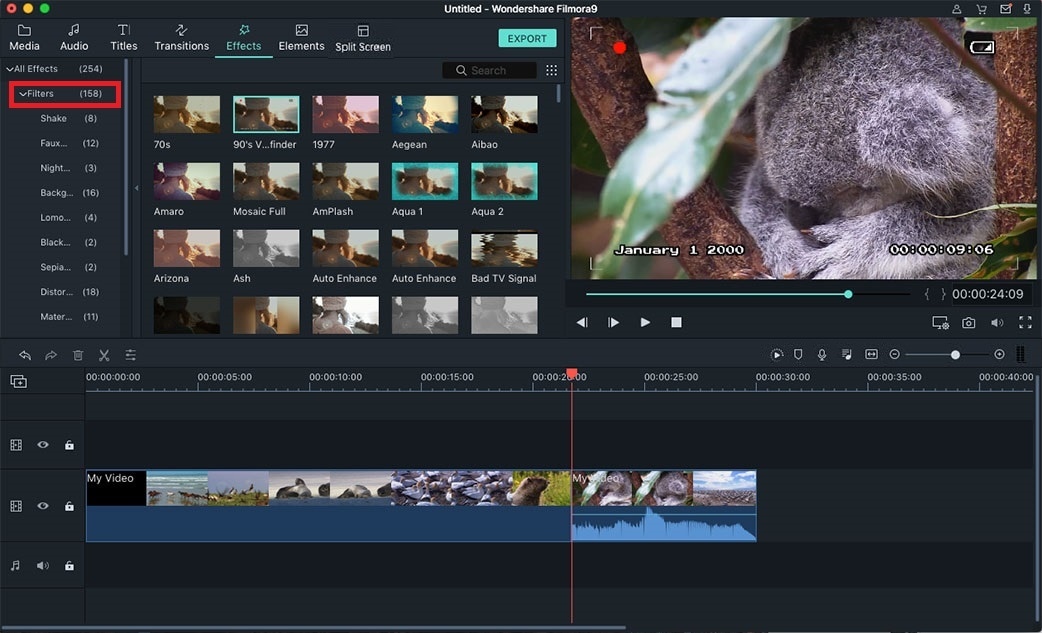
After editing every basic aspects and adding Christmas elements and stuff, you can add the beautiful filters to your videos. Click on the filters in the main line, select a filter and add it to your video by clicking the “+” button.
Step 8. Add Split screen effect
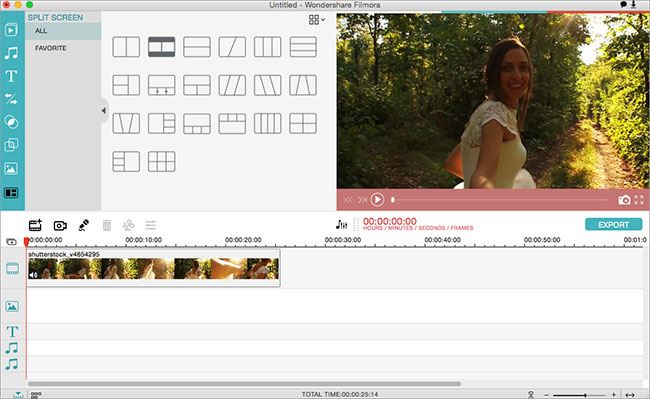
Split screen effect is an advanced type of the overlays, there are plenty of preset split screen effects to select from. Click on “Split screen” button, select a style and it will open a new window, now add different video in each drop zone and you are good to go.
Step 9. Export Videos
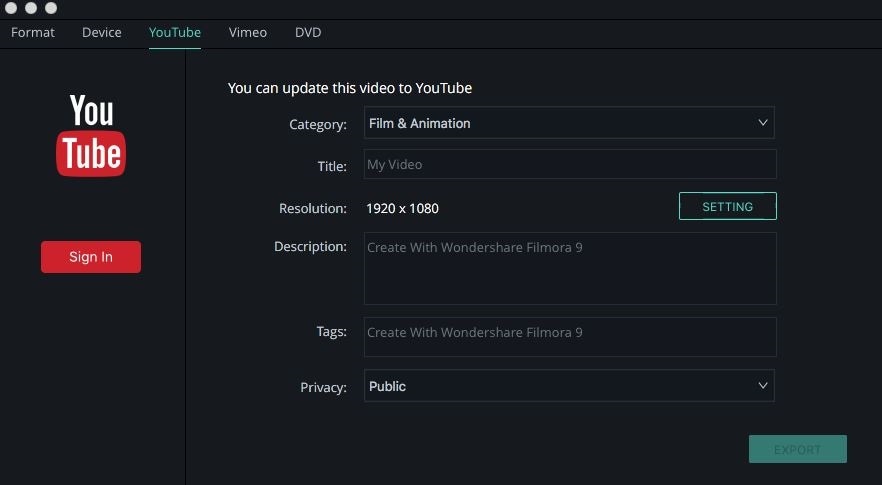
After creating the beautiful Christmas videos, you can export them in different format depending upon your devices or can upload them on YouTube, Facebook, and Vimeo or burn them on DVD. Click on the “Export” button to do this task.
You can also change the overall look of your videos by adding amazing filters and overlays, for teens, there are tons of Instagram filters and for old school fanatics, the white and black filter work in an amazing way in Filmora. Just like the music, most of the users need text to label their videos, there are plenty of text styles which can be added with a simple click.
You can add different type of text at the start of the video, during the video and as credits of the videos. One important problem that different users face while editing the videos is the overlaying of different videos or picture in picture effect. You can add a second video to already present video and create a beautiful picture in picture effect. Moreover, the overall screen size of the second video can easily be controlled from the preview window. Unlike most of the video editors, filmora has a special effect called split screen, it will let you fit two or more videos on the same screen using a particular split screen effect. These effects are already present in the library, you will just have to select a template, select the videos that you want to add and that’s it! A final video will be ready in just some minutes without going through the complex settings and setting everything right from the main screen of Filmora. Download Filmora Free Version to Have a Try!


