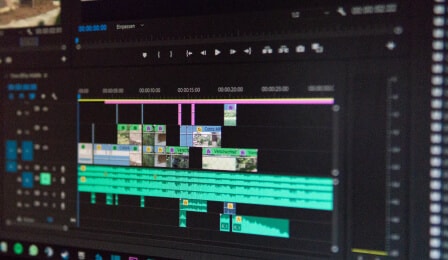
Timers are used in videos when there’s a need to time certain milestones or events occurring in the video. However, adding a timer to a video could be tricky and a bit of a headache—especially for first-timers (pun intended). A way around this will be to use a physical stop clock in the video... ridiculous, isn’t it?
So, what if you want the timer displayed on the screen as part of the video instead? Well, that’s exactly what you’ll learn shortly—placing fully functional timers on your countdown videos. The method used in this article is arguably the easiest way to make countdown videos/add timers to your video. Please read on.
- Part 1. Add a Timer or Countdown on Video using Filmora
- Part 2. Add a Timer on Video using FilmoraPro
How to Add a Timer or Countdown on Video using Filmora
Filmora Video Editor is a leading video editor packed with rich video editing tools and options. We’ll be using a couple of features provided by Filmora to create/make countdown video.
Just two basic steps are involved; first, we’ll screen-capture a timer and place it on the video—as simple as that. The steps involved are explained in details below, follow them accordingly and you’ll be done in a jiffy. We’ll start at the very beginning:
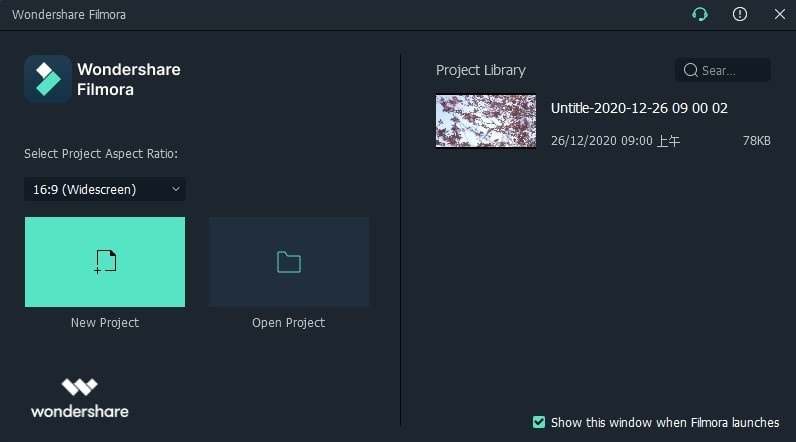
Step 1: Install and launch Filmora Video Editor, create a new project
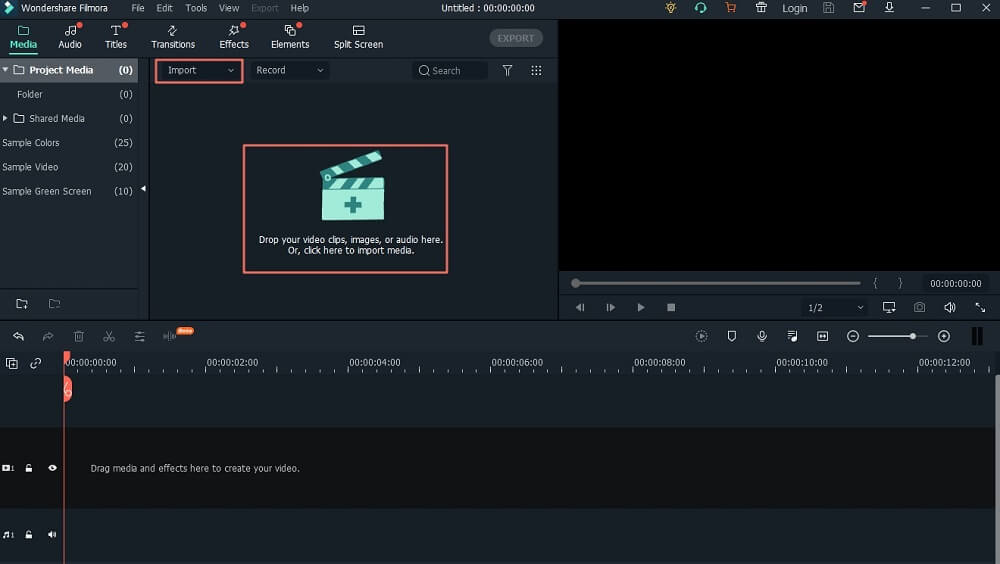
Step 2: Import your video, drag it to timeline
Step 3: Visit a timer/countdown site
We’ll be using https://www.timeanddate.com/timer/ for the purpose of this tutorial. Any timer will do—timers on the web or timers on your device—just any timer. You can type “timer” into Google if you want to use other online timers.
At https://www.timeanddate.com/timer/, you’ll find a 2-minute countdown timer waiting for you—of which, of course, can be customised with your own time specs. You can switch to a stopwatch if a countdown timer is not what you’re looking for. However, DON’T start the timer or stopwatch just yet. Proceed to step 4 below.
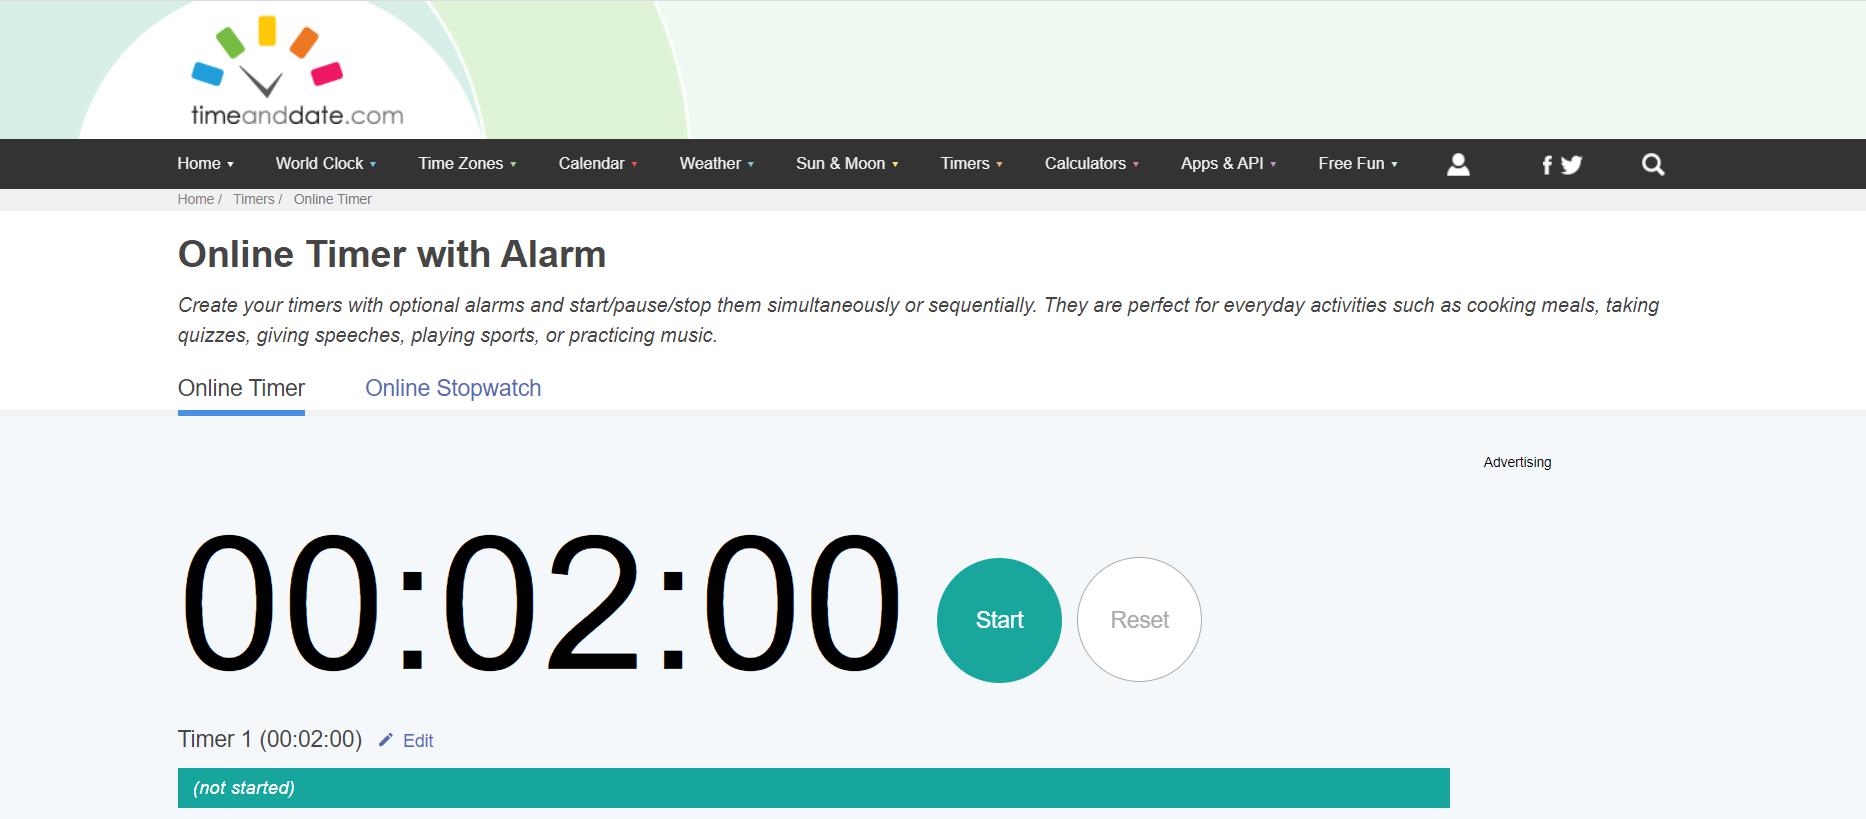
Step 4: Record and capture the timer in action
To do this, you’ll have to start recording your screen from Filmora. Click on Record found at the right side of Import. A drop-down menu appears, select Record PC Screen from the list to start recording your screen.
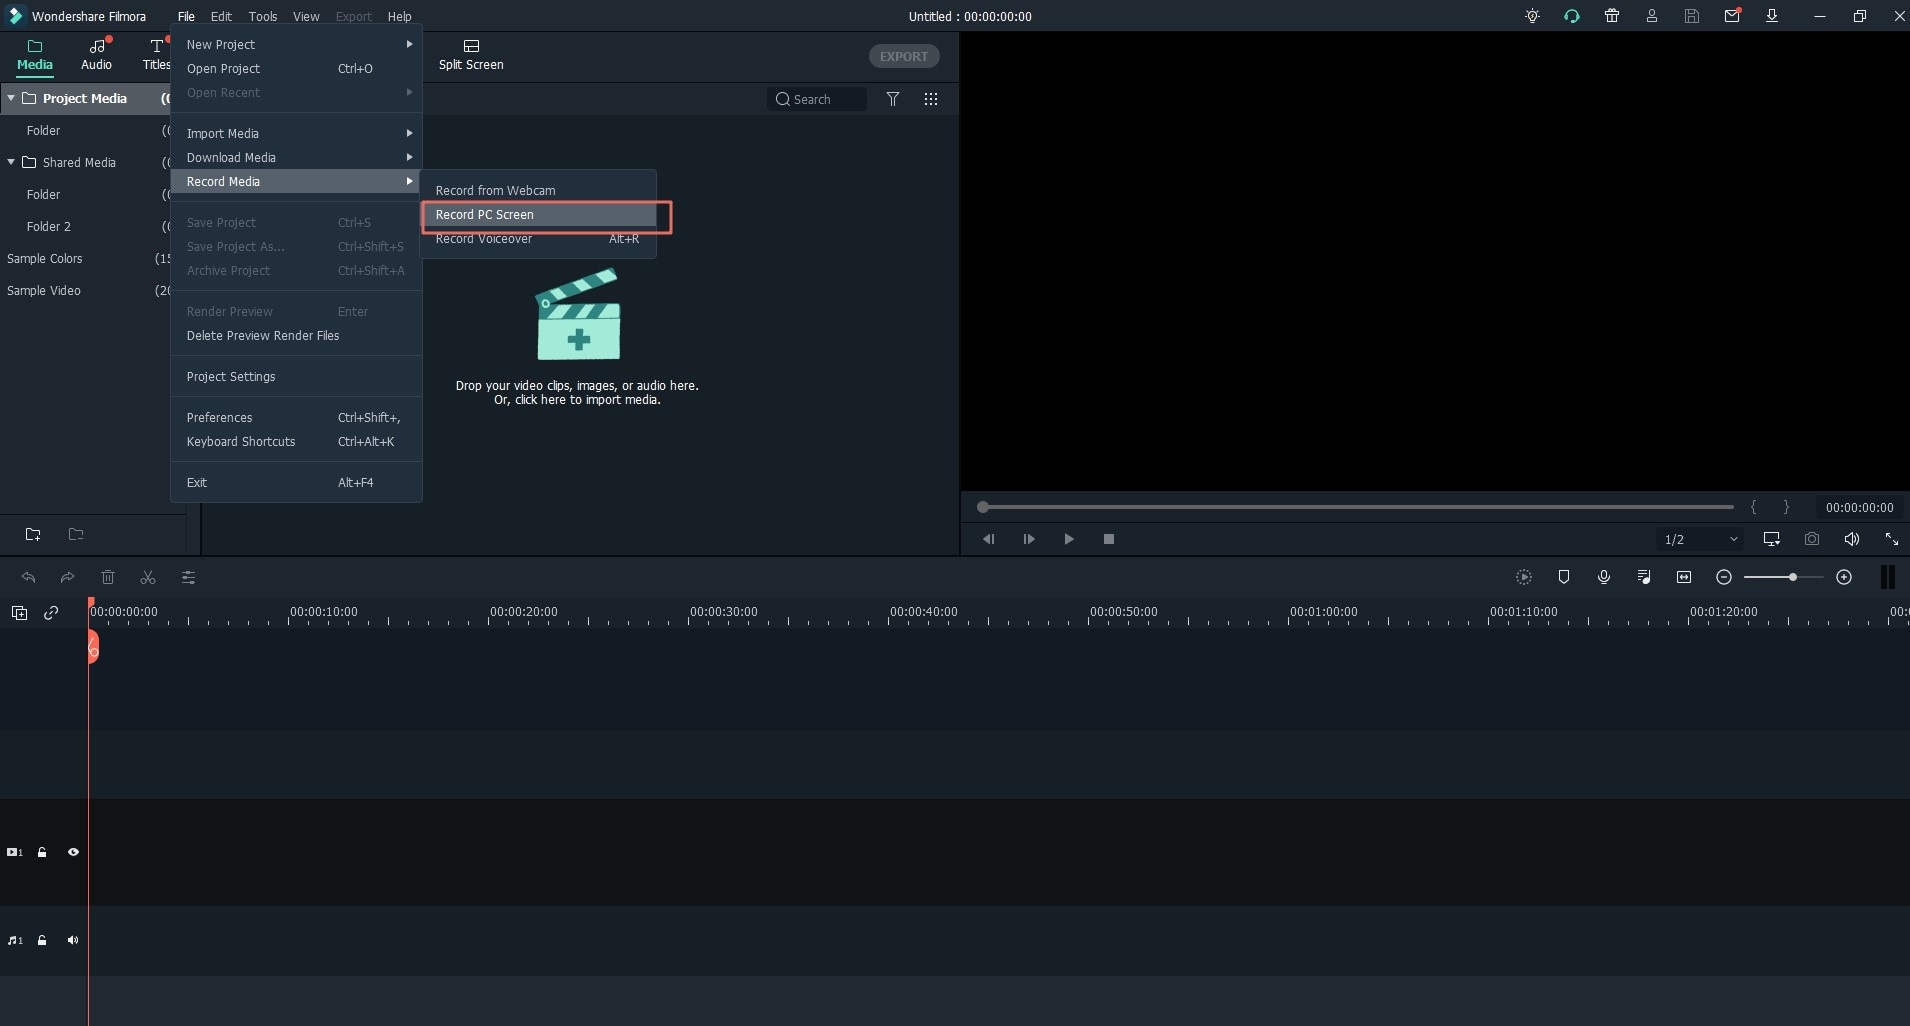
Step 5: Go back to your timer
This is the time you revisit your timer (on the website) and actually start it while Filmora records your screen. Make sure that you have the timer’s duration set correctly. Next, you start it and stay on the timer’s screen until the set time interval is reached/elapses and then hit F9 on your keyboard to stop screen recording. Filmora will automatically load your screen capture to your project as soon as you hit F9.
Tip: The screen recording’s default settings may be locked on Full Screen, so if it doesn’t contain your timer perfectly or extends to unnecessary areas around it, simply click Custom. That way, you’ll capture your count down in a more flexible way.
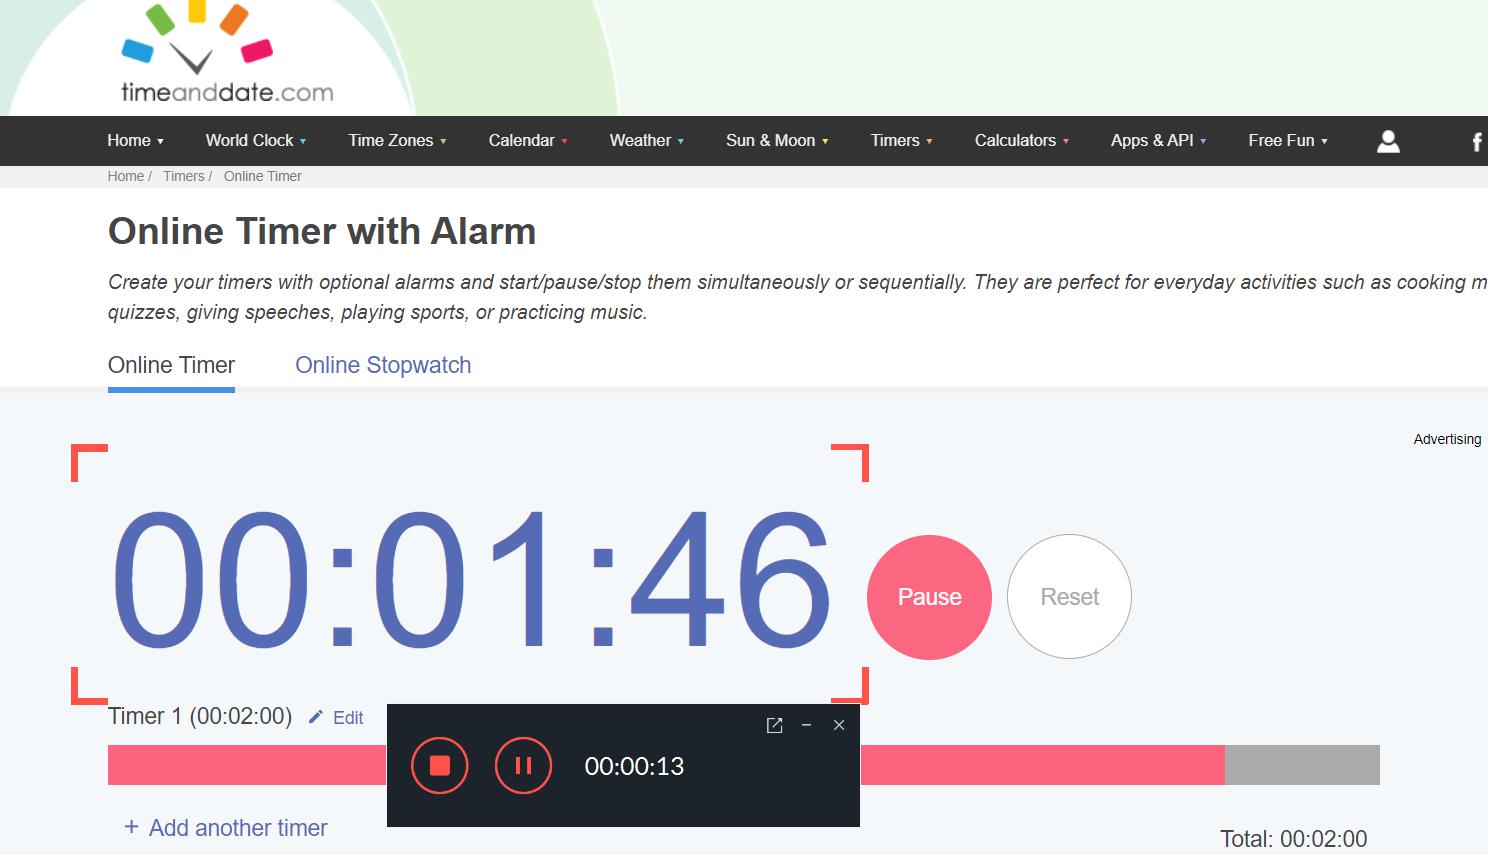
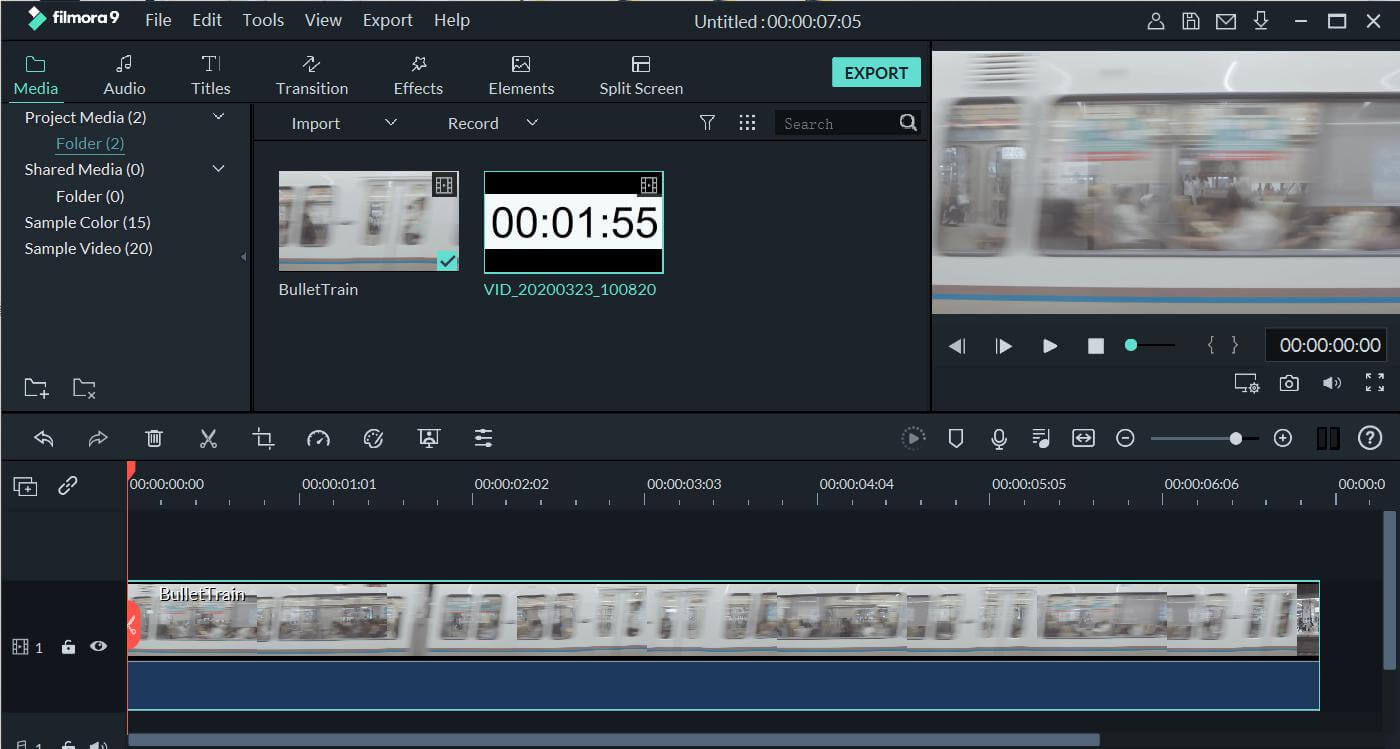
Good job! You’ve captured timer footage, we’ll just place it on your video in the next step.
Step 6: Place the timer on the video
You should find your recent screen record in your project. Now, you drag that right onto your timeline. Your video will be represented in a series of pictures (frames) in the timeline. click on the preview window to properly resize your timer and place it on any spot on your main video.
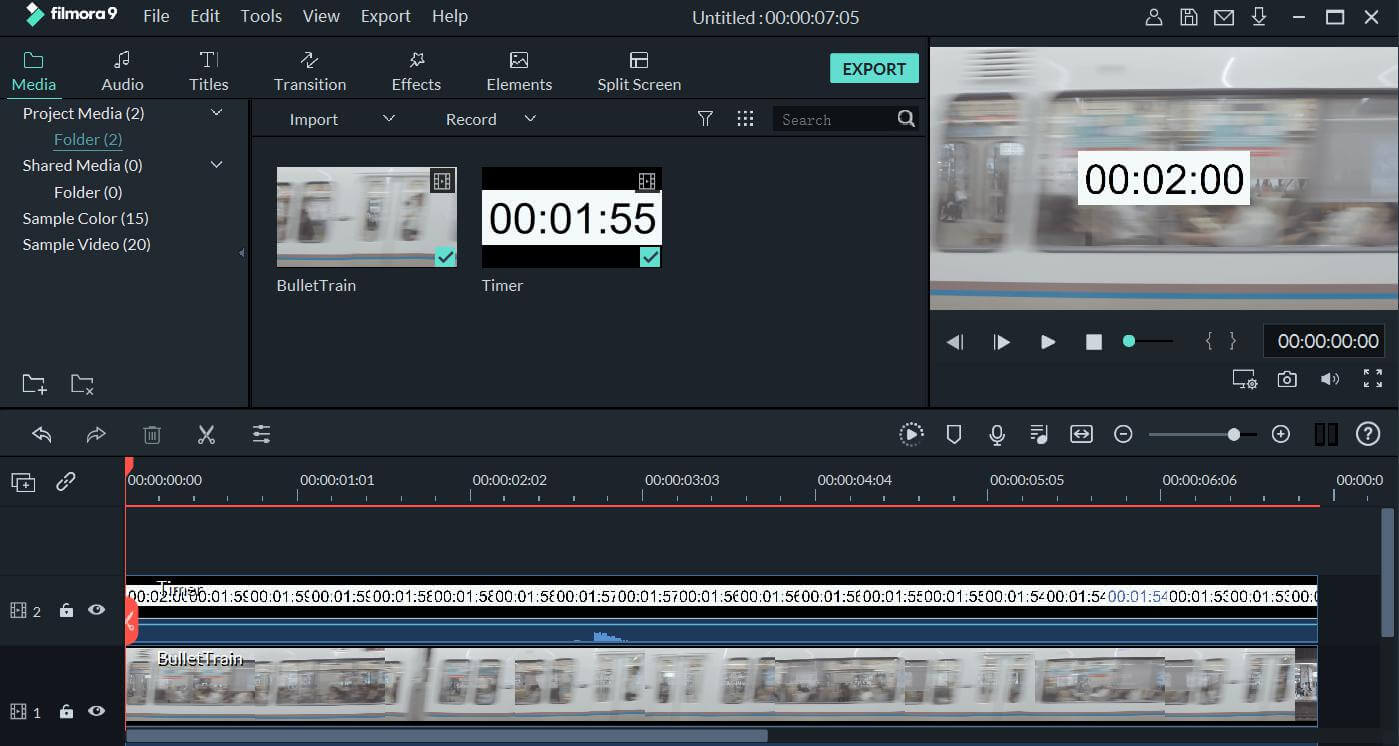
Depending on the theme of your video, the timer’s background colour might not match your video’s. We can remedy this issue by tweaking the timer’s opacity anyways—so, simply double-click on the timer’s footage and look to the upper left area of Filmora, under Video, click on Composting to display more options. You’ll find the timer’s opacity there—and hallelujah! It’s adjustable! Gradually adjust the timer’s opacity as you monitor the timer on video. Stop as soon as you attain the perfect blend. Preview your project to see the timer and the main video work in unison!
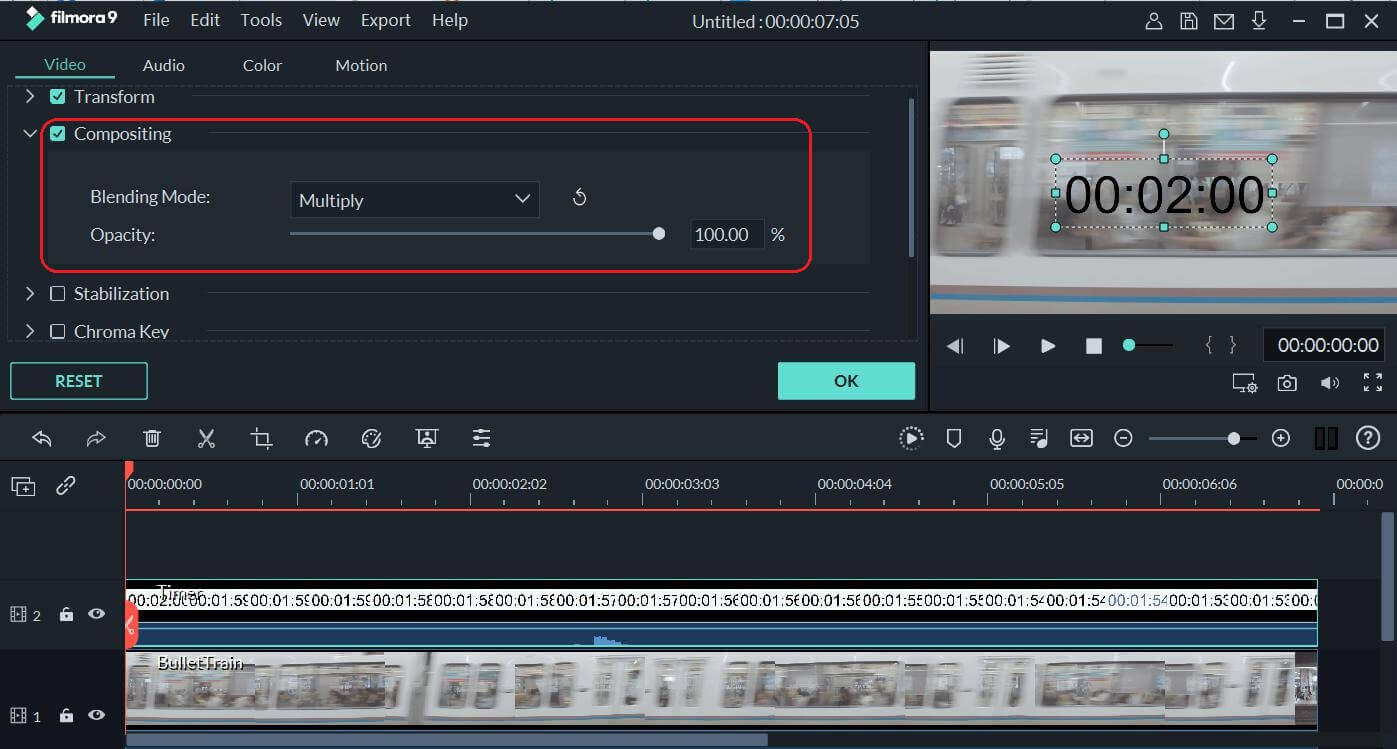
There you have it, an actual timer placed on your video. You can apply the same technique used to place the timer on your video to place multiple timers or other animated objects on footage using Filmora! Pretty cool, isn’t it?
Add a Timer on Video in 3 Steps using FilmoraPro
Compared to Filmora, FilmoraPro Video Editor is an more advanced and professional video editing software. It can generate a timer on video in one click. Let's see how to do it:
Step 1: Launch FilmoraPro and create a new projet
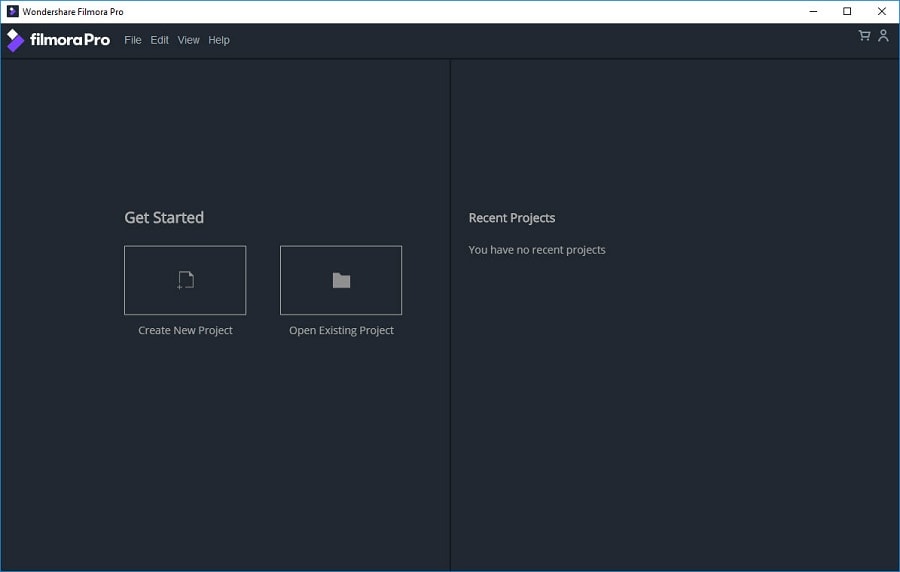
You can click the bouton below to install FilmoraPro on your Windows or Mac computer. Launch it and click Create New Project.
Step 2: Import your video, drag it to timeline
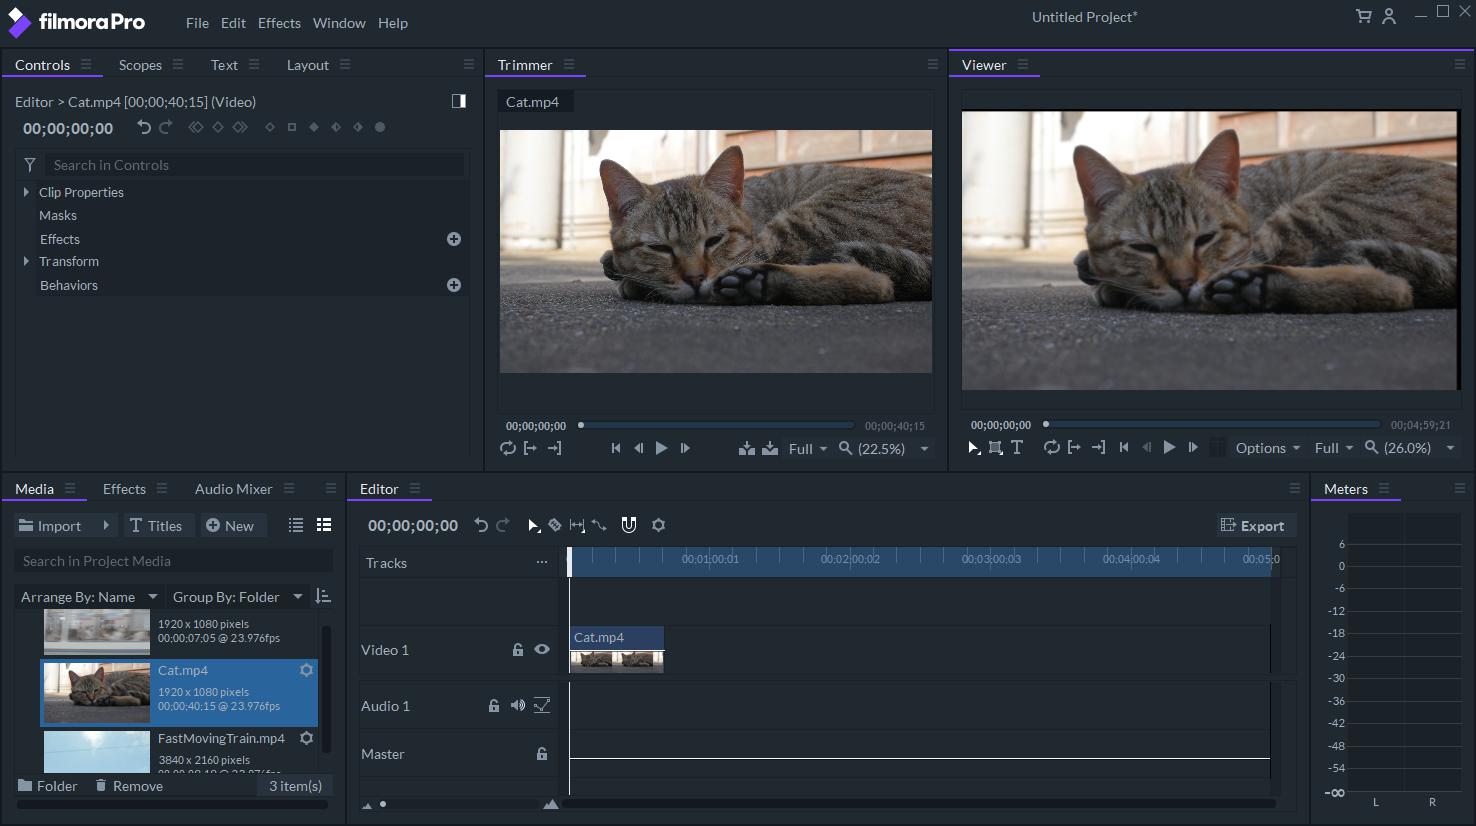
Simply drag your video files to the media panel, and pose it on timeline.
Step 3: Add Countdown on Video
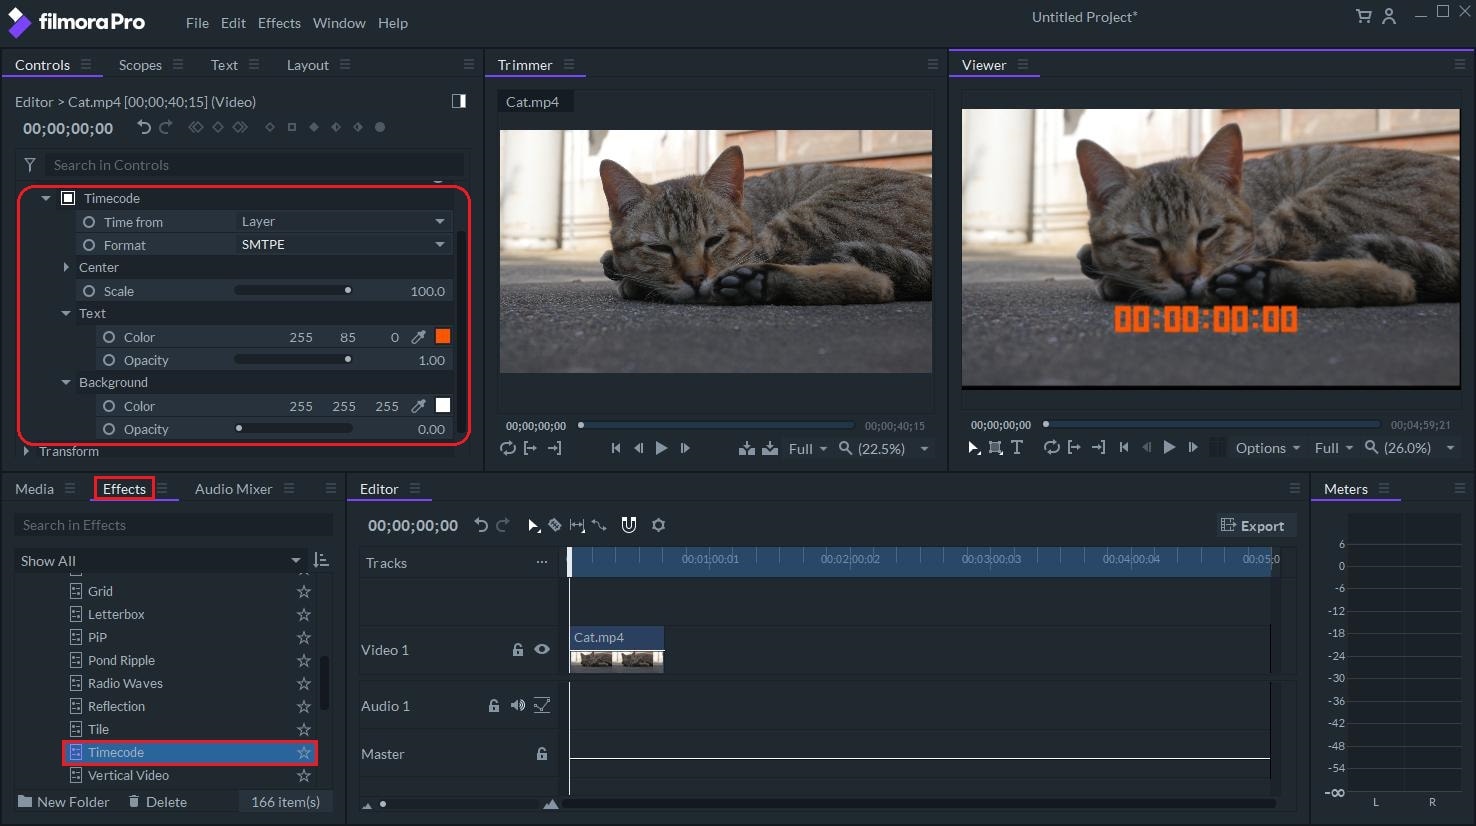
Click Effects and select Tiemcode. Place it on the video track on the timeline by simply dragging the effect there. Then you can ajust size, text color, background color, etc. of the coutdown according to your needs.
Conlusion
With the good tools, comes great flexibility. Moments ago, you might have not had the faintest idea how to add a timer to your video—but now, with Filmora and FilmoraPro, you did it! (I guess). Well, that’s it! Exactly 2 ways on how to add a working timer to your video. Which way do you prefer?


