Are you looking for a music video editing software for Mac? We all fancy a good music editing software that is built with different capabilities such as trimming, splitting and merging songs. In this article, we will introduce you to the best Mac music video editing software.
Best Mac Music Editing Software - Filmora Video Editor
The best music video editing software for Mac is Filmora Video Editor for Mac. This software not only adds filters and effects to your videos but also allows you to add music to your videos. You can add the inbuilt music files or upload your own music from your music library. With this music video editing software, you can edit your videos in real time and preview them before exporting online or to a device.

- Filmora Video Editor for Mac enables you to trim, rotate, crop, split, and merge videos
- This Mac video editing software can also add filters, layouts, motion elements, faceoff and picture in picture.
- It enables you to save edited in different popular formats or export them to online sharing websites like Vimeo, YouTube, and Facebook.
- Built with advanced editing features such as green screen, split screen, more than 100 transitions and over 130 titles.
- Voice over recorder allows you to record voices to attach on your videos.
How to Edit Music on Mac with Filmora Video Editor:
Step 1. Launch the program
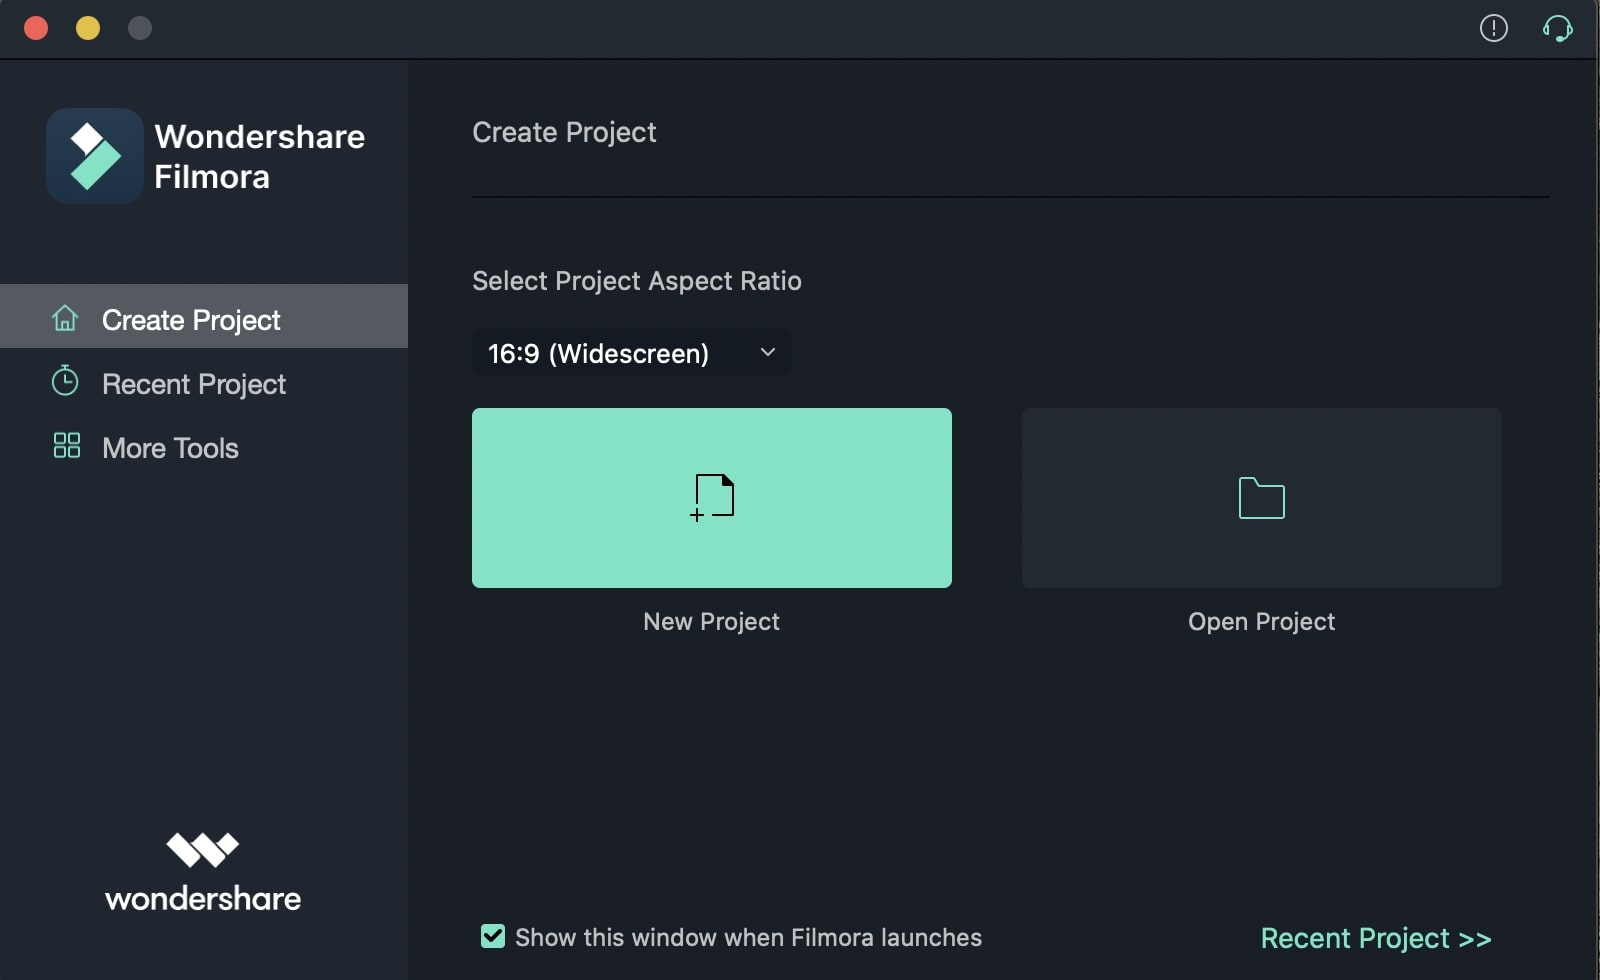
Download Filmora Video Editor for Mac on the iSkysoft website and install it on your Mac. Go to “Applications” folder on your Mac, and click on “Filmora Video Editor” software to launch it.

Step 2. Import music video
Next, you need to import the music video that you want to edit. There are different ways to upload the files to the program. You can upload files by either clicking on “File” and select “Load Media Files or by clicking on “Import Files” button on the screen. Another simple way of uploading music video files using drag and drop feature.

Step 3. Edit music in Video
When you have uploaded the video, you can then begin to edit the music on the video. Click on “Music” icon on the program then you can add a music file from the inbuilt options or upload your own music.
You can then move to the editing area and position the cursor to minutes that you want separate audio with music. After that, click on “Split” icon on the editing menu. You can also detach music by double clicking on the editing area.
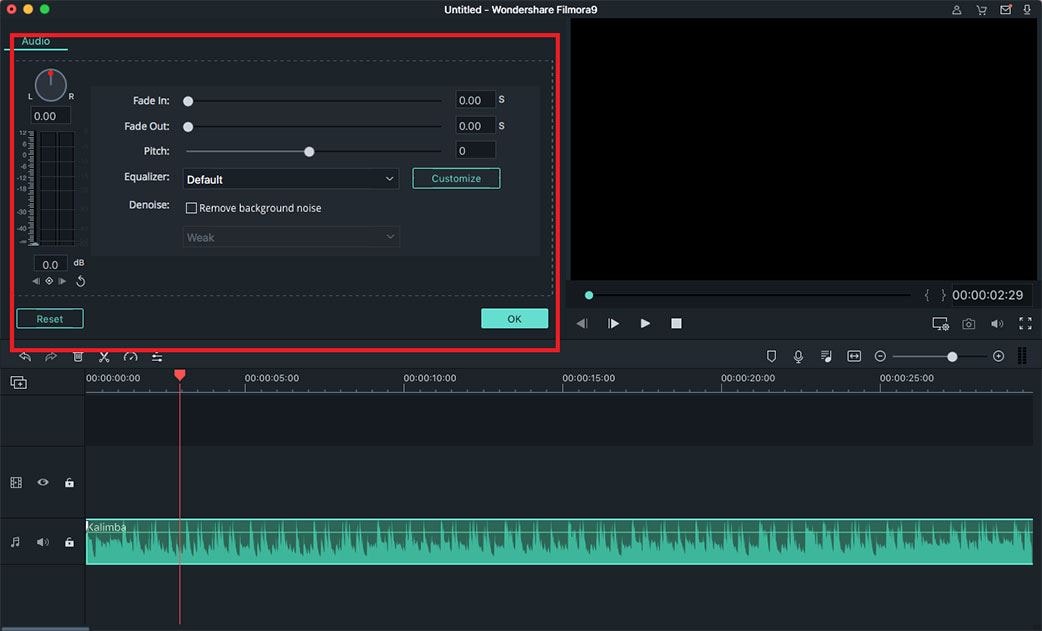
You can also double click on the audio and click on “Show Inspector.” From, there you can fade out audio, fade in, and adjust volume as well as adjusting the speed of the music. To record audios, select the video project that you have uploaded and then click on the record button. The program will enable you record videos using an inbuilt microphone. Click on “Start” when you are ready and “Stop” when you are done. The recorded audio will appear in the editing area.

Step 4. Export the video
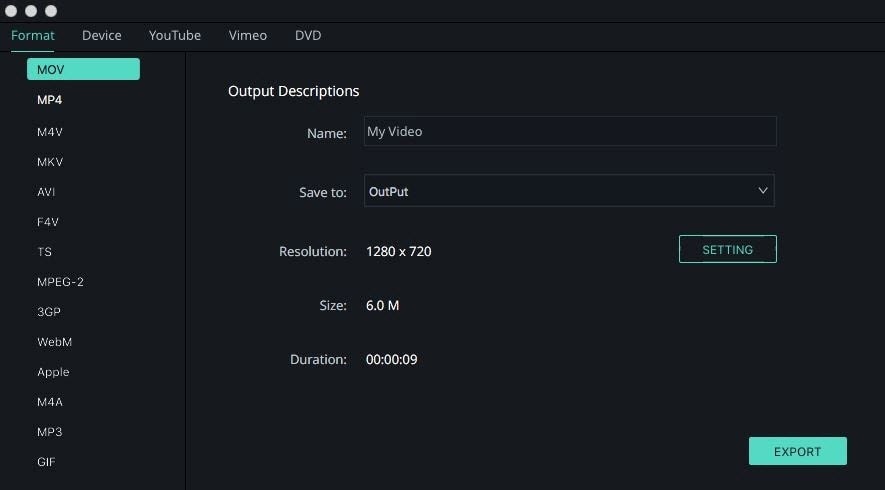
Once you have completed editing your music video, you can now export the music video. Click on “Export” button and you will then opt to export the file to Vimeo, YouTube, and Facebook. You can also export to your device or any supported video format. You can also burn the video to a DVD disc.


