Playing video in reverse is also a very popular effect nowadays widely used in video making. There are many different video editing reverse video makers, and you can also reverse a video in Windows Movie Maker, but most of them only provides limited functionality. Moreover, most of them are also very complicated to use, and you will have to be professional to use these video editing software. This article introduce a very famous video editor that could be the best reverse video maker in the market to help you easily and quickly make a video playing in reverse.
The Easiest Reverse Video Maker - Filmora Video Editor
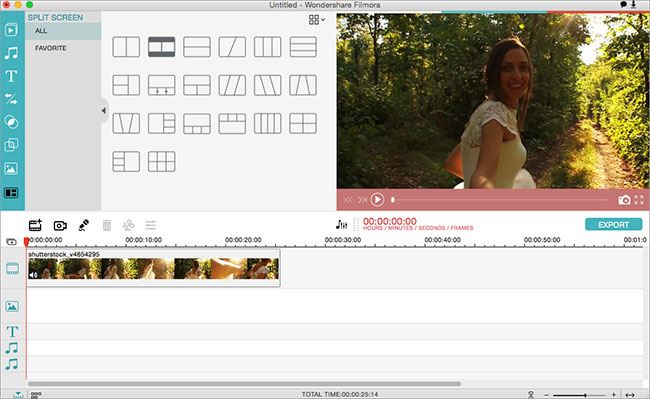
Filmora Video Editor for Mac (or Filmora Video Editor for Windows) is a great reverse video maker that will provide many amazing functions in the best possible way. You don’t have to be a professional to apply the reverse video feature, all you have to do is just click once, and the video will be automatically changed. Apart from the video reversing feature, there are plenty of fantastic transitions available in the software that can be added to these clips to make the perfect final video.
Key Features of Filmora Video Editor:
- Has the amazing splitting and speed changing feature that will let you split one clip into different videos clips;
- Has all the video editing tools including splitting, trimming, cropping, rotating and combing;
- You can also change the speed of each portion using the speed changing feature.
- Export option to share videos to social media platforms directly from this video editing software.
Step-by-step guide on how to reverse a video in Filmora Video Editor
Step 1. Download and launch the program
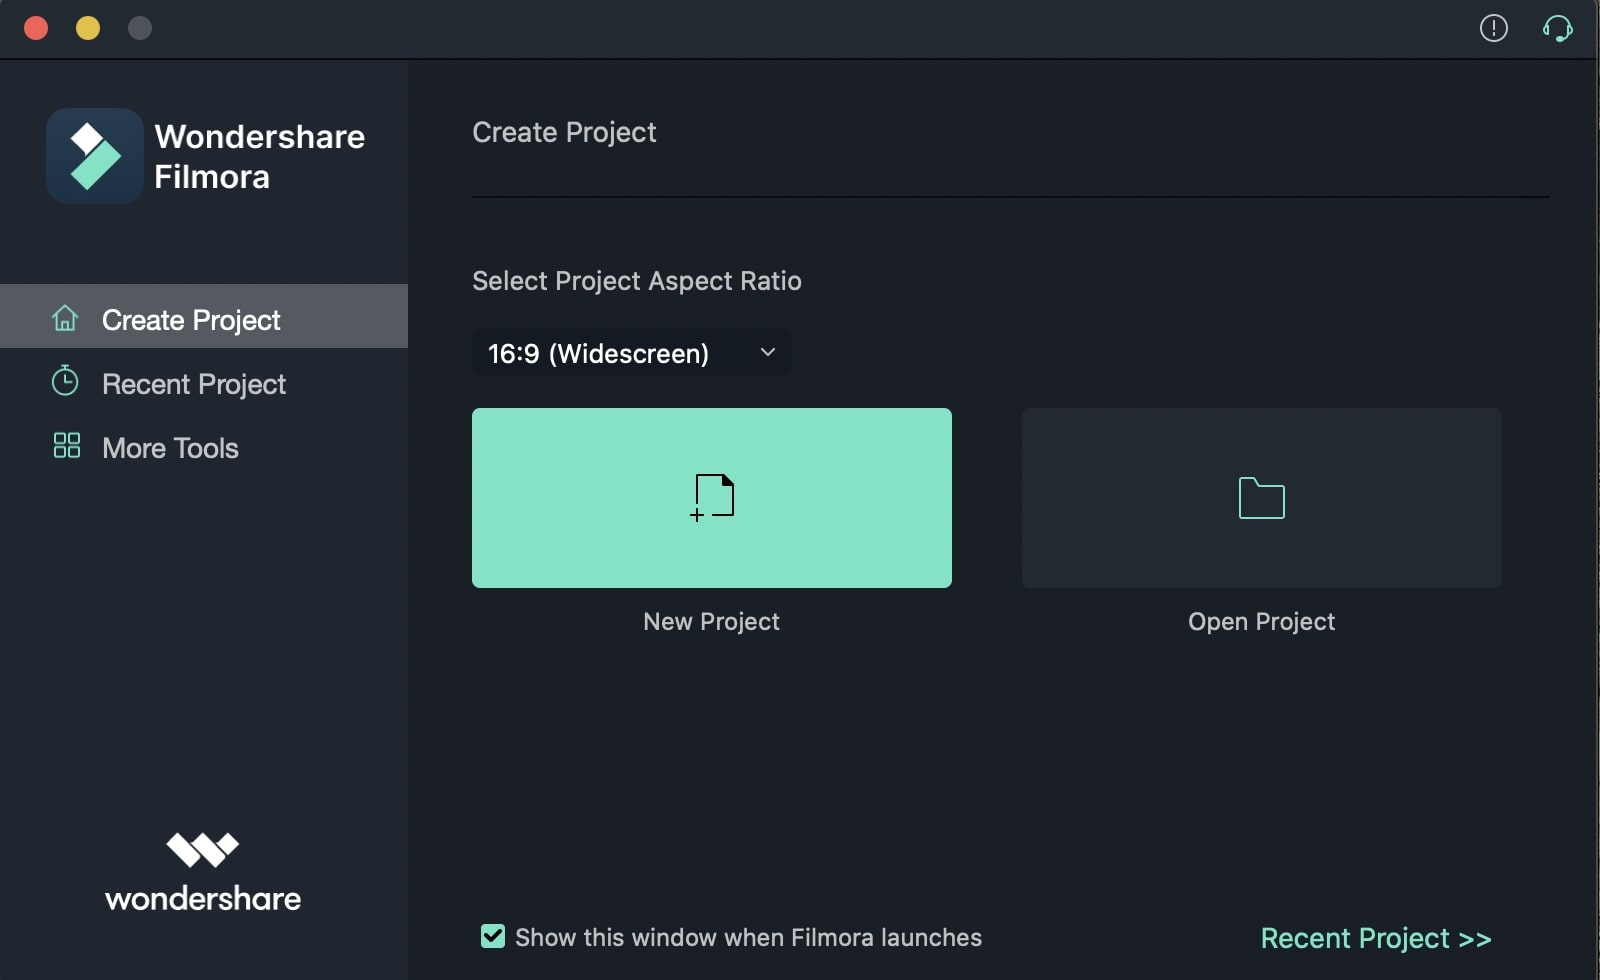
Before you continue, make sure you have downloaded the latest version of Filmora Video Editor on your computer, you can get the latest version from the links given below. Now, select the screen size and use of Filmora Video Editor, we will recommend you to select full-featured mode, because it has all the options to create the beautiful videos in the reverse direction.
Step 2. Import video to the program
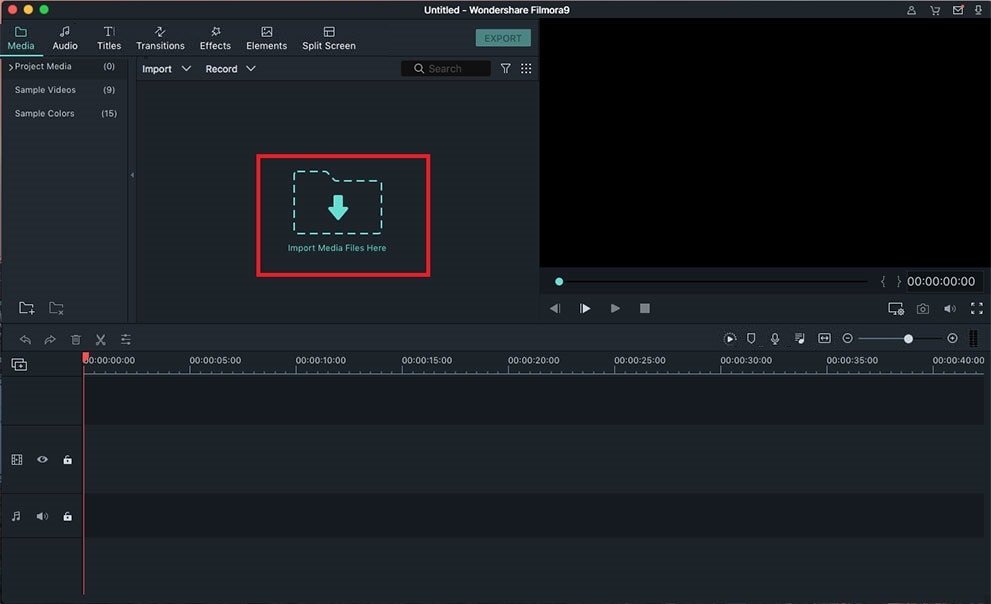
Once you have set everything, now you need to import the media files to Filmora Video Editor, if your video files are present on your iPhone or camera then click on the Import button in the top and select your device. However, if you have already transferred the video files to your computer, click on the Import Media Files here, select the files and click on Load.
Step 3. Reverse the playback of the video
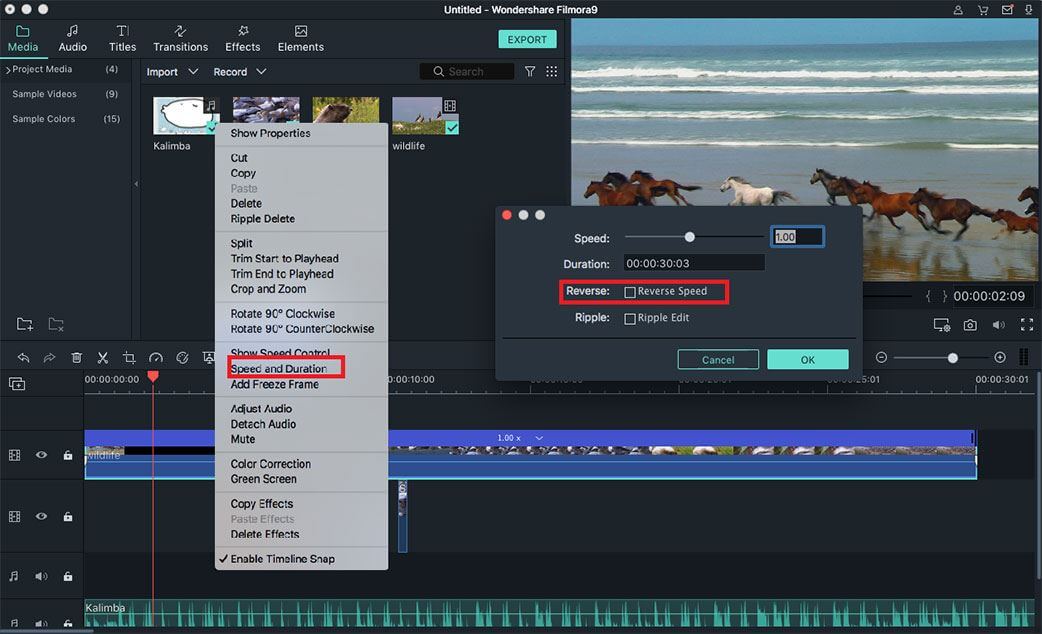
Now, move these media files from the media library to the timeline. You can use the simple drag and drop method to do this task. Now, you will have different options; you can either reverse the playback of the whole video or choose a specific portion and reverse its direction. Here’s how it will work.
Playback the whole video in reverse: Once the video is in the timeline, double click on it and a new windows will be opened. Check the Play Video clip in reverse and click OK. That’s it! Now, the whole video will be played in the opposite direction.
Playback the specific portion in reverse: However, if you want to convert a specific portion in the reverse direction, split the entire video clip into small other clips. Move the red cursor to a specific point, right Click on a video clip in timeline and select Split.
Note: similarly, you can split it into as many video clips as you want. Once you have split the video clip, follow the above-mentioned method to apply reverse playback on the specific portion. You can also change the speed of a particular portion or the whole video. Double clip on a recent split clip and control the speed of the video clip from speed bar.
Step 4. Export the video
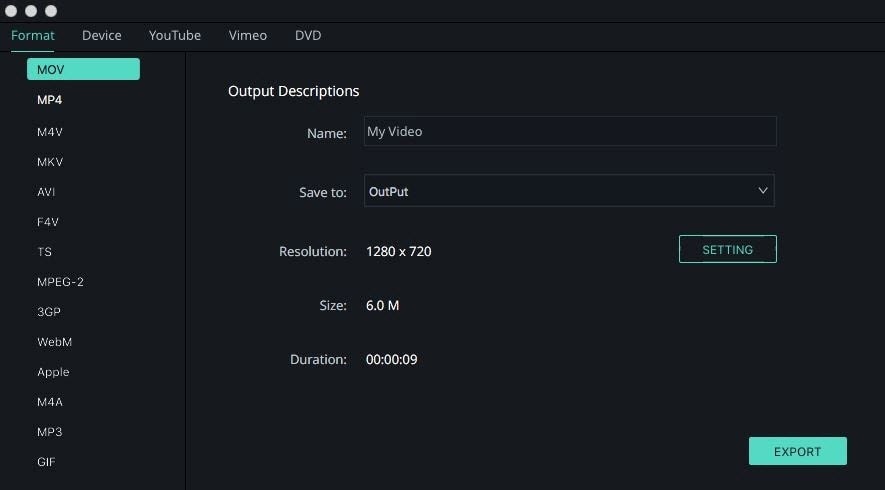
Once you have reversed the playback, click on the Export button to export the video. Here, you can export the clip in a particular format; you can also use the preset options for the different devices or can upload the clip directly to the YouTube, Vimeo or Facebook.


