To crop video frame size there are many programs which are used and each of these work in the best manner. The trick here is to choose the one that has been rated high by the users. The tutorial of how to crop the frame of a video and the best program will be discussed in this article.
The Best Tool to Crop Video Frame
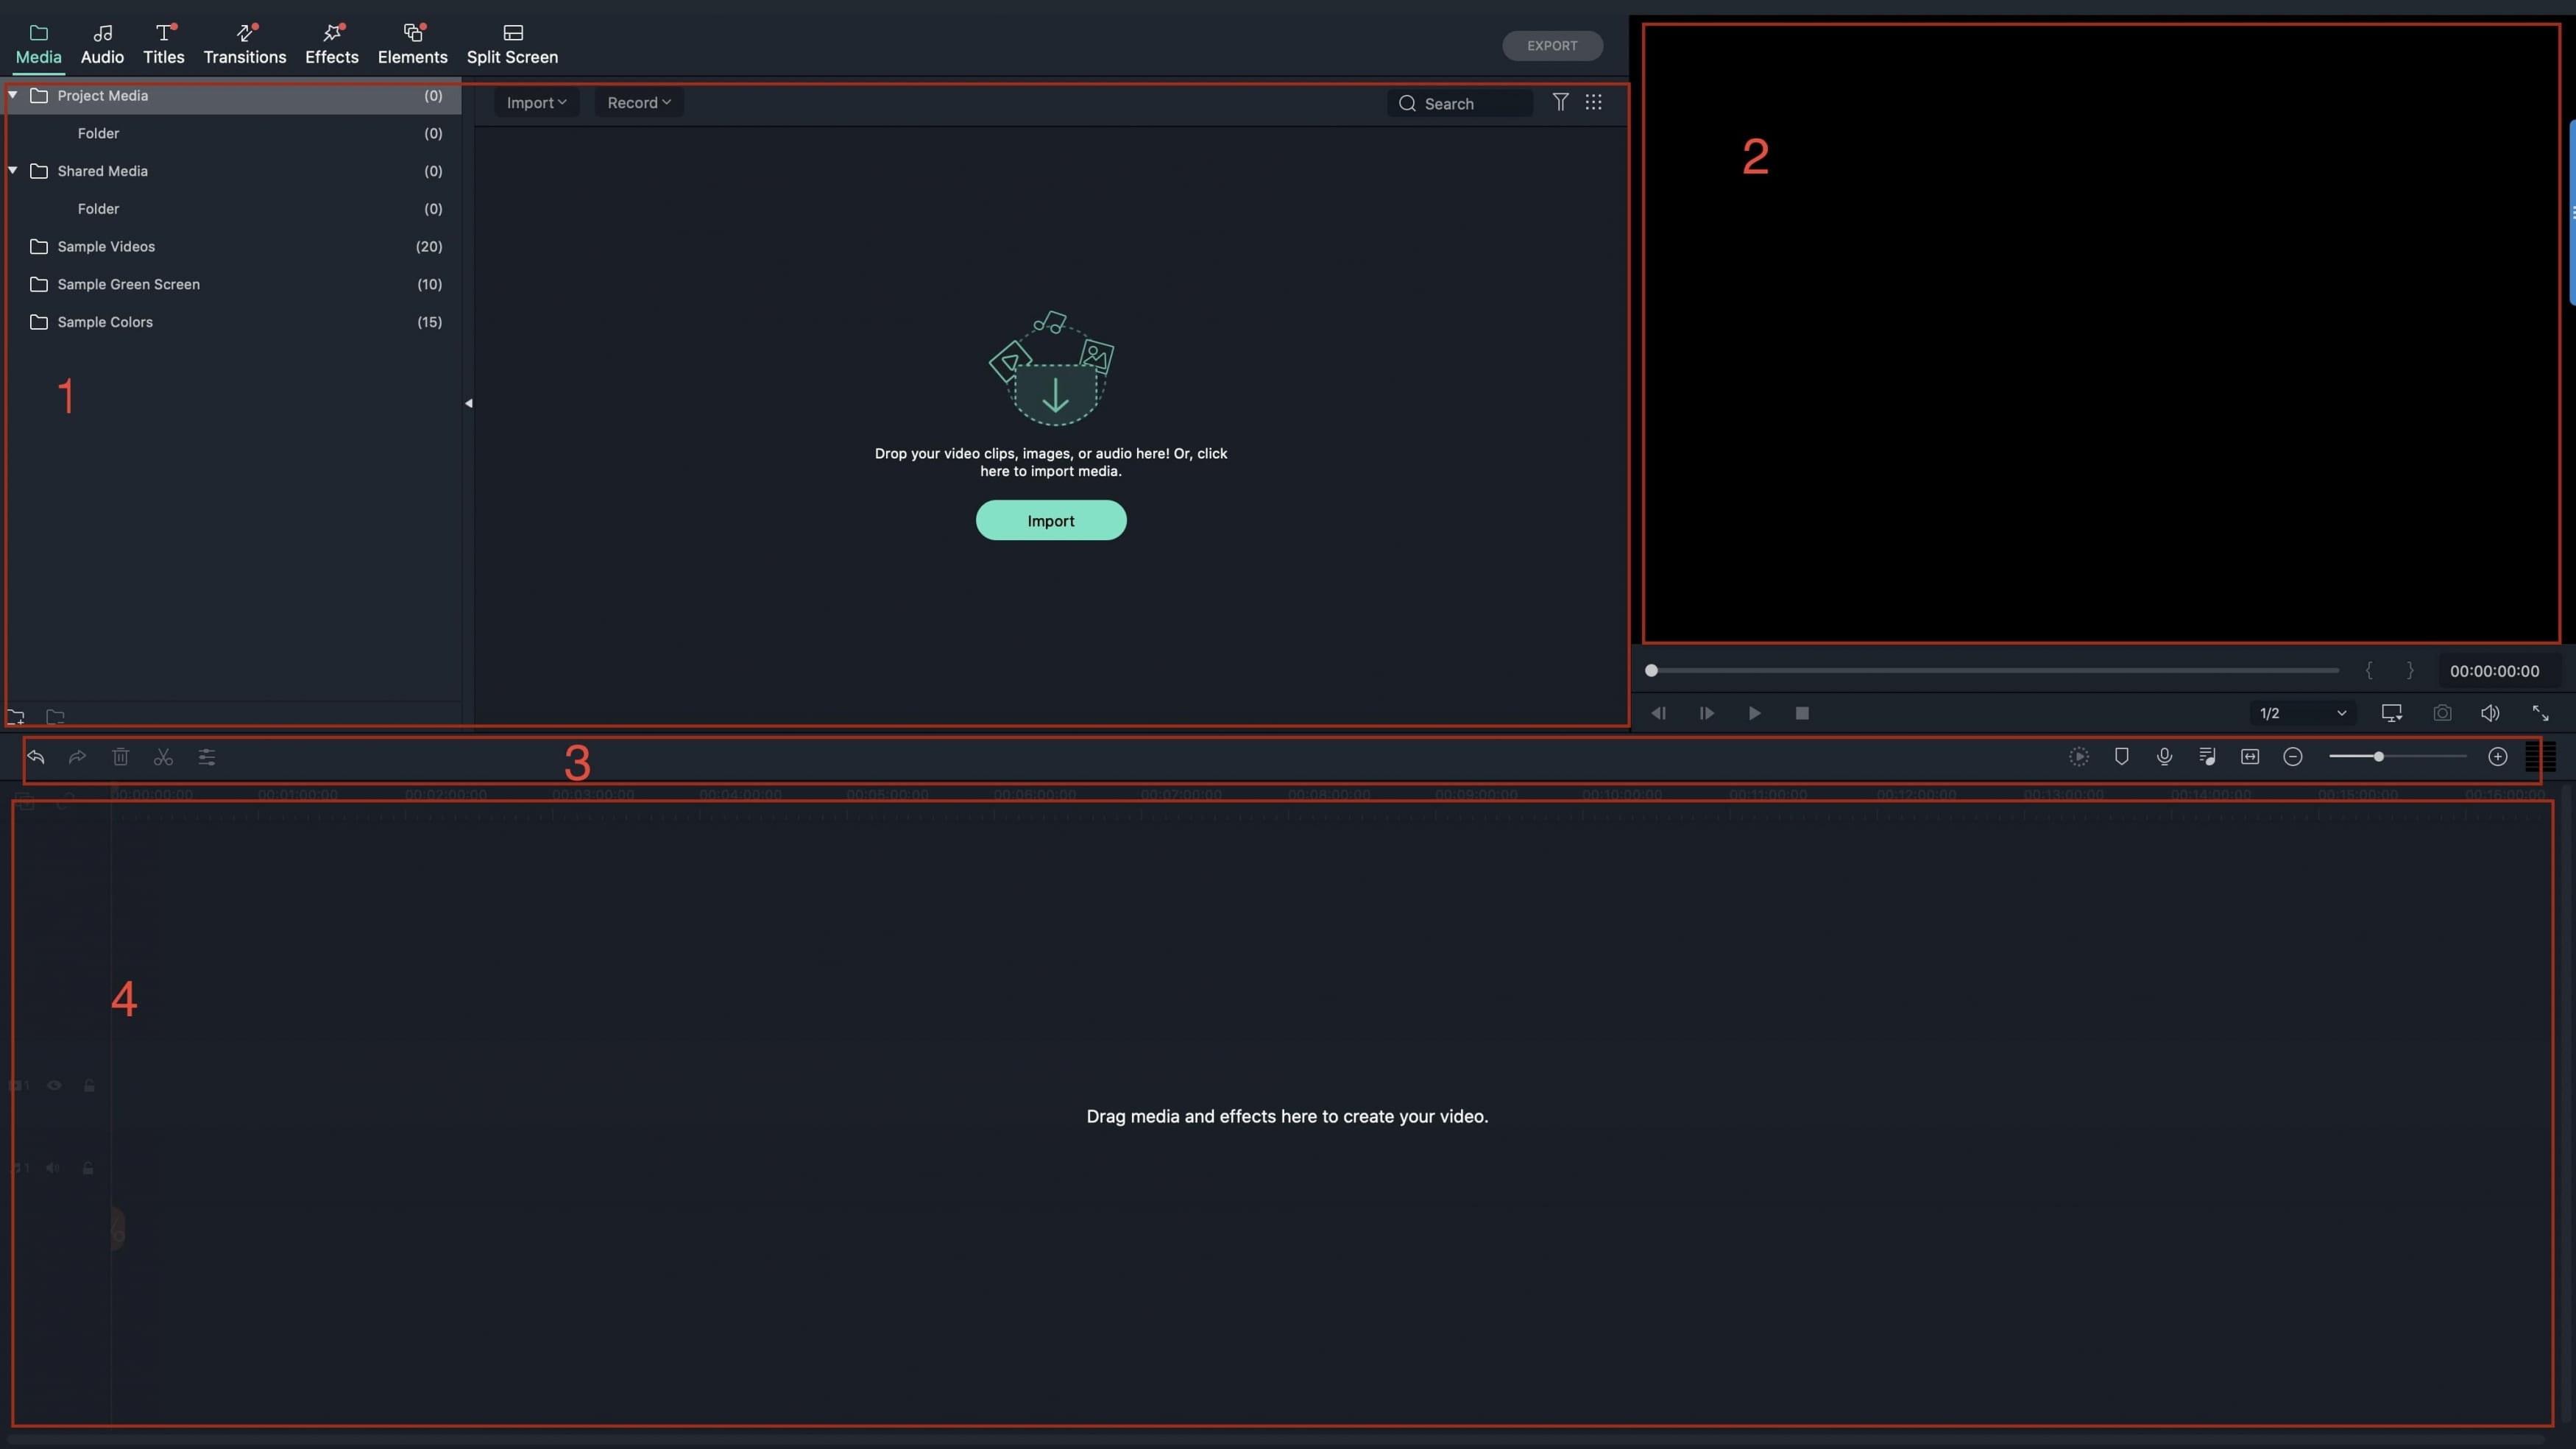
Filmora Video Editor for Mac is the best and the most advanced program which can be used to crop the video frames. The eventual outcome using this program is of very high quality. The best part of this program is the fact that it is not only intuitive but it also gets the work done within no time at all. The use is simple and the interface has also been simplified. The regular updates make this program as one of the best and keep it up to the mark.
- The program imports videos from any platform which includes Facebook, Twitter, Cam and computer hard drive.
- There are many basic features which are included in this program it includes trimming, brightness adjustment and volume control.
- The advance features such as tilt shift, add mosaic and green screen can also be applied using this program.
- Filter and transitions can also be added using this program. There are about 200+ filters which can be added to make videos professional.
- The videos can easily be shared to social media platforms directly from the program and there is no need of exporting it to computer.
How to Crop Video Frame on Mac
The process which is associated to the video cropping has been made too simple by this program. The steps which are included are mentioned as under. This process is an answer to all the users searching for phrase how to crop a video frame. It is the best alternative to crop video frame online which is offered by several sites.
Step 1: Download and Launch Filmora Video Editor
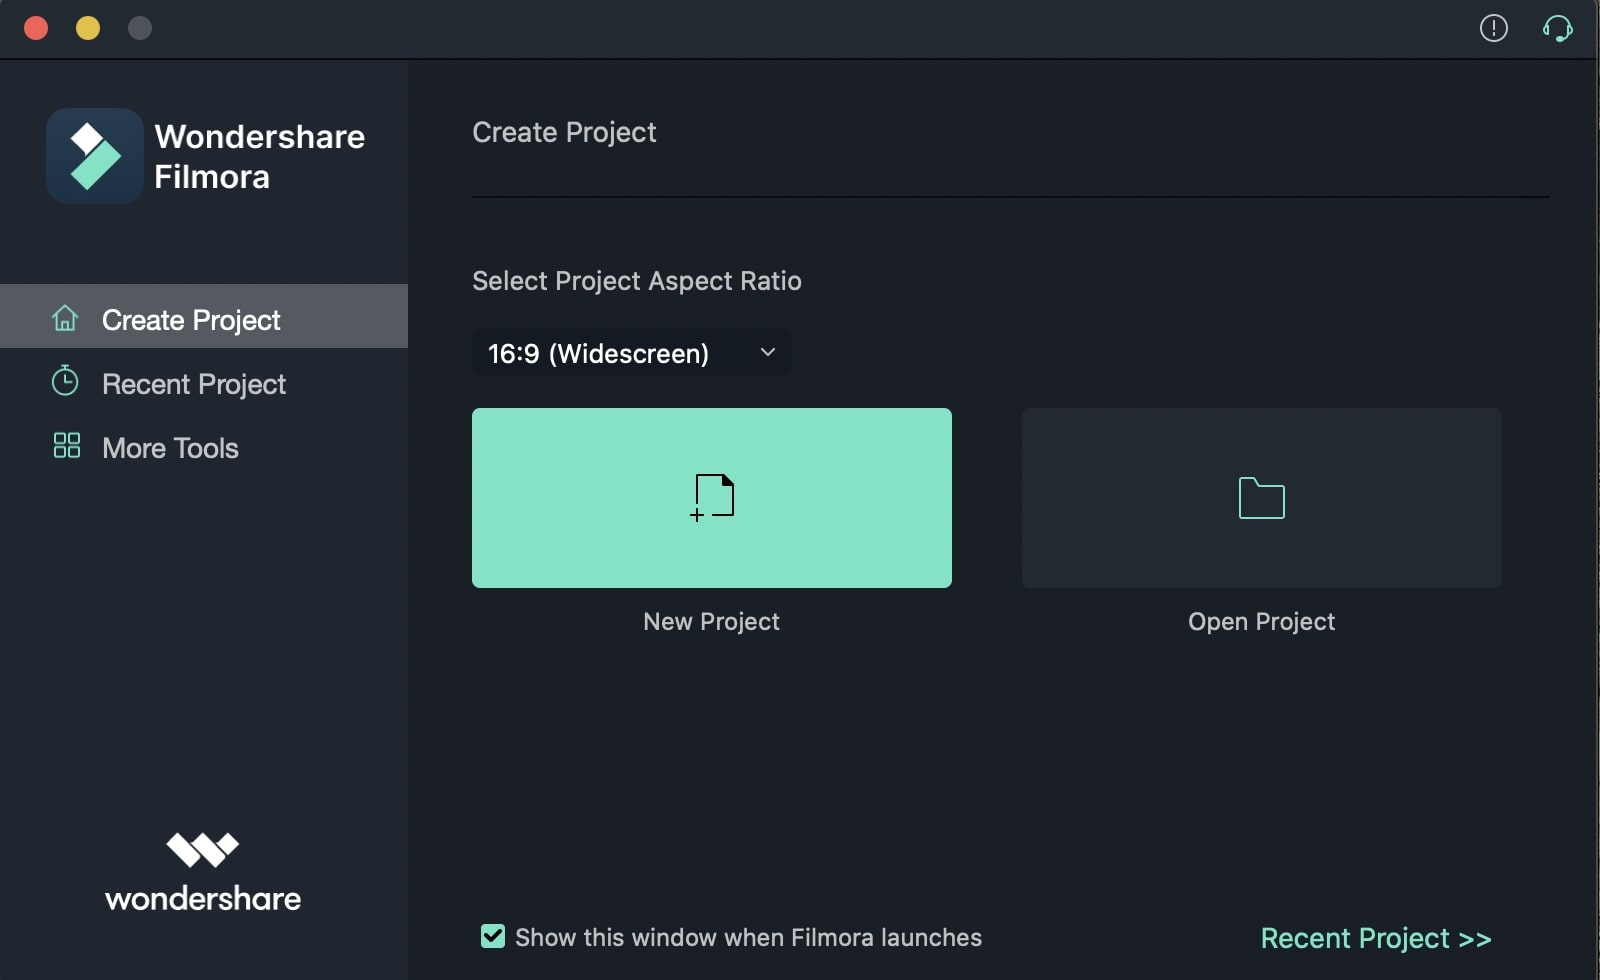
Firstly download and install the prog ram on your Mac. Once the installation has been finished, launch the program and select "Create New Movie" when you see the following interface.
Step 2: Import videos to the program
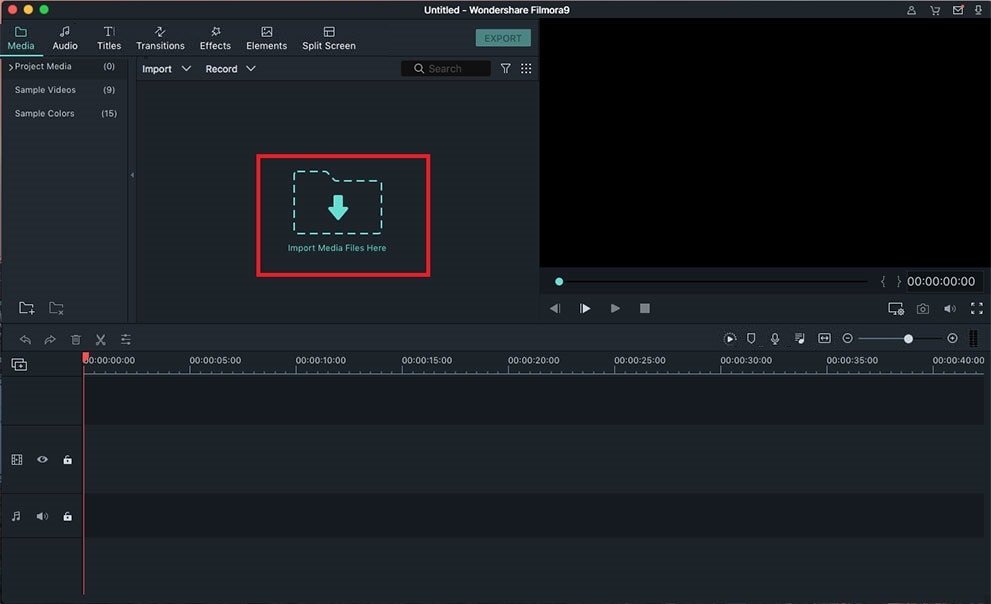
There are 5 ways of import video to the program. It can be dragged and dropped to the program. The import video text on the main interface can be hit to perform the task. The file can also be imported from the file menu. The + icon can also be pressed to import the video and the first icon above the timeline can also be pressed to get the work done.
Step 3: Freeze a frame
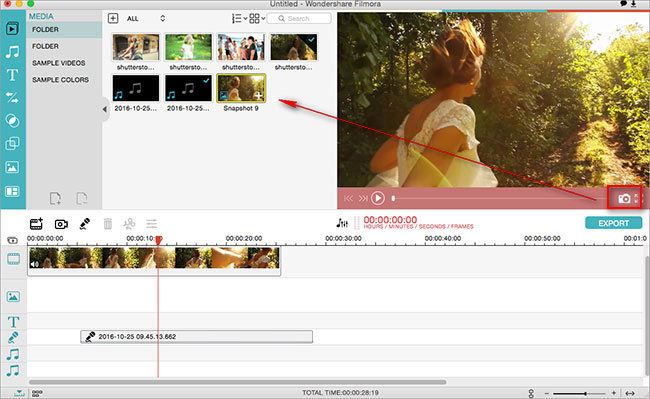
Then,drag the video imported to the timeline. Click the camera icon to take the snapshot of the frame. Once the snapshot is taken drag the picture to the location where you want to freeze the frame and double click it to adjust the duration.
Step 4: Crop video frame
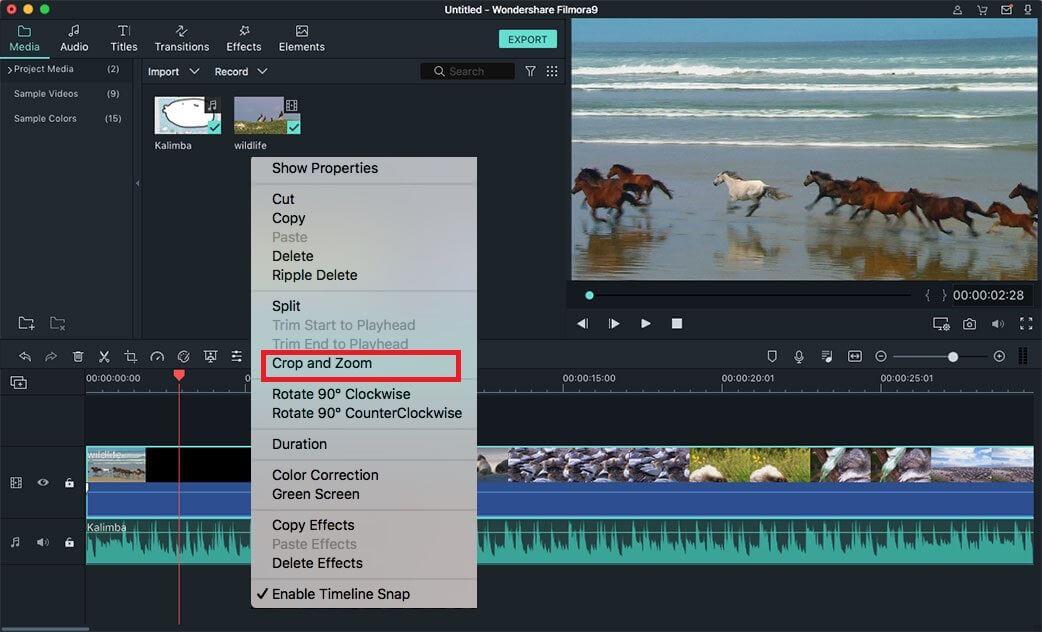
There are two ways of cropping the video frames. Right click on the video on the timeline and select crop and zoom. The crop and zoom button above the timeline can also be pressed to ensure that the function is performed. A new window opens and there are 3 sizes. 16:9, 4:3 and manually. If 16:9 and 4:3 is selected the frame should be adjusted and if manual cropping is to be done then the frame can be freely adjusted as per needs.
Step 5: Save and export video
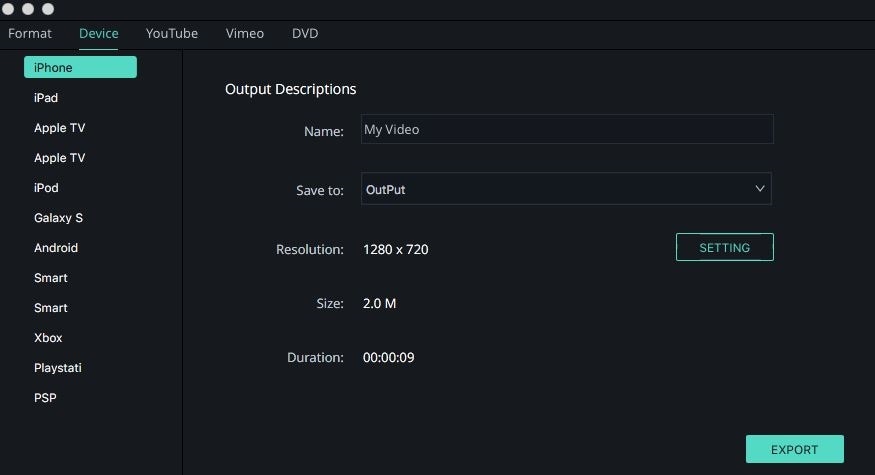
Preview the video to make any amendments if necessary. Click the play button to ensure that the edited version is played over and over. It will ensure that any changes that are to be made are done beforehand. Press the export button above the timeline to open the export window. Select the format type and change the wide range of settings in the window. The configuration of the video can also be changed to get the desired results. Once the settings are done it is advised to press "Create" to export the video. This also completes the process in full.
