Have you wandered looking for the best tool to extract audio from your FLV videos? There is no reason to worry anymore because here is your home for audio extraction. In this article, you shall receive a thorough guide on how to extract audio from FLV video using the best audio extractor - Filmora Video Editor.
- Part 1: How to Extract Audio from FLV Video - Filmora Video Editor
- Part 2: How to Extract Audio from FLV - iSkysoft iMedia Converter Deluxe
Part 1: How to Extract Audio from FLV Video - Filmora Video Editor
Filmora Video Editor is an outstanding standalone tool that brings home audio extraction and several other amazing videos and audio editing. If caught between a hard place and a rock hunting for a powerful tinker tool, then Filmora is the ideal one-shot solution. The tool has continuously garnered an incredible number of devotees owing to the great and perfectly integrated bunch of useful capabilities. Free of bias, this comprehensive program sparks video editing with absolute fun and effectiveness.

- This amazing tool features a user-friendly interface characterized by elaborate icons and clear instructions. This plays a crucial role in easing user navigations.
- Filmora Video Editor is supported by several devices available in the market which include both the new and old ones like iPhone, iPad, Apple TV, PS4, Android Generic, Nexus, and iPod just to mention but a few.
- This excellent software supports import and export of a variety of popular media file formats such as WMV, MP4, WAV, MP3, GIF, WEBM, 3GP, TS, and MOV among others.
- With this top-notch tool, users can export their files or projects to social sites such as Facebook, YouTube, and Vimeo among others.
- There are several editing features ranging from basic to advanced ones tailored to enhance the appearance of video as per your need.
User Guide to Extract Audio from FLV Video using Filmora Video Editor
Step 1. Open the Program
Tab the Filmora Video Editor icon on your computer to open the main interface. However, if you have not installed the program, simply download the right version and get it installed on your PC.

Step 2. Import Your FLV Videos
On the main window, navigate to “Import” button and click the drop-down arrow to display a list of upload options. Choose “Import Media Files” option to open the file explorer. Select the respective FLV files and click “Open” to upload them to the program’s media. If the FLV videos have been saved in one folder, just choose the “Upload a Folder” option.

Step 3. Detach Audio
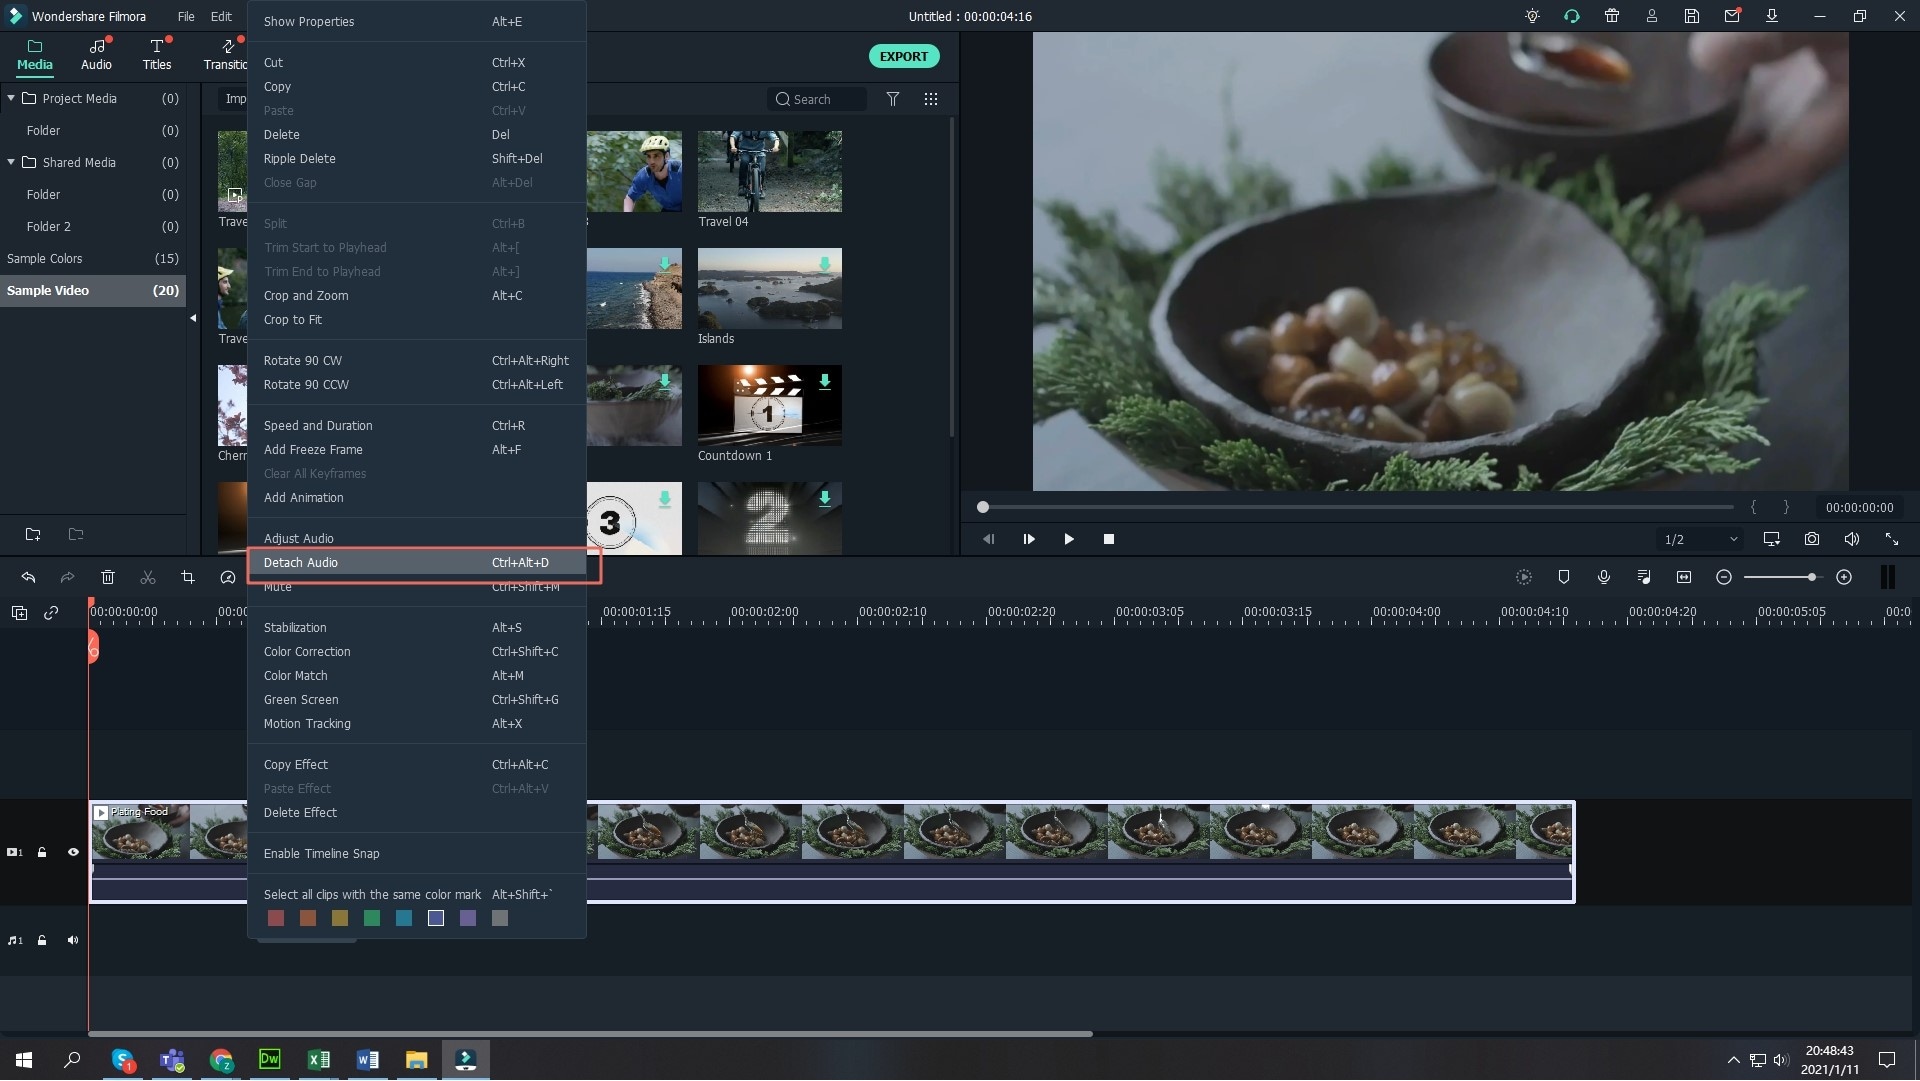
Once successfully uploaded, the FLV videos shall be placed under the “Media” menu. Select the FLV video you would like to detach its audio and drag it to the timeline at the bottom of the program’s window. At the timeline, right-click the respective video and choose the “Detach Audio” option from the list displayed. After a while, the program would display both the audio track and video on separate timeline tracks. If you don’t want to retain the video part, just right-click and select “Delete” hit the delete button on your keyboard of course once highlighted.
Step 4. Export Detached Audio
Hit the “Export” button and select “Create”. From the output window, choose the desired audio format, provide a convenient save path, and click “Export” to complete.

Part 2: How to Extract Audio from FLV - iSkysoft iMedia Converter Deluxe
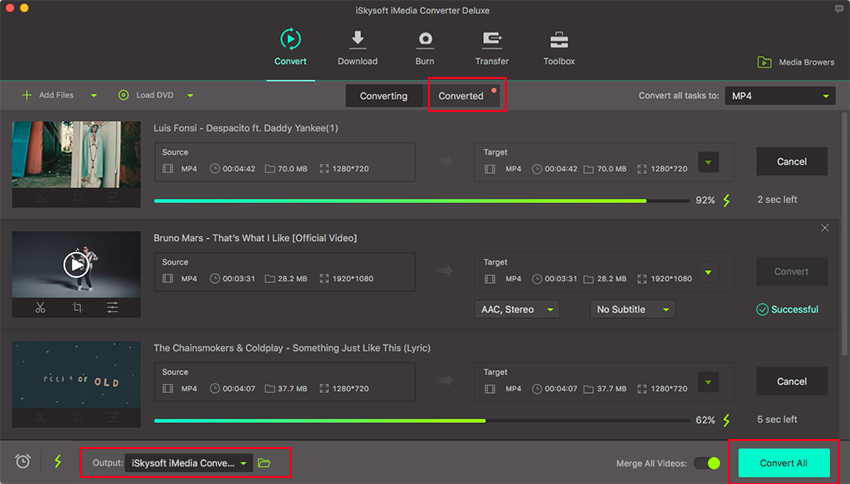
iSkysoft iMedia Converter Deluxe is definitely a fine audio extractor which perennially features among the top-notch video and audio management tools. This fast converter is equipped with several standout features that make it a definite choice for a multitude of users across the continents. The program’s compatibility is unquestionable as you will find it easy to connect and transfer files across several hot devices.
- iSkysoft iMedia Converter Deluxe makes it super easy to convert videos to any format. Users can input any video, directly from the device directly to more than 150 output formats.
- This incredible program offers lossless conversion of videos at a speed rated at around 90X faster.
- With iSkysoft iMedia Converter Deluxe, you can convert online videos from more than 1000 sites including Facebook, Hulu, VEVO, Dailymotion, and YouTube among others.
- This program lets you share your awesome videos with friends by transferring them portable devices like iPhone, iPad, and Android phones as well as hard drives.
- With this program, you can convert, backup, edit, and burn your DVD in an all-in-one platform.
Simple Steps to Extract Audio from FLV Files Using iSkysoft iMedia Converter Deluxe:
Step 1. Upload FLV Files
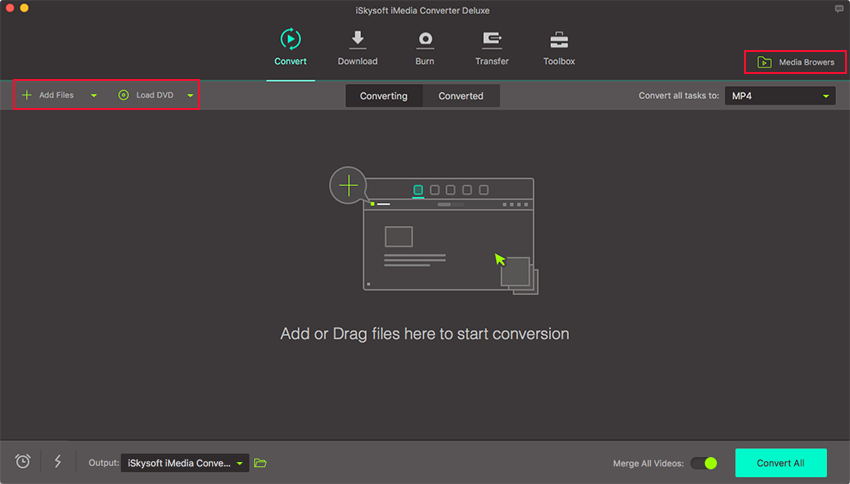
Click the “+Add” button at the top right corner to display the file explorer window. Select the FLV files of interest and click “Open” to upload your files to the program. To upload multiple files for batch conversion, simply press the Shift or Ctrl key on the keyboard and select these files using the mouse. Alternatively, you can drag and drop the respective FLV files to the program's interface.
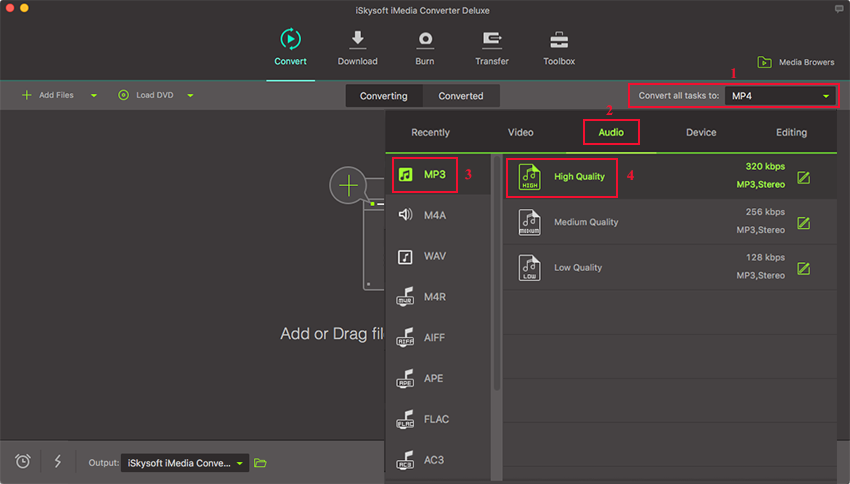
Step 2. Extract Audio from FLV
Click on the “Format” icon and select “Audio” from the list displayed. Choose a suitable audio format like MP3, WAV, among others. Adjust resolution or other parameters in order to create your own presets. However, this is not mandatory.
Step 3. Start Conversion
To change your save path, just navigate to Menu > Preference > Location. Select a convenient save path where you can easily access and locate your file. When done, just hit the “Convert All” button if you are performing batch conversion. However, if you are dealing with a single file, click the “Convert” button instead. The “Convert” button is located beside individual file.
