Why Do I Failed to Edit Videos with iMovie on Mac OS X El Capitan?
Whether the problem is that your audio isn’t in sync with the video, you have trouble converting videos to another format, can’t add background music or you have a different issue, a lot could go wrong with using iMovie in El Capitan. The problem is that the OS is currently in beta, so Apple is still working on fixing the bugs. Until the final version is released later this year, you don’t have a choice but to either wait it out, or find an alternative to iMovie. If waiting isn’t an option, luckily for you, there’s a pretty decent substitute that you could use.
- Part 1. Best Alternative to iMovie to Edit Videos on Mac OS X 10.11
- Part 2. Edit Any Video with iMovie after Converting Videos to iMovie Supported Format
Part 1. Best Alternative to iMovie to Edit Videos on Mac (macOS 10.13 High Sierra Included)
If you encounter the problem of iMovie cannot work on Mac EL Capitan, you can get help from iMovie alternative - Filmora Video Editor. It is the best iMovie alternative for Mac EL Capitan (macOS 10.13 High Sierra included). This video editing software allows you to edit videos easily with basic editing tools and advanced editing tools. To make your video charming, you can apply video effects from the free effects library or effects store.
Key Features of Filmora Video Editor:
- Drag and drop to import videos, photos, audio for editing.
- You can cut, rotate, trim, crop and join video easily.
- Apply effects like filters, elements, PIP, and 300+ more.
- Export video to any format to fit iPhone and Android devices.
Detailed Guide on How to Edit Videos on Mac 10.13 High Sierra with Filmora
1. Adding Videos
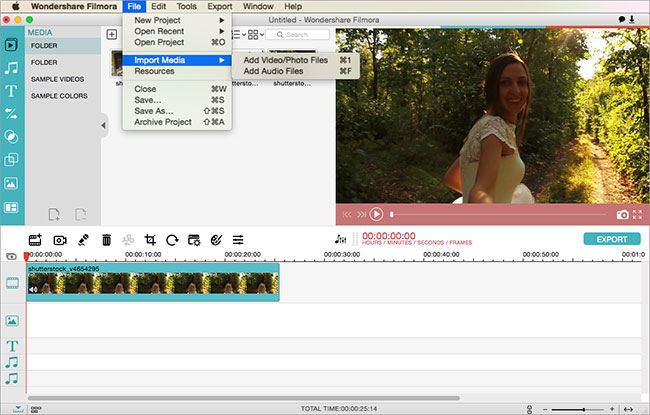
Download Filmora Video Editor and follow the instructions you’re given to install the program. Once you’re done, there are two ways to open your videos: go to "File" > "Add Files" to import files to the app, or you can directly drag the files from the resource browser window to the storyboard at bottom.
2. Timeline Editing
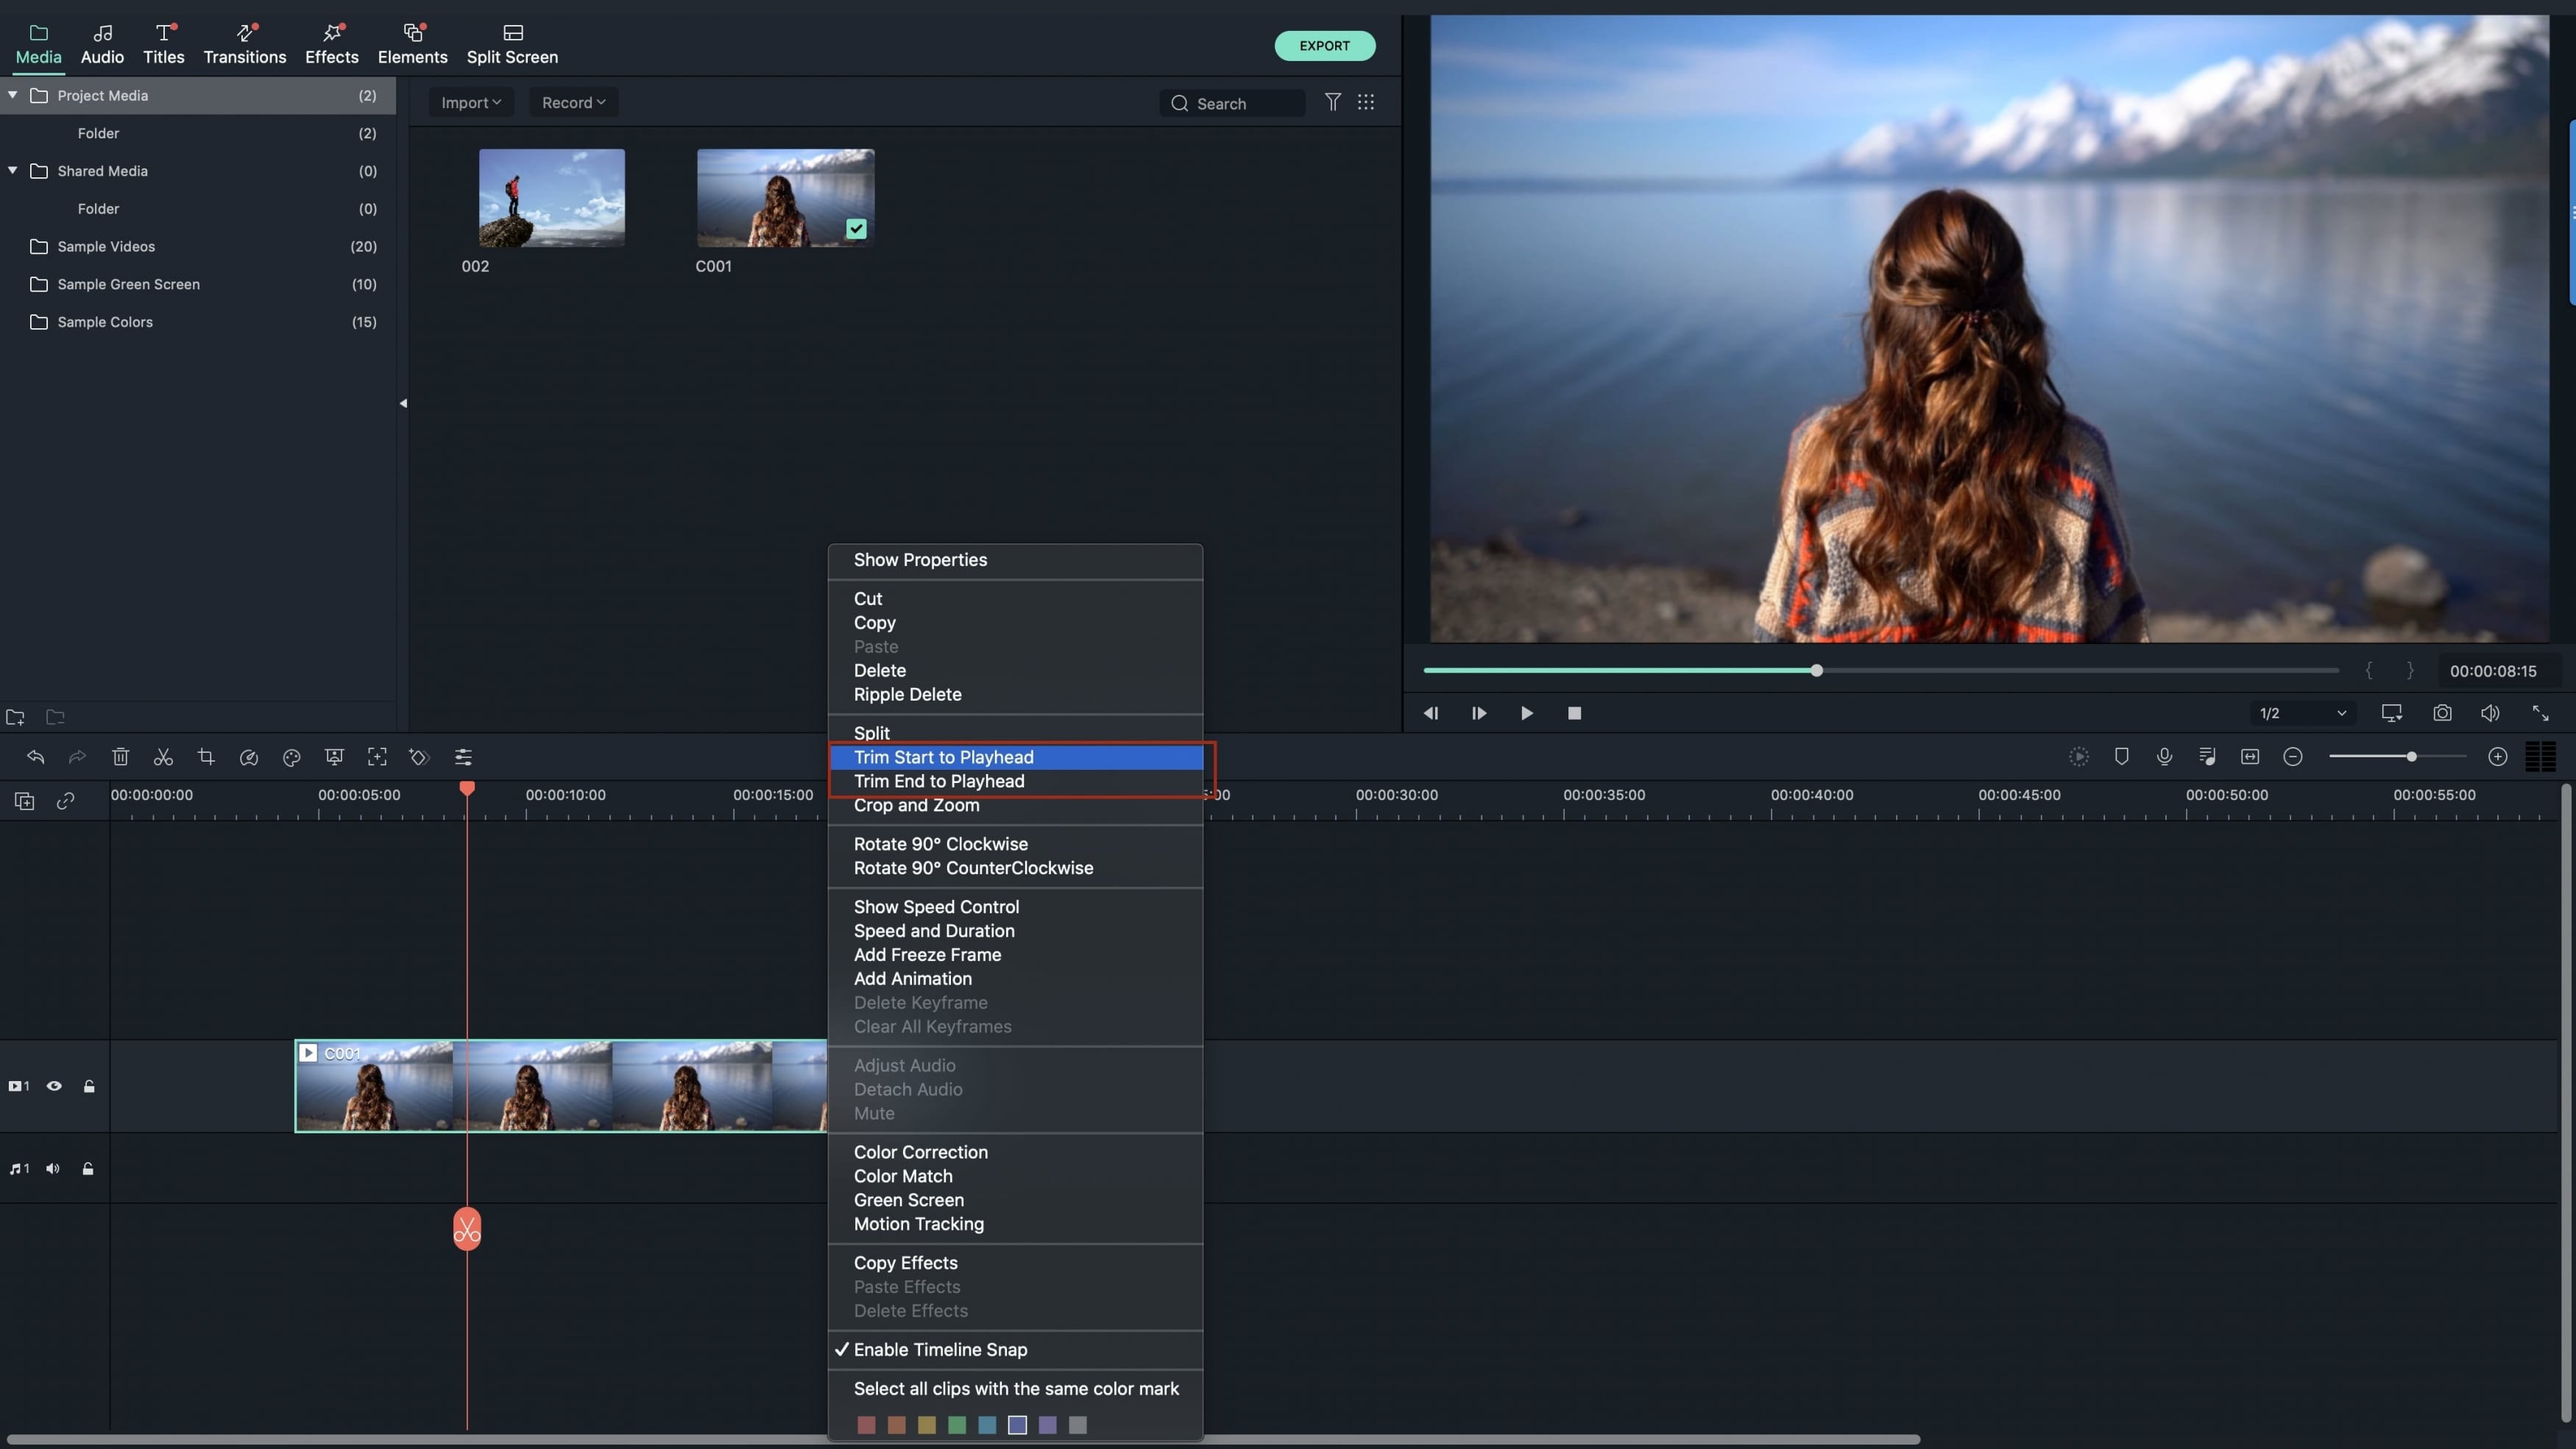
To add your videos to the timeline, you can simply drag them, or right-click and select "Add Clip". To split the video, move the Timeline Indicator to where you want to split it and click the "Split" button (it should be in the upper part of the timeline). Copying, pasting and cropping is just as easy for it’s all visible on the timeline and won’t take a second to understand.
3. Brightness, Saturation and Contrast
To edit some of these properties, as well as hue and the angle of the video, simply double-click your clip and a new window where you can adjust these will open. To switch to audio settings, once you double click, there will be a button in the upper-right corner.
4. Additional Options
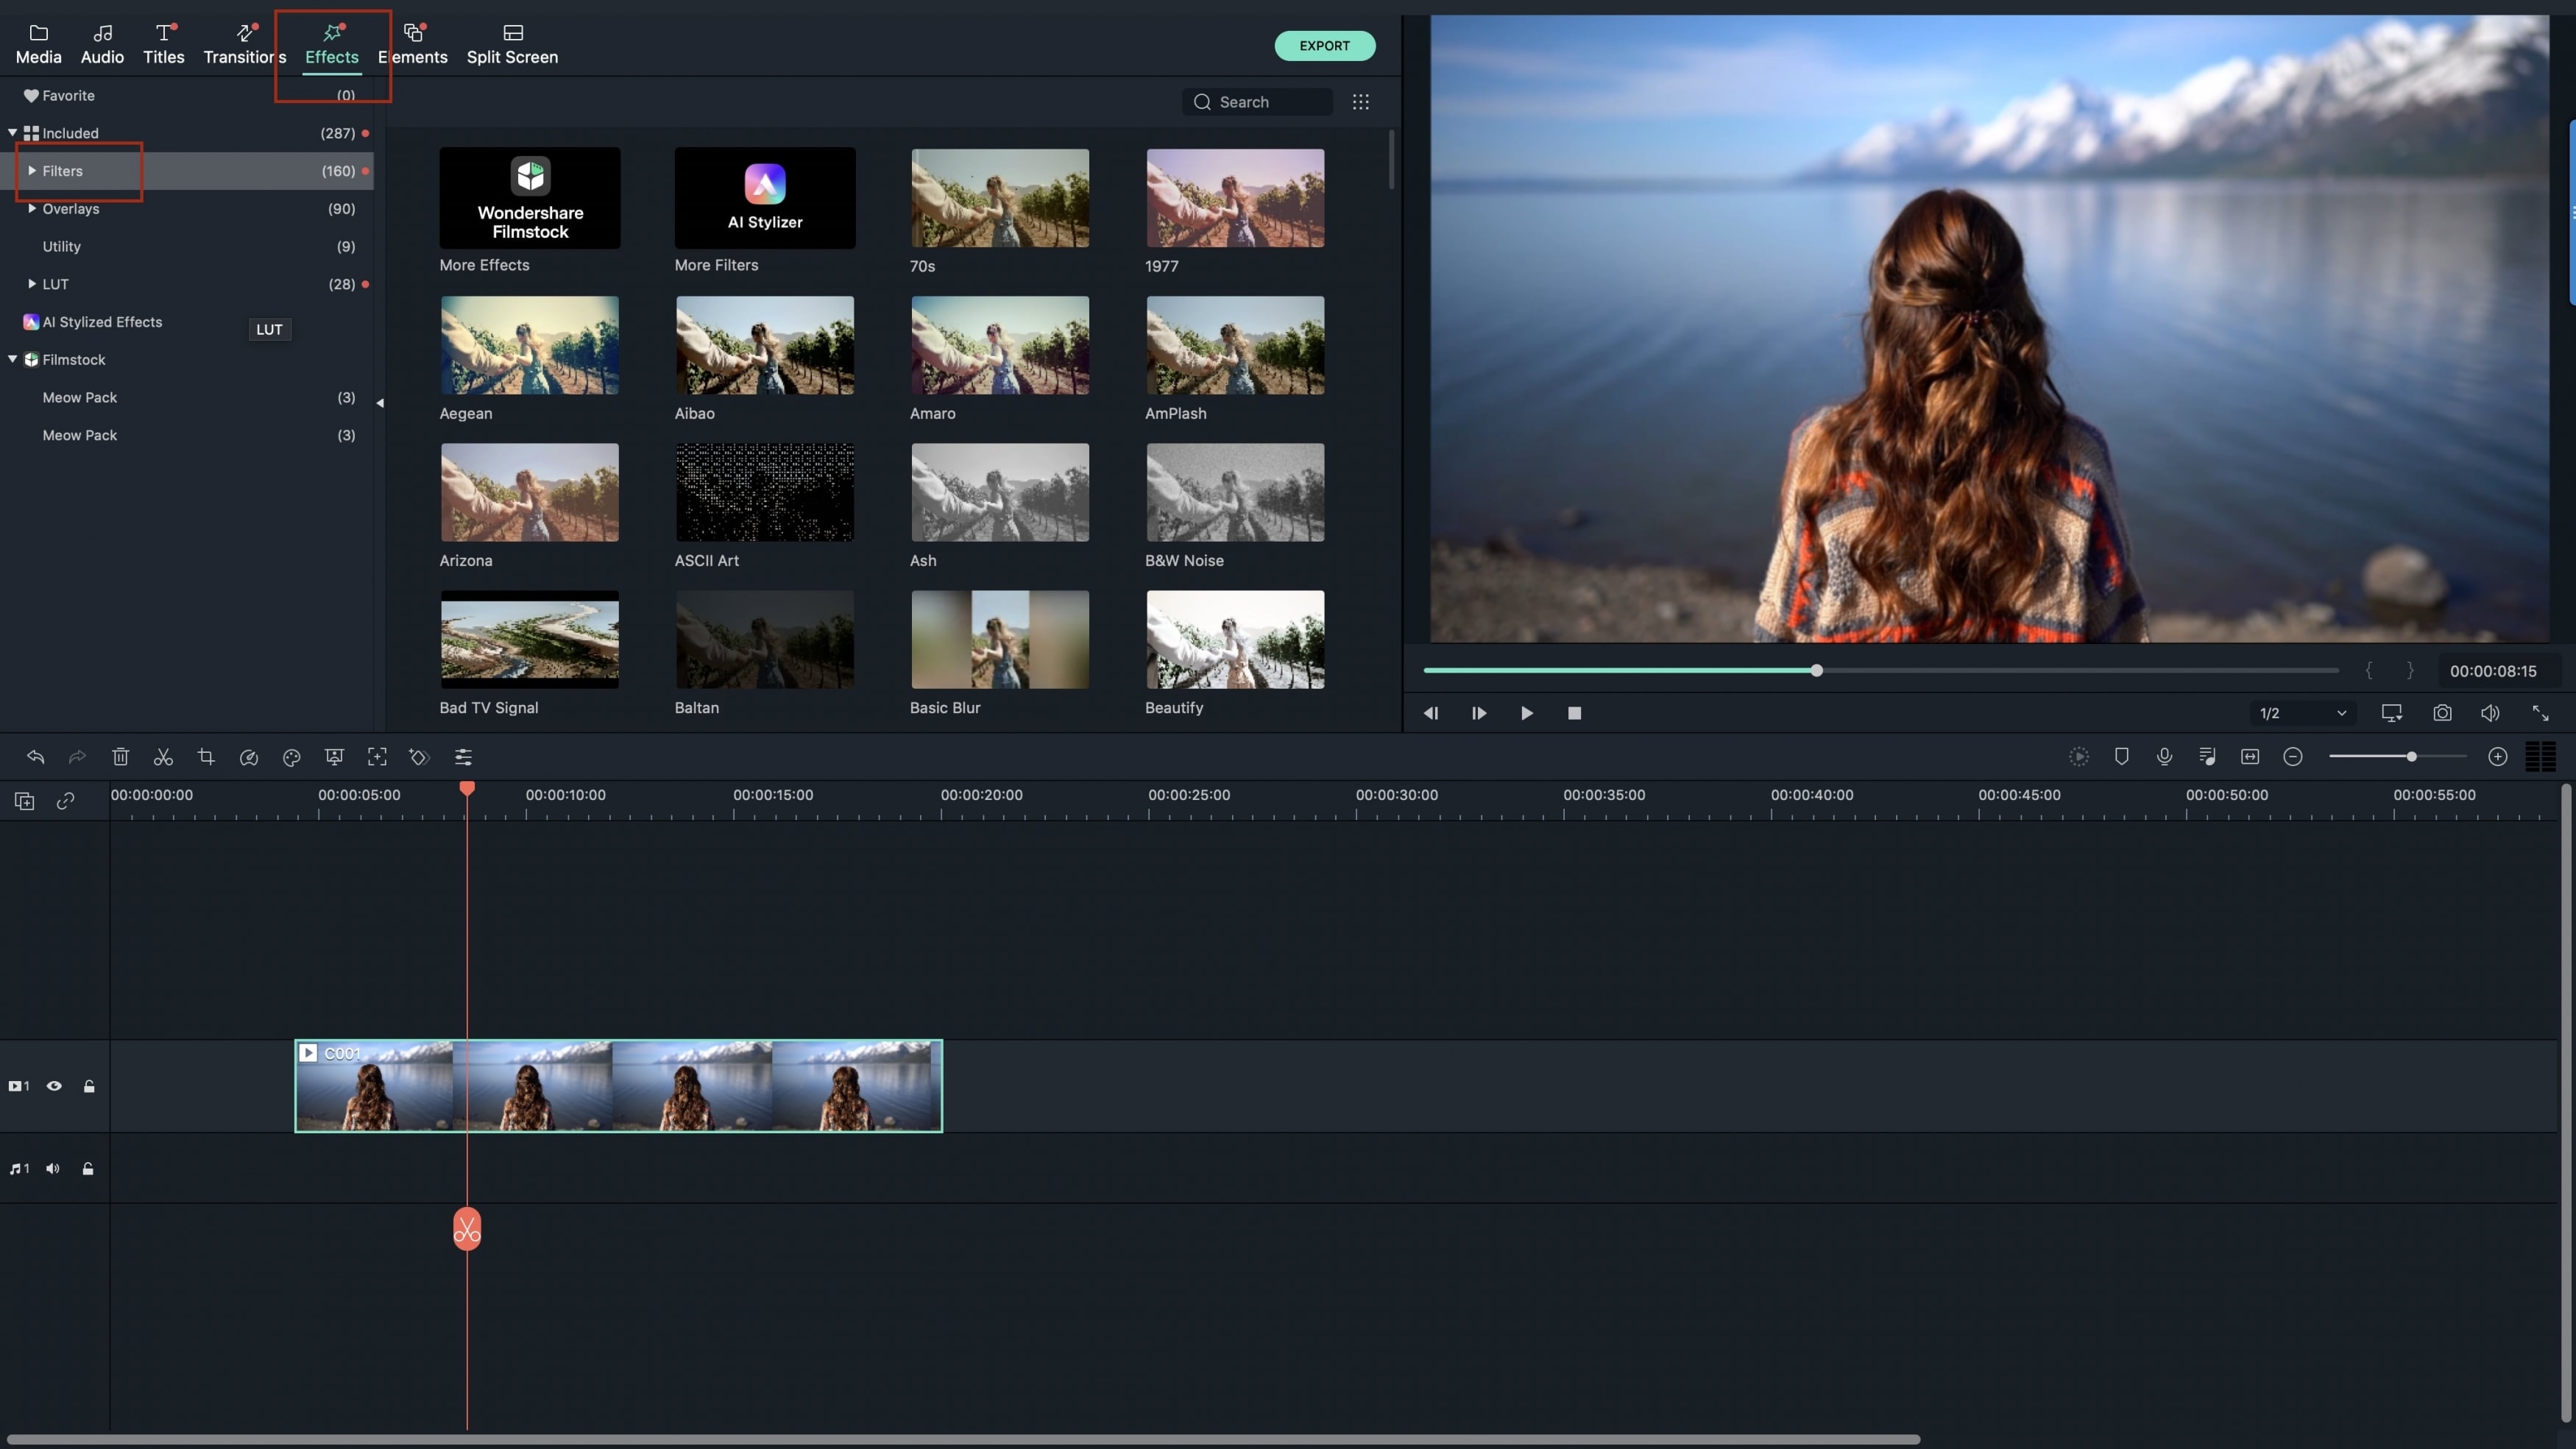
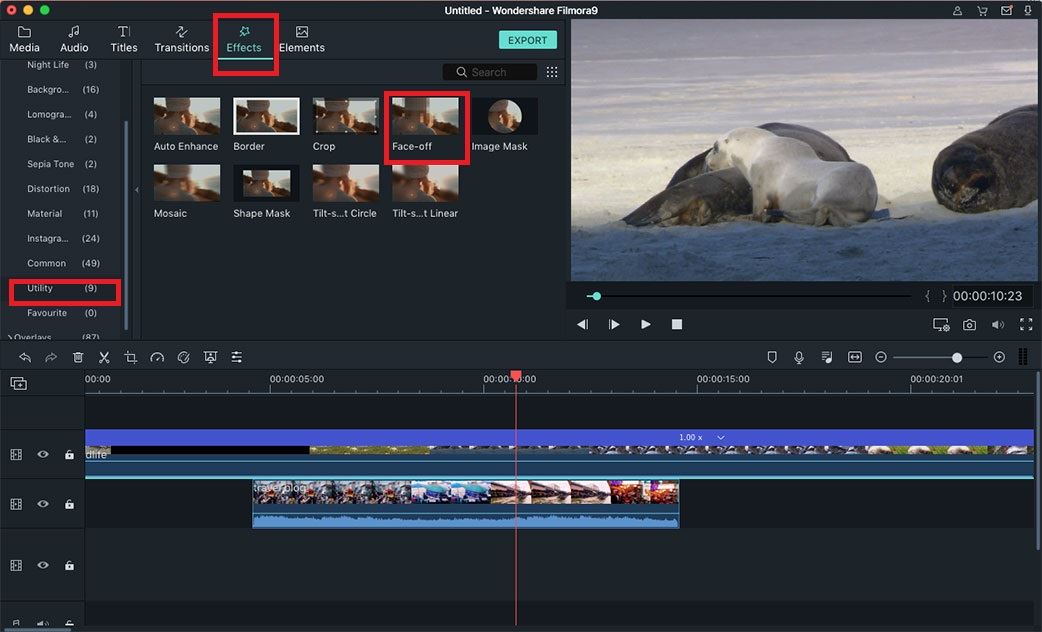
Above the timeline, you’ll see additional features, like adding text, effects, transitions or credits. If you, for example, click on "Transitions", you’ll get a list of all the different ones available (plus, you can download more of them). The same goes for any of these other options. Play around with it, and soon you’ll see just how easy it is.
5. Exporting
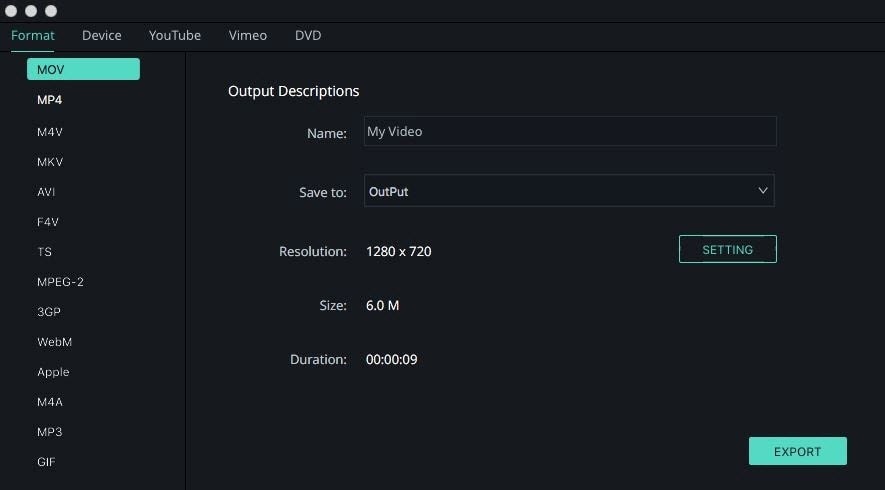
Once your video is finished, click the "Export" button. You’ll have the option to change the name, format, location and upload it directly to Facebook or YouTube, if you want to.
Part 2. Edit Any Video with iMovie after Converting Videos to iMovie Supported Format

iSkysoft iMedia Converter Deluxe for Mac is an additional tool to help you with the process of editing videos. Not only does it allow you edit them like you would with regular Filmora Video Editor, but it also has many useful options, including: downloading videos online, converting 2D to 3D, capturing screenshots, merging multiple videos together, converting to other formats more quickly and without losing quality, using it as a video player and many more.
Step-by step Guide on How to Convert Videos to iMovie Supported Format on Mac OS X with iSkysoft
Step 1. Import Video
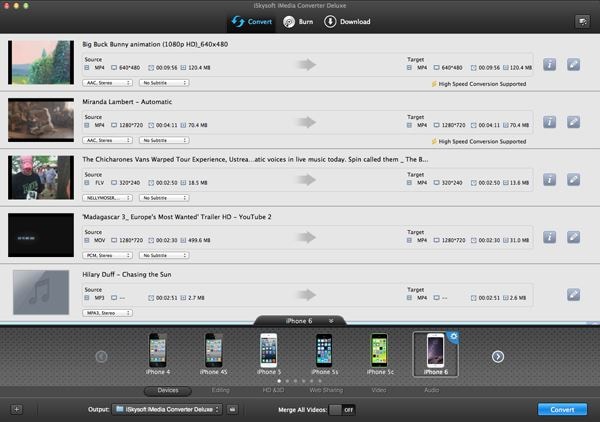
Download and install iMedia Converter. Run the program and load the video files. You can do it either by dragging and dropping your files directly to that app, or by going to "File" > "Load Media Files".
Step 2. Set Output Format
The program offers around 150 different formats to choose from, so if you need to find one more quickly, just type the format’s name into the search window. Here, you need to convert your videos to iMovie supported formats, which include: MPEG-4, MOV, MPEG-2, AVCHD, DV&HDV, etc. For playback on Mac, "MOV" is recommended.
Step 3. Convert
Once everything is set, click the "Convert" button in the lower-right corner of the interface. You don’t need to worry about things like resolution, since the program is really smart and will take care of the technical details for you.


