Is It Possible to Fix Red Eye in Final Cut Pro using Color Correction?
Theoretically it is possible by isolating and fixing individual frames. There doesn’t seem to be a very clear consensus on whether there is an easier way as there is no feature or plug-in to do it, like you would find for still images; however, if you correct the color in the video, you can greatly improve the video quality and may find that it’s a great starting place to achieve your desired effect.
- Part 1: How to Correct Video Color using Final Cut Pro
- Part 2: Simplest Way to Correct Color for Video - Filmora Video Editor
Part 1: How to Correct Video Color using Final Cut Pro
Now you can follow the steps to correct colors of your video in Final Cut Pro:
Step 1. Press Command-7 to open the Video Scopes. The Video Scopes provide information about brightness and color in the current video frame.
Step 2. Click the Settings menu, then select Waveform.
Step 3. Click the Settings menu again, then select Vertical Layout.
Step 4. Click Exposure and adjust Global or individually adjust Shadows, Midtones, and Highlights.
Step 5. Click the Saturation tab and adjust the Global slider or adjust Global or individually adjust Shadows, Midtones, and Highlights.
Step 6. Click the Color tab and adjust the Global slider or adjust Global or individually adjust Shadows, Midtones, and Highlights.
Step 7. Select a color from the RGB display to adjust the overall shading optionally.
Part 2. Simplest Way to Correct Color for Video using Filmora Video Editor
Filmora Video Editor software has proven to be the best software to correct colour of your videos since it enables you correct video; brightness, saturation, tint, and hue. Moreover, it is also built with advanced tuning effects. Furthermore, you can correct the colour of the video and preview them in real time. With this software, you do not have to worry about compatibility since it supports both Windows and Mac operating system. Other features of this software are highlighted below.
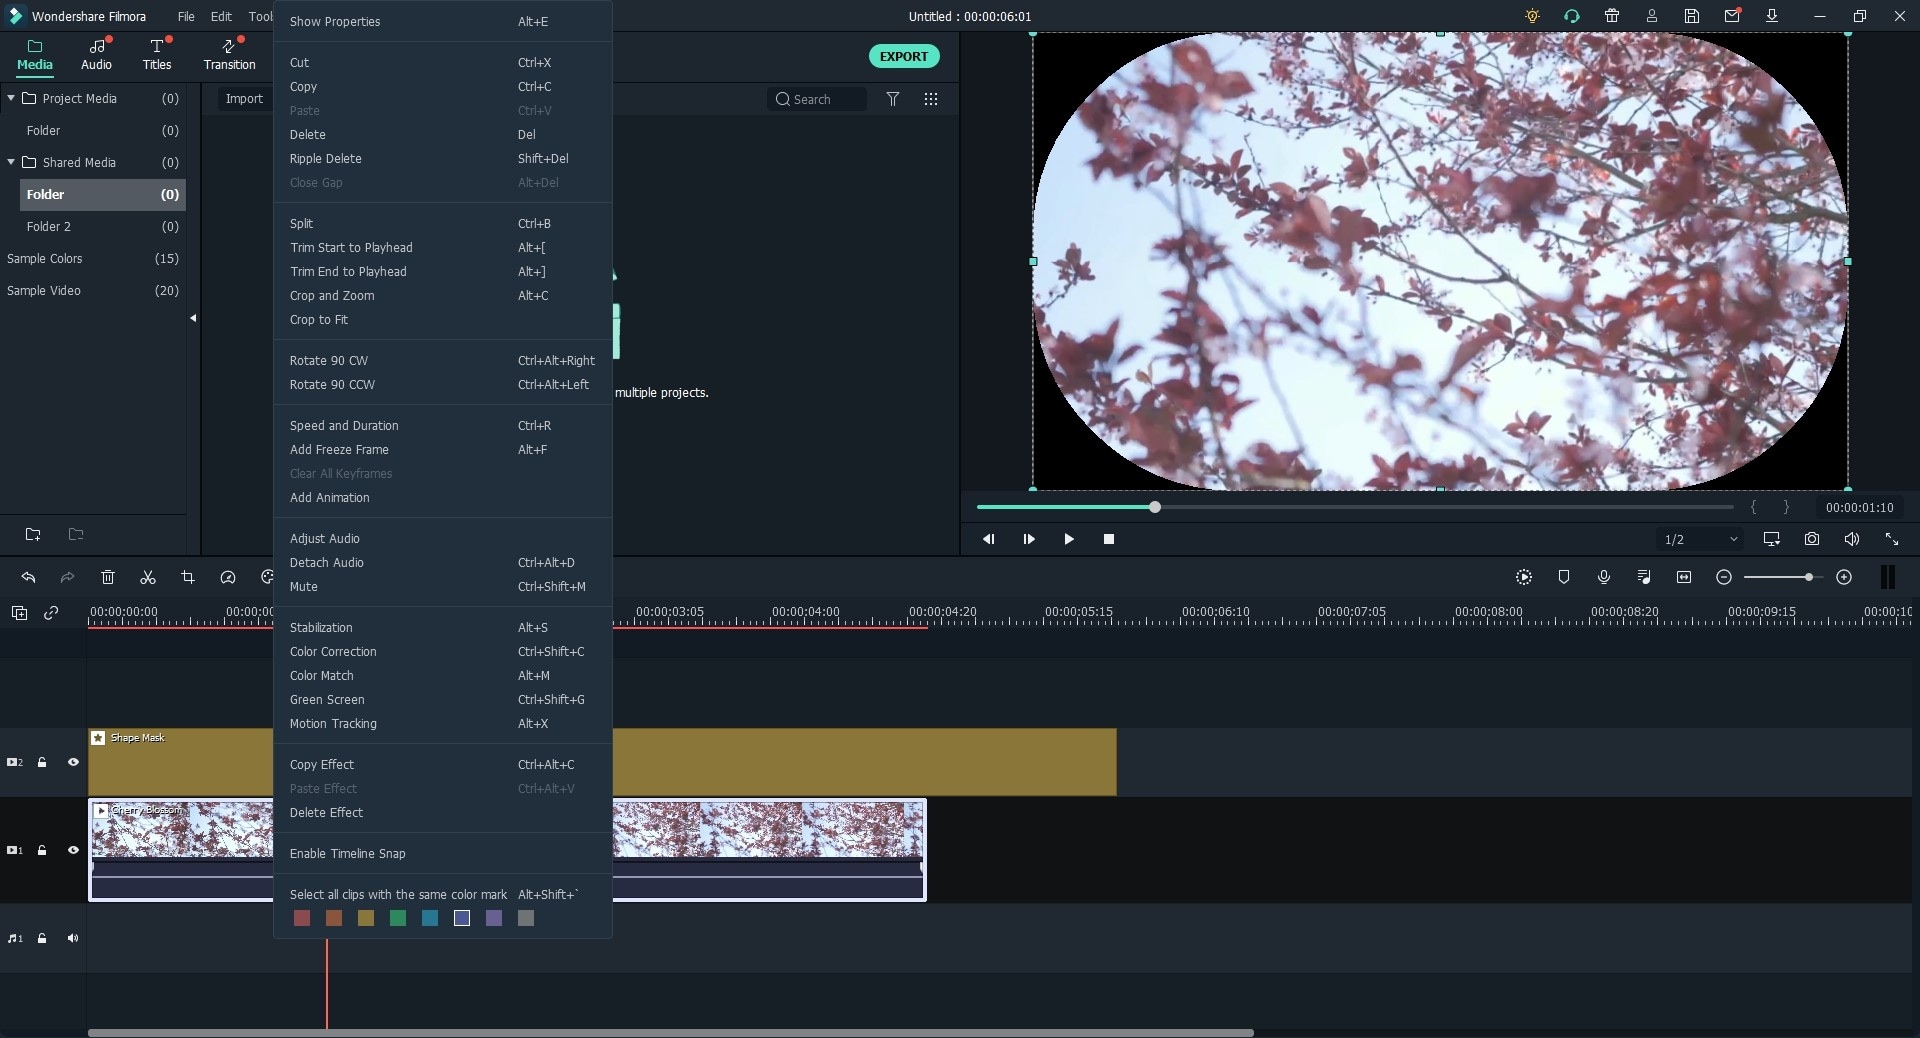
- Filmora Video Editor is built with basic video controls like; crop, rotate, trim, split, brightness, speed, volume and saturation.
- It also comes with different effects, overlays, layouts, elements, transition, text and titles.
- It has an action cam editing option that has advanced colour tuning effect, speed effect, instant cutter and fix and correct option.
- With Filmora Video Editor, you will be able to edit audios by adjusting its pitch, using equalizer, fade in, fade out, adjust volume, trimming splitting and deleting.
- Under the power tool, you will be able to add mosaic, face off and tilt shift.
Steps on How to Correct Colour for Videos Using Filmora Video Editor:
Step 1. Import Video
Go to the home window of the program and click on “Import Media Files” and the upload the video that you want to correct colour from your computer. You can also upload files by clicking on “FILE” and then select “Import Media Files” and upload the specific video.
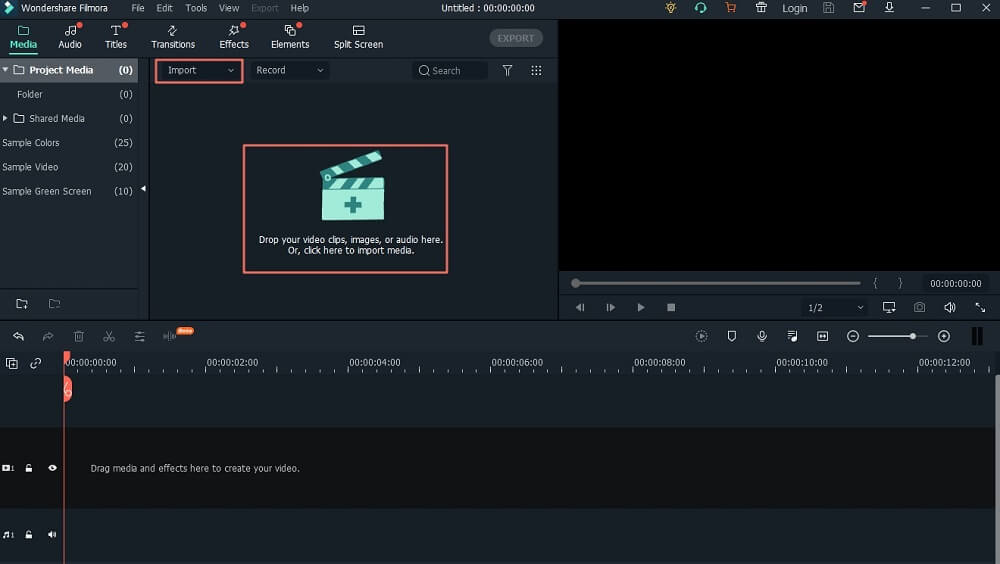
Step 2. Correct Colour of the Video
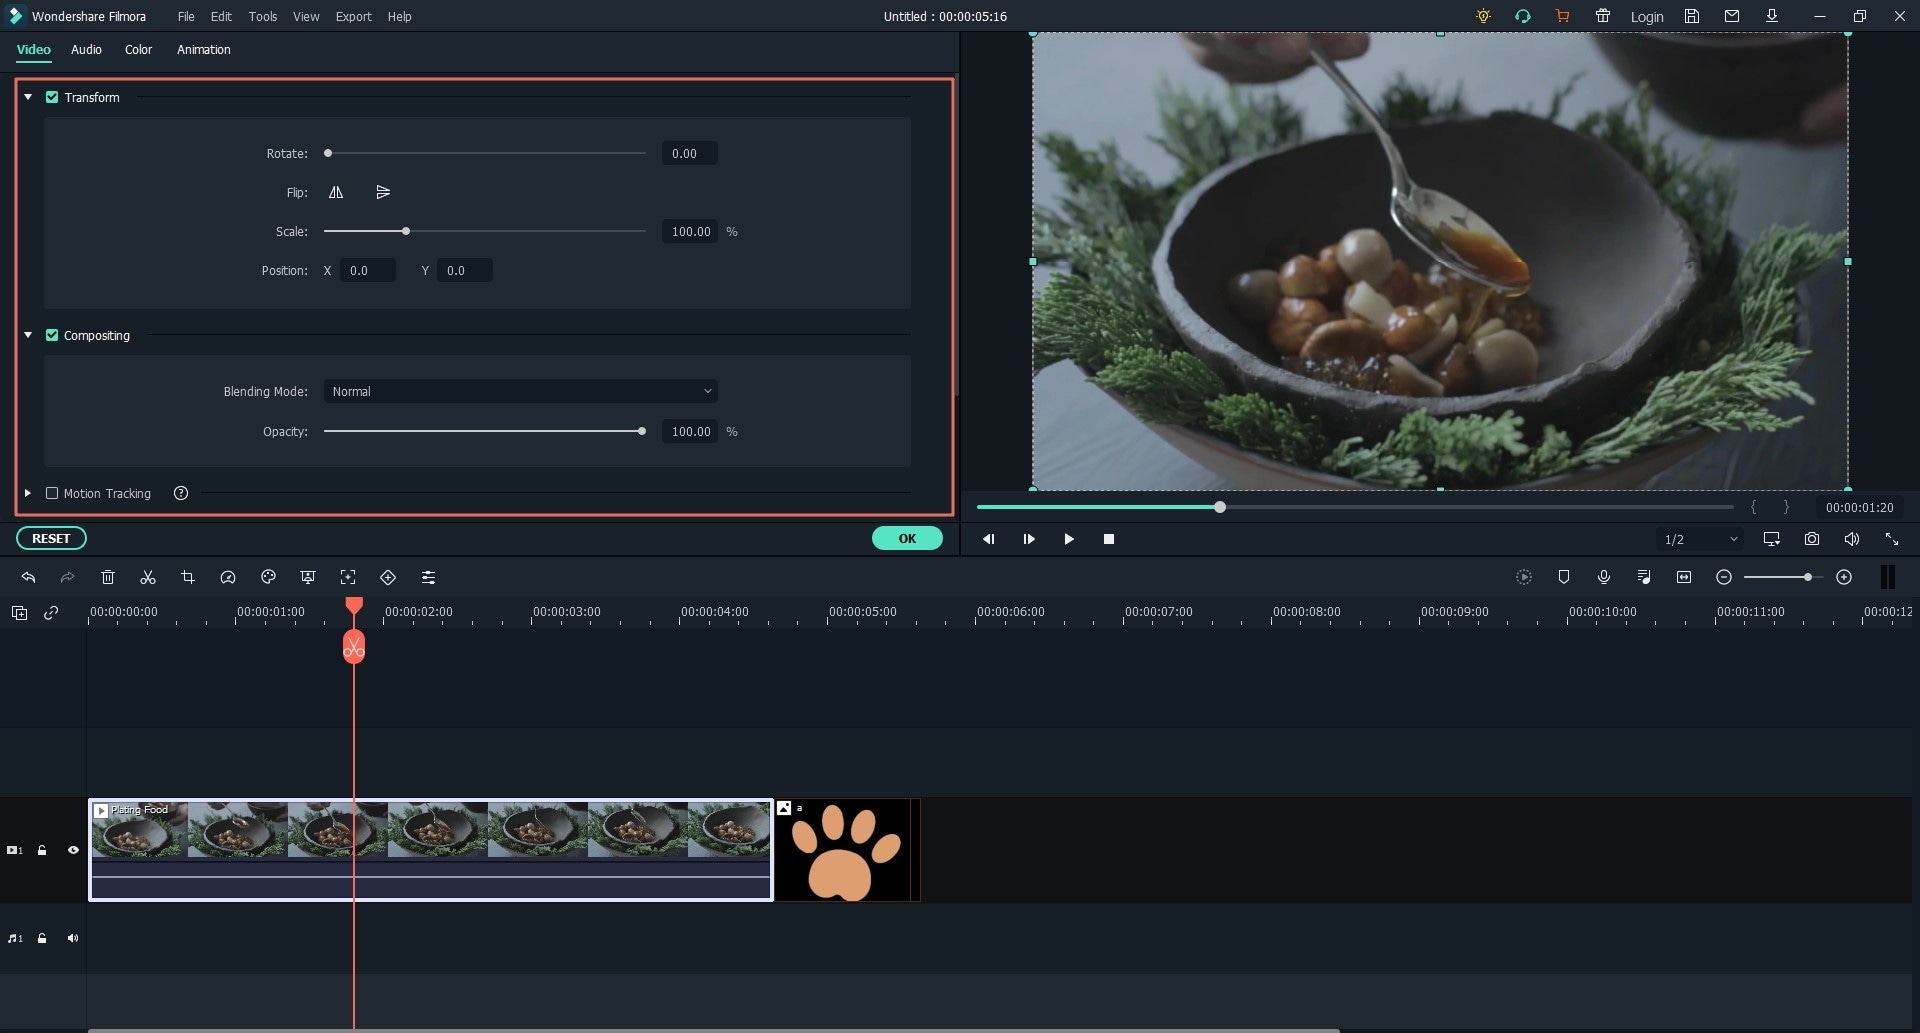
After uploading the video, you can now drag the video to the video timeline below. Next, right click on “Edit” button and a new window will appear at the top.
You can then adjust the video, contrast, saturation, brightness and tint. After adjusting you can preview the video on the window at the top right before clicking on “OK” button.
To remove all the colour adjustments that you have done, you can click on “RESET” button.
Step 3. Export and Save
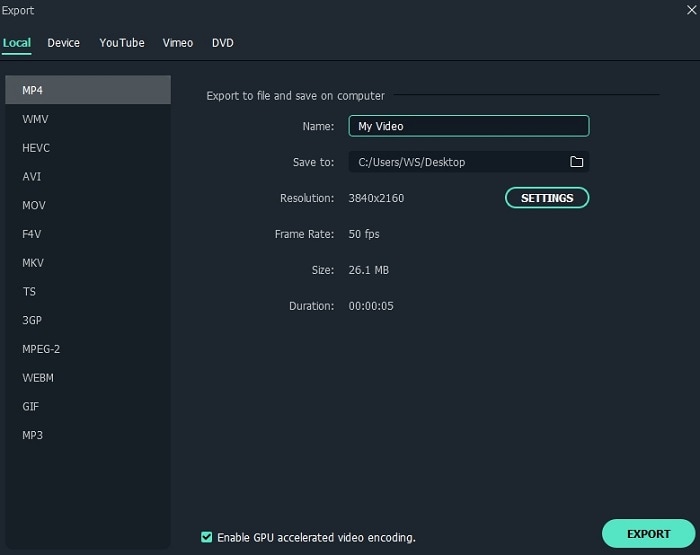
From there, click on “Export” button and you will see option to export to different output format, to devices, to online sites as well as burn to disc. For this case, you will have to save it on your computer. Therefore, click on “Format” and select the output format preferred. Next, rename the file and choose a desired location on your computer and click on “Export” button.
