Is it possible to Crop Video with FFmpeg?
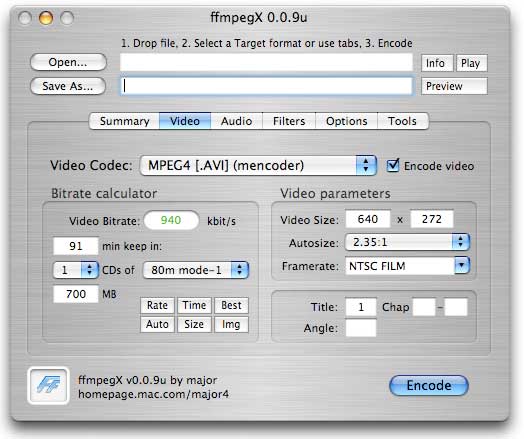
You can crop a video file using FFmpeg and it is not complex at all. When starting off, it will be paramount on you to determine the right values for your cropping filter. To get that done, you must use cropdetect filter of the FFplay feature. This feature has different arguments for configuration that you should not lose focus on. There is limit, round and reset which all play different roles in the cropping procedures with FFmpeg.
- Part 1: User Guide to Crop Video Using FFmpeg
- Part 2: Recommend Filmora Video Editor for Cropping Video
Part 1: User Guide to Crop Video Using FFmpeg
When editing video using FFmpeg, removing black bars will be the main target because they are very annoying especially in a movie. But, you have a solution in cropping. How will you achieve that? There are many ways used in cropping video using FFmpeg as discussed below:
Using fixed values- with this option, you must use normal expressions for the configuration of the crop filter. It will depend on the parameters of a video file to determine how the cropping will be done. There are values for both input and output configuration that you must get clear hold of.
Notably, out_width/output_height is one of the common expressions that show the amount of content cropped out of a video using FFmpeg. For x/y, it is a coordinate to show where cropping will begin and end. You must get that clearly so as not to crop out necessary sections. Precision is very important and no excuse for any flaws.
Crop filter is the main cropping feature that latest versions of FFmpeg use to crop videos. Be on the lookout for that whenever cropping videos with this program. To preview what you have cropped, the FFplay feature is used.
The good thing with FFmpeg is that you can crop video without necessarily re-encoding. Cropping before playback is the straightforward option that will not necessitate re-encoding.
Part 2: Recommend Filmora Video Editor for Cropping Video
Filmora Video Editor & Filmora Video Editor for Mac is a powerful complete video cropping tool with tones of amazing capabilities meant to offer the most effective and reliable video and audio editing services. From the array of both basic and advanced editing tools to the excellent total no-brainer interface, Filmora Video Editor is surely unmatchable. The program works well on both windows and Mac operating systems including their latest versions and is supported by several popular and portable devices.
- With Filmora Video Editor you can automatically or manually crop your video into different sizes.
- This program supports a host of popular video formats which include AVI, MOV, FLV, WMV, MKV, and among others
- With this program also you can apply effects, use filters, add titles, music and logo to your preference.
- You can export in different formats, directly upload online or burn discs your cropped videos.
Steps on How to Crop Video with Filmora Video Editor:
Step 1. Import Video Files to Crop
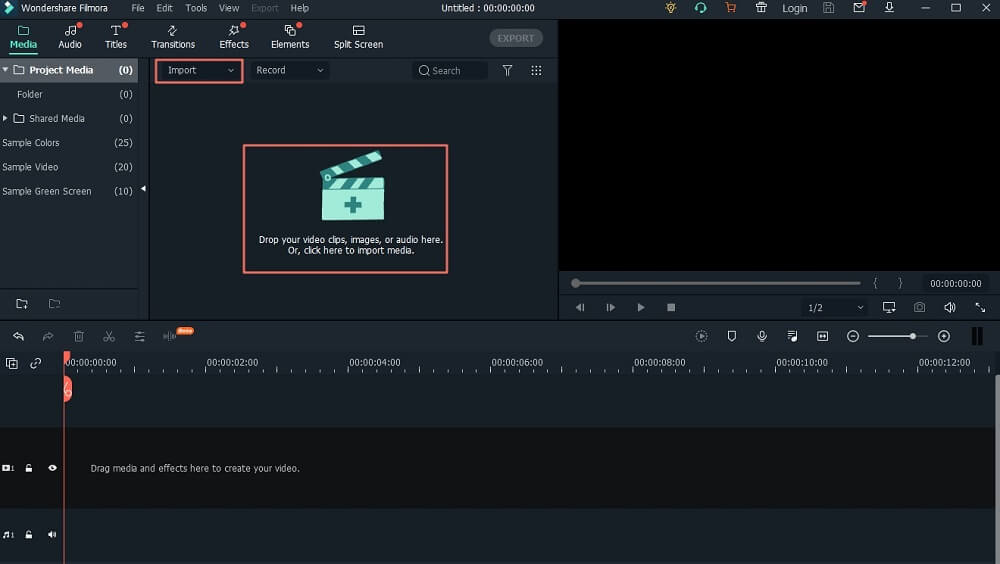
Filmora Video Editor provides two options to import video files from your computer. One of the options is to tab “Import” menu located on the primary interface and choose “Import Media Files”. From the file explorer, select the respective media files and click “Open” to upload them to the “User’s Album” before adding them to the Timeline for editing. Another option is to simply drag and drop these files into the program interface.
Step 2. Crop your Video
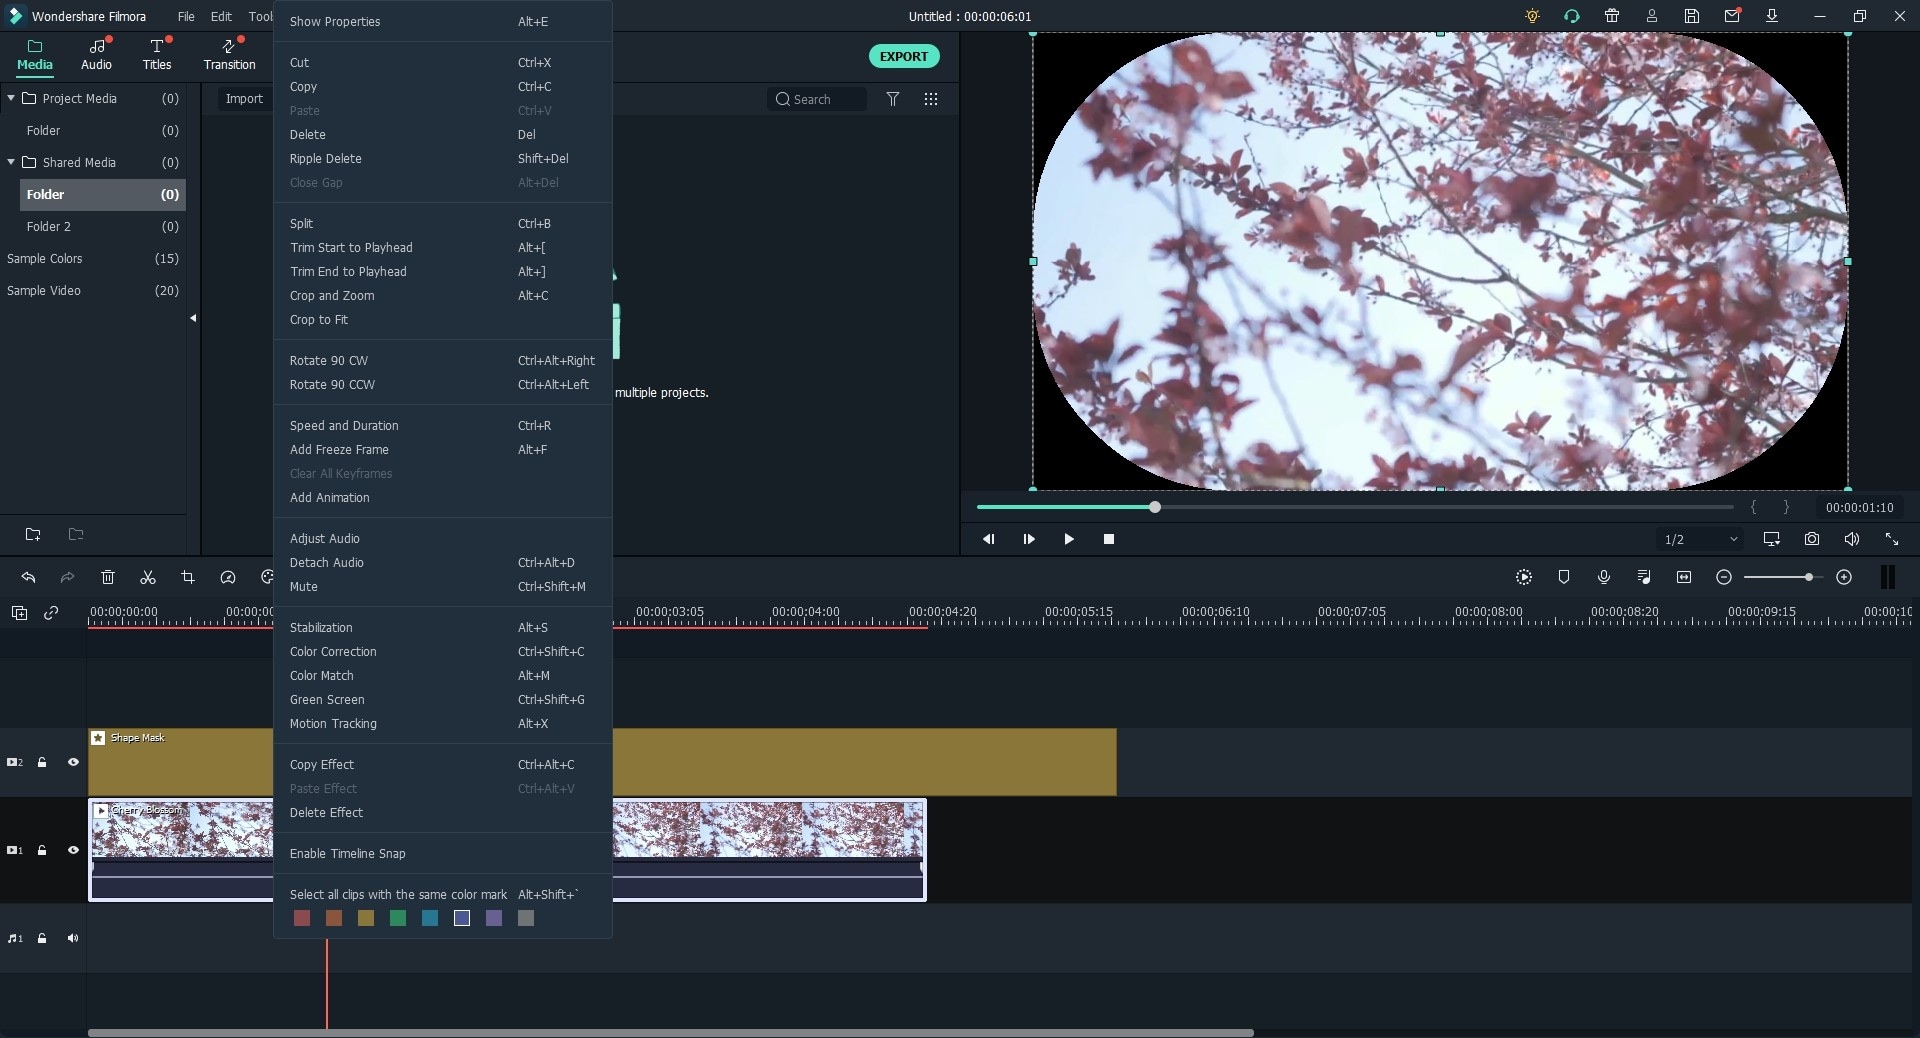
Move your videos from the “User’s Album” to the video track on the Timeline by dragging and dropping them on the Timeline. Right click the video on the Timeline and choose “Crop and Zoom” button in the menu which subsequently directs you into editing the window to crop videos. The various crop options include to manually select crop area, maintain the crop area in 16:9 or 4:3 aspect radio. Note that you should select the respective aspect radio when exporting only if you selected a radio on this same place. Contrary to which a black bar would be generated.
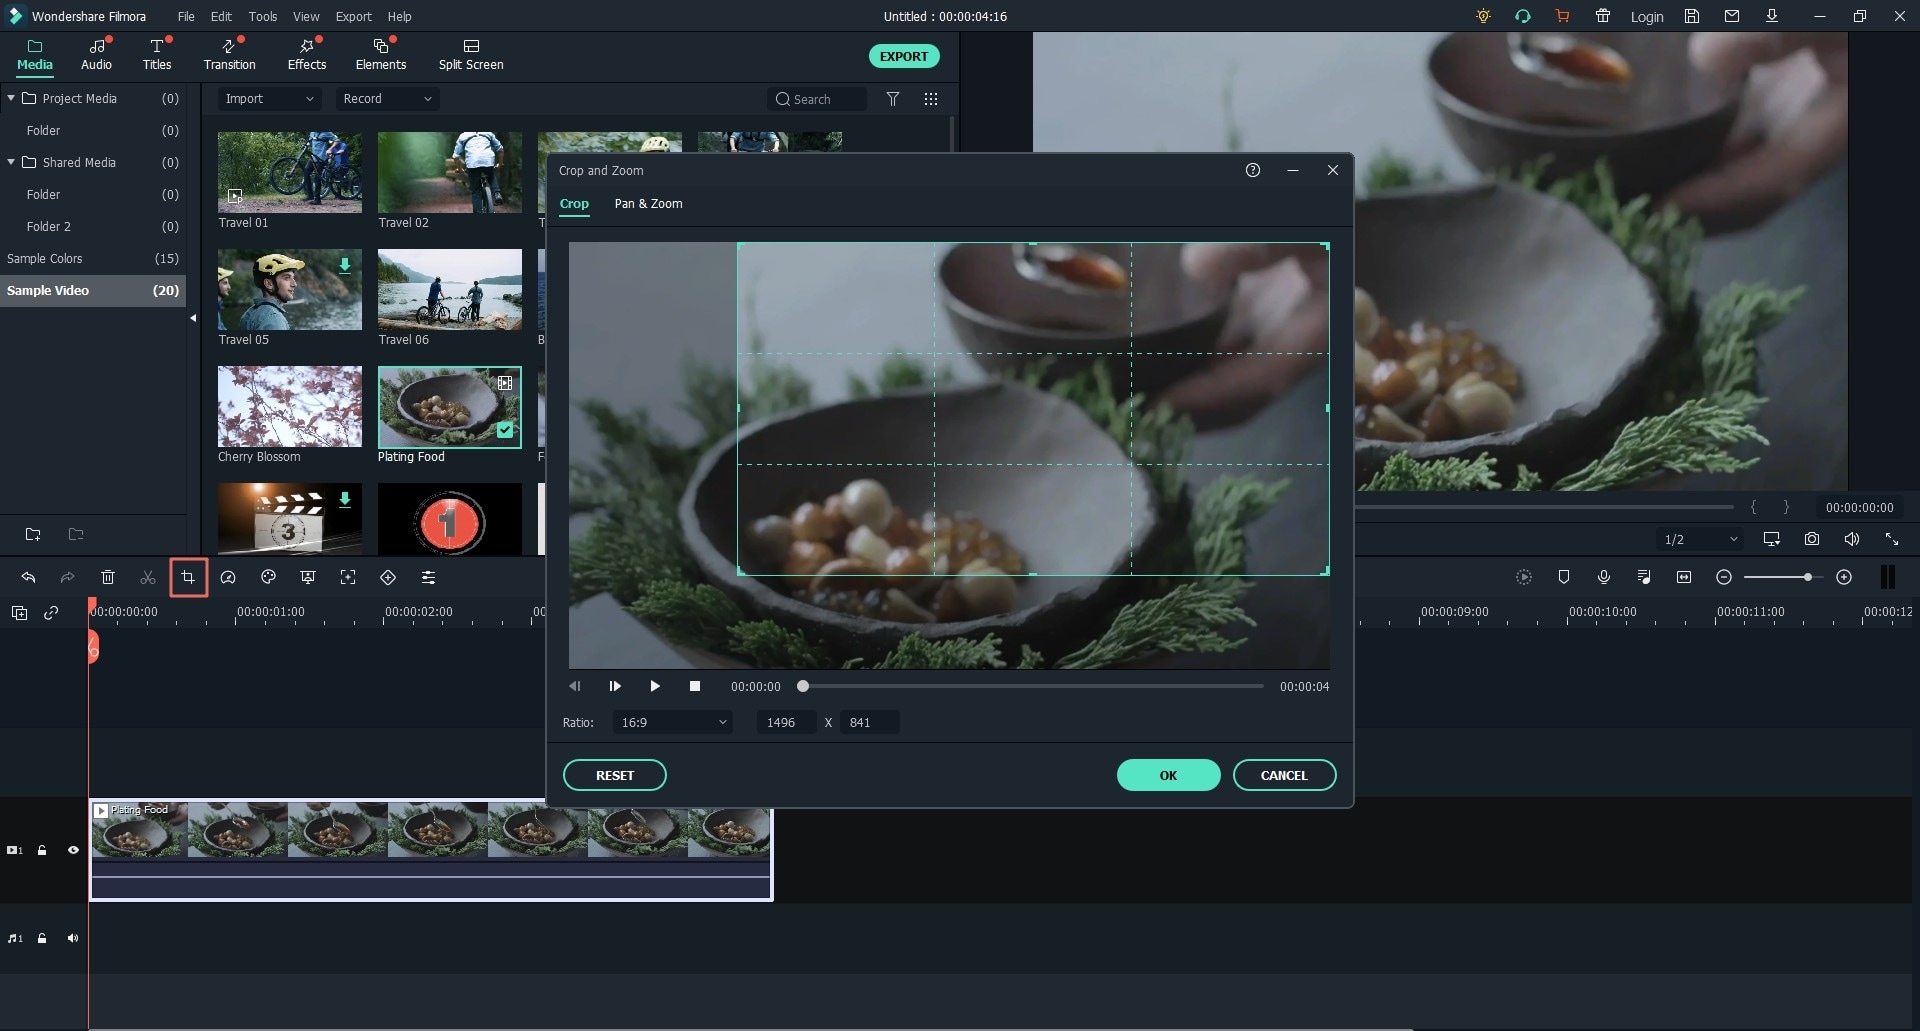
Step 3. Export Cropped Video
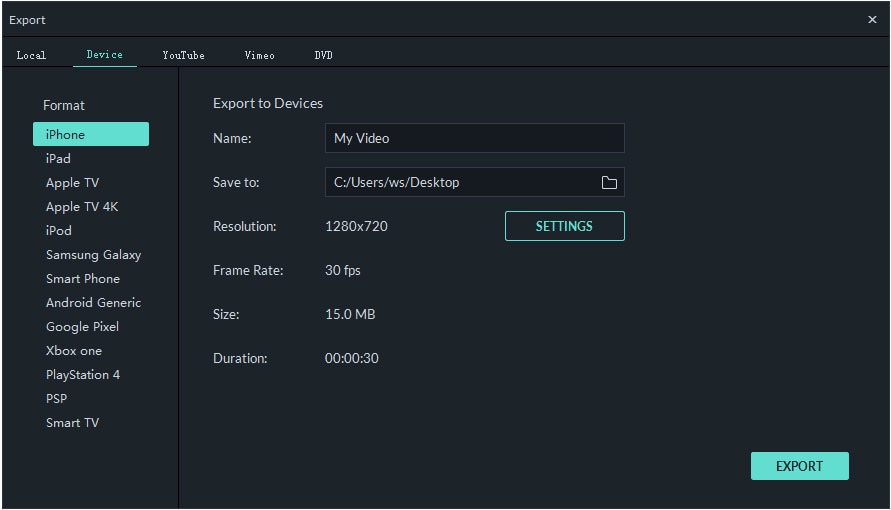
Once your project is satisfactory, hit on “Export” tab and choose the “Create Video” option. An output window shall be displayed where you choose the output format, save location, file name, resolution and other optional settings under “Settings” tab. When this is done, just click the “Export” button to finally export your file. to save your cropped video. In case you want to play your cropped video on devices such as iPhone, iPod, iPad just hit “Device” and select the thumbnail of your devices. Again, you can directly upload your video creation to YouTube or burn to DVD discs for playing on TV using a DVD player.
