Is it Possible to Apply Picture in Picture Effect using Final Cut Pro?
There are a number of video effects that every video editor should be able to showcase. One of these is the picture in picture effect (PIP). Final Cut Pro Picture in Picture effect is an useful feature, however it is not a one-step procedure. The picture in picture effect in Final Cut Pro requires a basic knowledge of the window interface, the use of simple keyboard commands and the utilization of the inbuilt transform effect feature.
- Part 1. Best Alternative to Final Cut Pro to Apply PIP Effect to Video
- Part 2. How to Apply Picture in Picture Effect in Final Cut Pro
Part 1: Best Alternative to Final Cut Pro to Apply PIP Effect to Video
Filmora Video Editor for Mac (or Filmora Video Editor for Windows ) could be your best Final Cut Pro alternative to make Picture in Picture video as this video editor provides all the tools you might need and it's super easy to use.
Key Features of Filmora Video Editor:
- Has all the basic editing tools for cutting, rotating, cropping, joining videos before making picture in picture video.
- Besides pip effect, this vide editor also provides split screen effect, green screen effect, etc.
- Large amount of special effects like filters, overlays, transitions, animated titles and text, background music are offered this video editor.
How to Apply PIP Effect with Filmora Video Editor for Mac
How to Add Picture in Picture Effect to Video in Final Cut Pro Alternative:
Step 1. Start up the program in Full feature mode with the file browser pane, video viewer pane and timeline pane all visible. Then import your videos to the program.
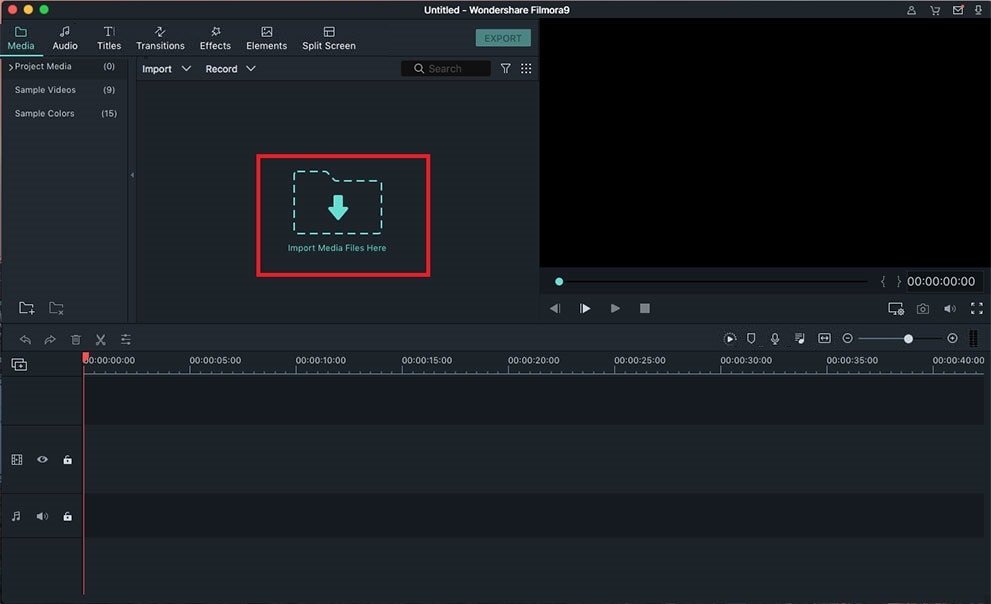
Step 2. Import a video into the video track as your background video by dragging the video into the timeline pane or by selecting it from the file browser pane.
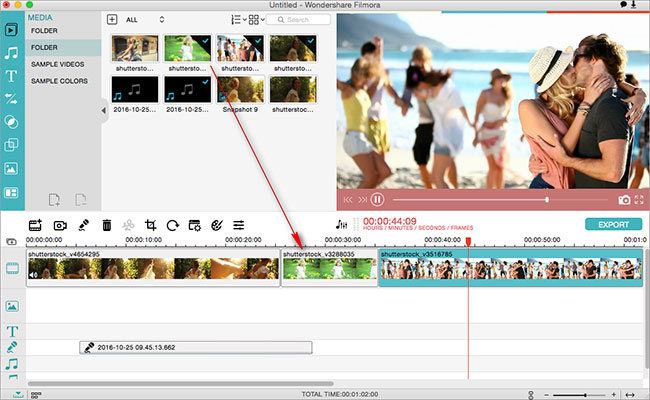
Step 3. Click on the PIP button on the picture in picture track and drag a picture or video from the file browser pane into the PIP track.
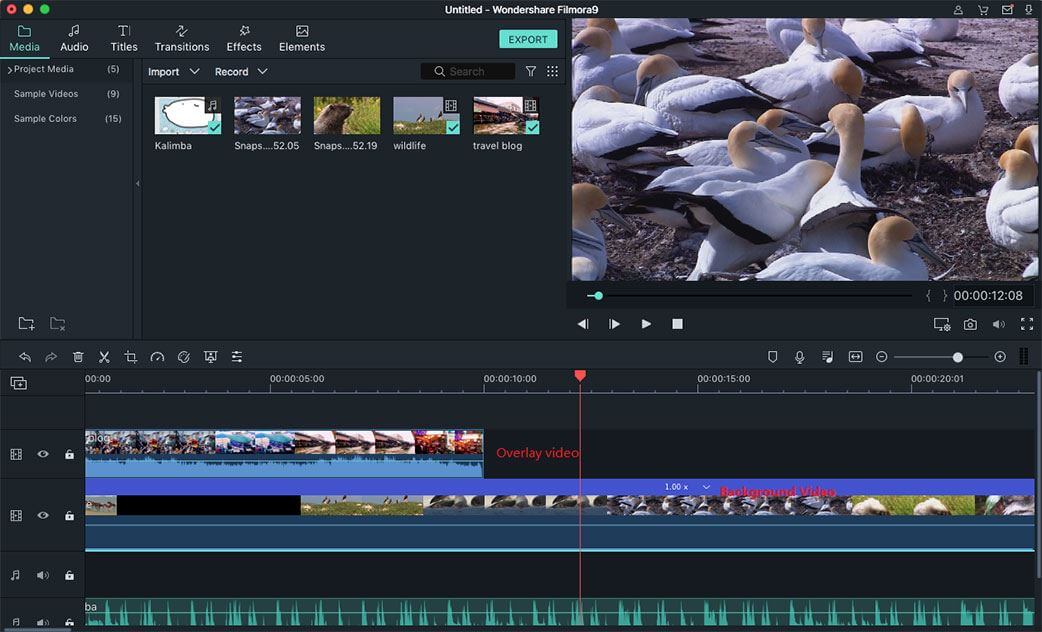
Step 4. To position the picture in picture, drag the file in the PIP track into position. Double clicking on the PIP clip in the viewer allows further editing and resizing.
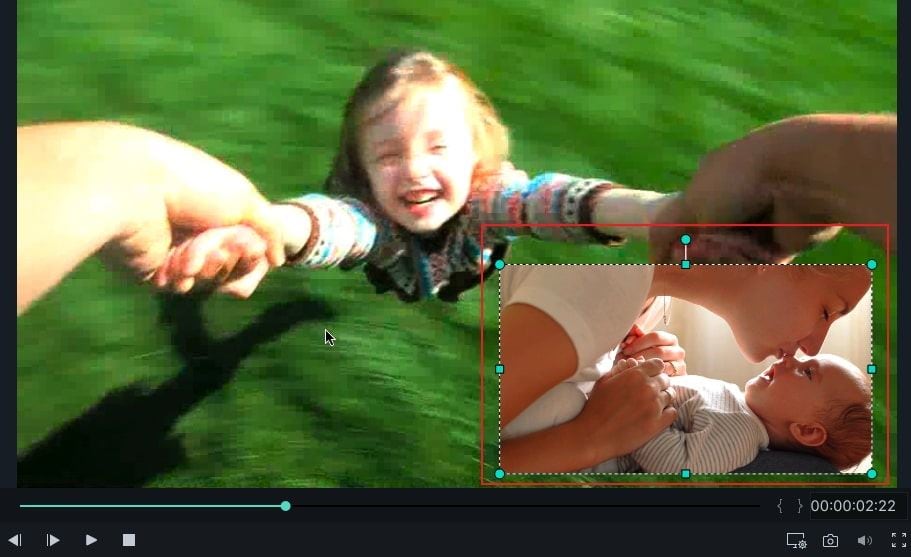
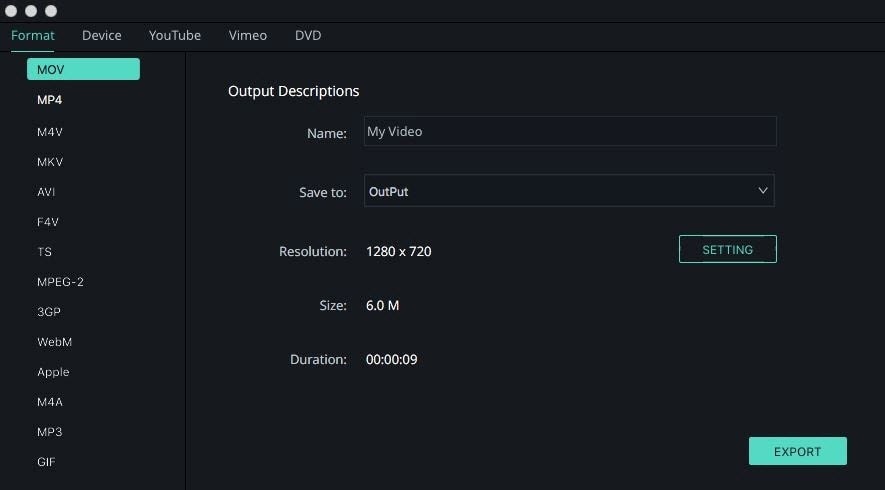
Step 5. At last, you can click the "Export" button to save your project. And this program allows you to save the video in any format according to your own need.
Part 2: How to Apply Picture in Picture Effect in Final Cut Pro
To apply this effect in Final Cut Pro, here are 7 steps to follow:
Step 1. Start off in the main Final Cut Pro Interface, with the project timeline pane, event browser pane, and video viewer pane in view.
Step 2. Add your intended background video to the primary storyline(indicated in blue in the project timeline pane at the bottom) by selecting it from the event browser pane.
Step 3. To keep this as the background video and to be able to add the PIP video, it needs to be marked. Do this by making sure that the play progress indicator _the vertical line with an arrow facing inwards at each end_ is parked over the intended background video by either dragging it into position or playing the video until you can park it there.
Step 4. Then press the X key to mark the background video.
Step 5. To overlay the PIP video over the selected background video, go to the event browser pane, select the PIP video and press the Q key to stack on top of the background one. It should be automatically added above the background video on the primary storyline.
Step 6. In the project timeline pane, select the foreground video using the cursor then click on the transform effect button on the toolbar below the video viewer pane. Blue handling nodes should appear on the corners of the PIP video in the video viewer pane.
Step 7. Using the handling nodes, click and drag them to resize the PIP video. Drag the PIP video to the desired position after resizing, play the clip and that's a picture in picture effect.


