In the olden days sharing videos was very hard because you could not reduce the size of a video. Video cutting is very important especially when you want to share videos. You can choose to cut a video in Final Cut Pro to remove unwanted parts on videos only leaving the parts that you find important. Final Cut Pro is a huge software of about 2.85GB that helps cut videos retaining the quality of the video. The fFinal Cut Pro as helped people cut videos even large files since its makes video cutting very simple. In this article, we will share tips on how to cut a video in Final Cut Pro and its alternative.
- Part 1. Recommendation: Best Final Cut Pro Alternative to Cut Videos
- Part 2: Steps on How to Cut a Video in Final Cut Pro
Part 1. Recommendation: Best Final Cut Pro Alternative to Cut Videos
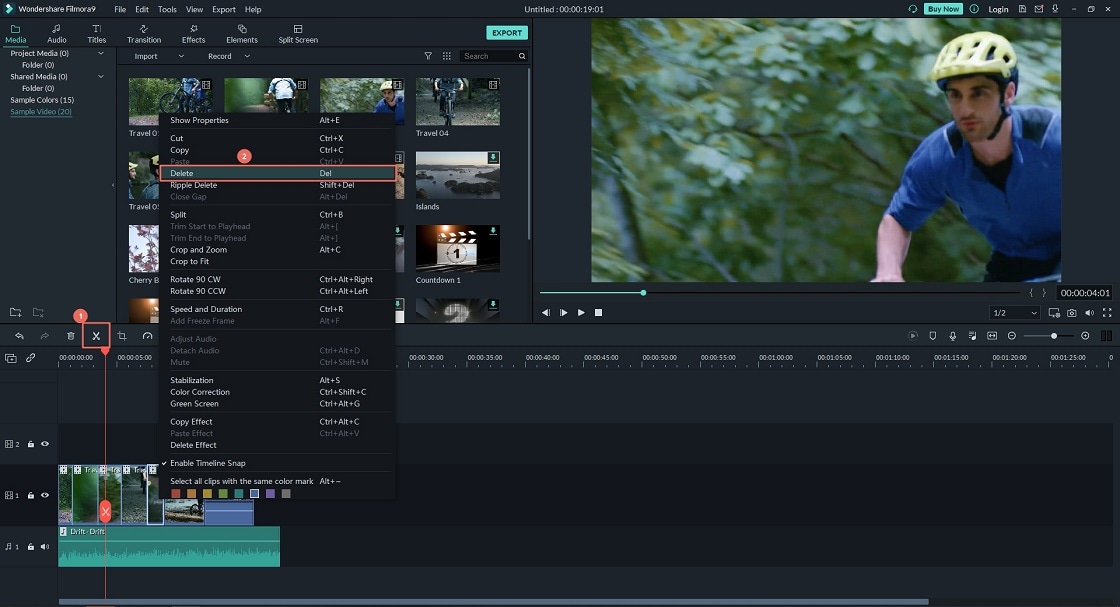
With the huge problems facing the Final Cut Pro, we have decided to look for an alternative that performs the same tasks without any problems. In our search, we came across the Filmora Video Editor for Windows (or Filmora Video Editor for Mac). Filmora Video Editor is a video editing software that supports all video formats, It's easy to use and time can be tracked with the time tracker. More to that you can improve the video quality by using the effects available.
- Accurate timing using the time tracker.
- Media library where you can import videos with ease.
- Filmora also has a toolbar that has all the editing tools to trim songs.
- Filmora has a preview where you can check the edited video before saving.
- Many video effects ensuring that you can make attractive videos.
By the way, if you want to get more video cutter programs, please check this page to learn more.
Part 2. Steps on How to Cut a Video in Final Cut Pro
Step 1. Launch the Program
Launching the program has an initial phase that is downloading and installing the software. To download the Final Cut Pro visit the final cut pro page and choose the software that meets your requirements. You can go for the purchased one of for the trials version. Once the download is complete click the software and commands it to install and there will be a guide for the installation, and you have to agree with the license agreement. Finally, enter your password to personalize the app then click ok. You can now launch the program by clicking it, and the timeline will appear. With that, you are ready to start the process.
Step 2. Import the media
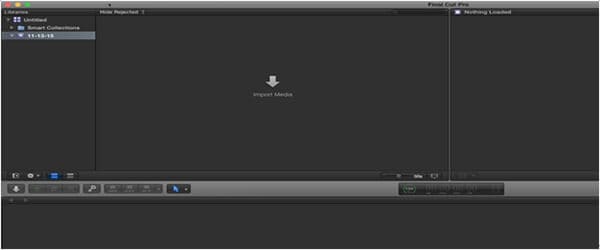
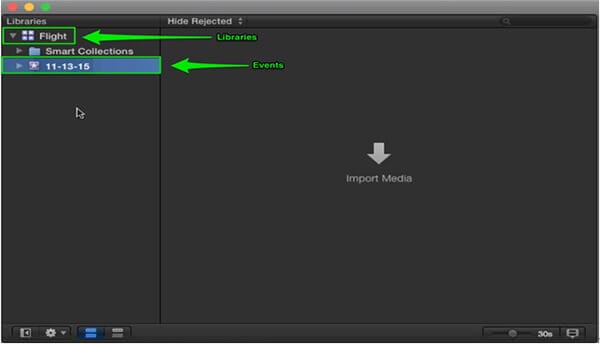
Before we go any further, ensure you have downloaded the free venture media. The free venture media compress document titled FCPX Media will download to the area you have indicated in your Browser's inclinations. Once the download is finished, find and double tap the document to uncompress it. The envelope contains some video cuts and a music record. With Final Cut Pro still open and the Event chose, drag the FCPX Trial Media organizer into the Browser. Doing this will duplicate the majority of the media into your Library. Since the media is duplicated into the Library, you never again require the envelope of media, and you can waste it in the event that you wish. The media you imported shows up as particular pictures called filmstrips in the Browser.Next, Final Cut educates you of changes that have been made to the product in the most recent adaptation. Snap proceed.
Step 3. Cut the video in Final Cut Pro
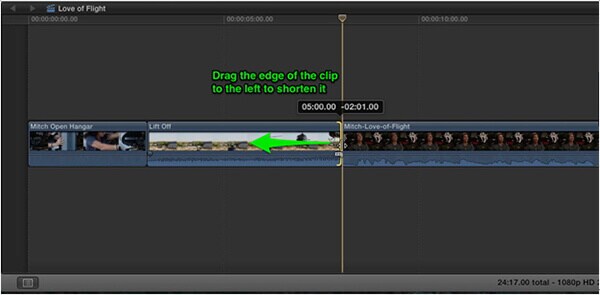
When you have identified the part, you want to cut click the tail of the clip and drag to the right while watching the viewer. Carefully watch the numbers appearing because they indicate the time so that you cut at the correct time.
Step 4. Add titles to Final Cut Pro
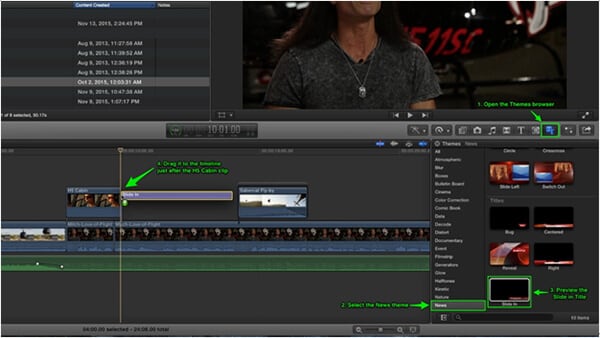
Move your play head to where we initially observe Mitch in the meeting (directly after the "Lift Off" clasp). Presently open the Themes Browser and select the News class at that point look down to the Slide In title. You can see the title by skimming over it in the program. Drag the title over the "Mitch" cut until the point when the left edge snaps to the play head. Finally, move the play head over the title and double tap the name in the Viewer and sort in Mitch Kelldorf – H5 Productions, Then, trim the tail of the title back 12 casings and play it back
Step 5. Save and sharing the video
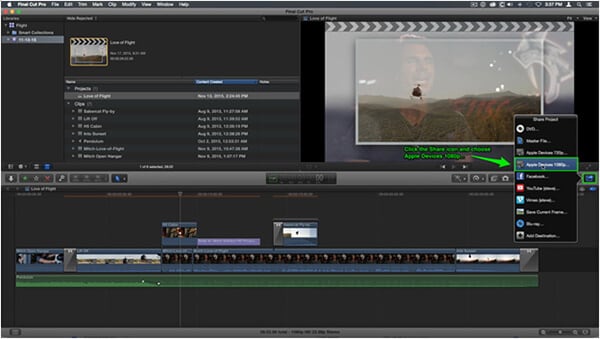
Final Cut Pro allows you to share your movie directly from the software. You only have to choose the destination you want. However, for exporting you have to choose the format that is compatible with the device you are exporting to. Lastly, you can save using the save button.
Final Cut Pro Cut Video Not Working? Fixed!
1. Final Cut Pro has had many problems, but the most serious problem is the software crushing while cutting and editing videos.
The solution is very straightforward – incidentally re-name your new forms of Final Cut Pro, Compressor, Motion and Qmaster to "Finished edition Pro X," "Compressor X" et cetera, and move all the heritage applications from that Final Cut Studio envelope back to the Applications organizer. At that point run Software Update. It will instantly perceive the documents and propose a Pro Video refresh which refreshes Final Cut Pro 7 to form 7.0.3 – the last form it will ever observe.
After the updates, just move everything back and bear in mind to re-name "Polished product Pro X" and alternate applications to their previous names. Else, you'll have a similar issue with the new programming, once the following updates are expected.
At that point begin Final Cut Pro 7.0.3 and feel upbeat that despite everything it acts as steady and looks similarly as old-fashioned as it at any point did.
2. Change of quality of videos after editing. This has been a major problem facing most of the users.
Over the time a solution has been found since the software has been upgraded and now a version of Final Cut Pro developed. The new version maintains the quality of the video therefore if you are still faced with the problem just upgrade the software.
3. The time track does not read during the editing time which could lead to wrong timings.
This is a small problem. To solve it just restart the device, you are using, and it will be solved.


