How can I cut a video on QuickTime Player and get only the part I want?
QuickTime Player originally developed by Apple for Mac computers in 1991 which is also compatible with all Windows versions. It can handle various formats of digital videos, audios, and pictures. It allows you to play, edit, record and share video and audio files.
Cutting video in QuickTime is very easy, just require a few steps. Sometimes people want more than that. In this article, we are going to introduce how to cut video in QuickTime Player, and also some other editing features related to cutting, like trimming, splitting, etc.
Let's get started.
- Part 1. How to Edit Video in QuickTime Player
- Part 2. Filmora Video Editor - Powerful and Easy with Fully Stacked Advanced Features
1.1 How to Cut/Split videos in QuickTime Player
You can use QuickTime Player for cutting or splitting the video files into two or more parts.
Step 1: Open the video file, and then move the "play head" on the playback bar to a point from where you want to split the video into two parts.
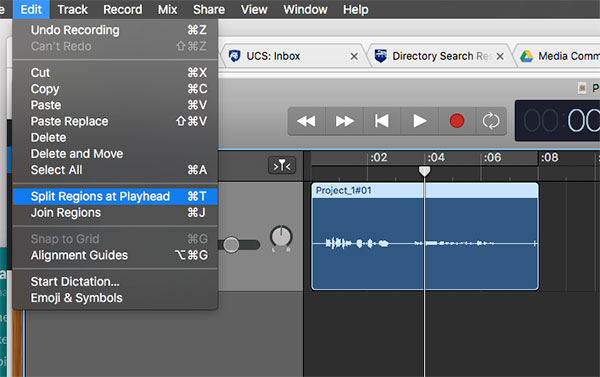
Step 2: Now click Edit and select Split Clip and the video will be split into two parts.
Step 3: Similarly, you can split the two parts into further parts to get smaller clips.
1.2 How to trim videos in QuickTime Player
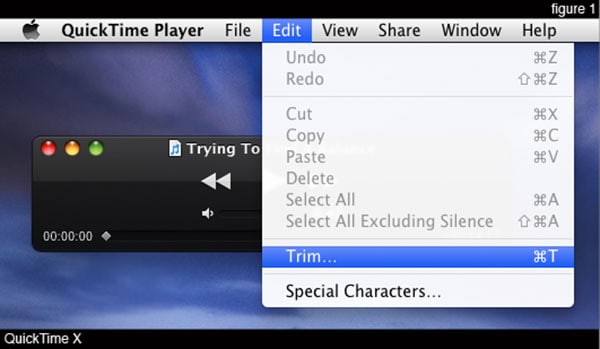
Step 1: First you need to open the video file which you want to trim. Click Edit and select Trim.
Step 2: The yellow trimming bar appears which covers the whole length of the video with handles on each end.
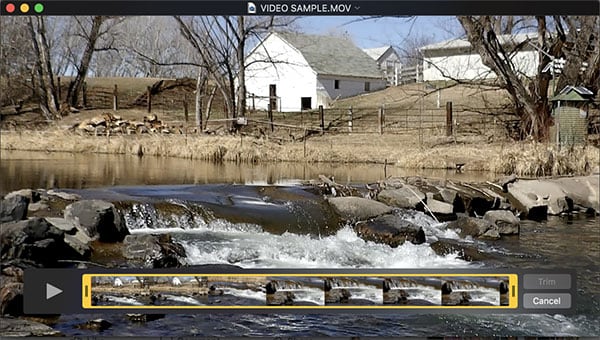
Step 3: Now drag right and/or left handles and select the part of the video that you want to keep.

1.3 Combine multiple video files in QuickTime Player.
In QuickTime Player, you can combine multiple video files into a single video.
Step 1: Open the first file in QuickTime Player.
Step 2: Now drag-and-drop the second file in QuickTime window. The second file will appear at the end of the first file. Similarly, you can add more video clips at the end of the previous clip.
Step 3: Here, you can rearrange the sequence of the videos by dragging each video clip before finally merging them into a single video file.
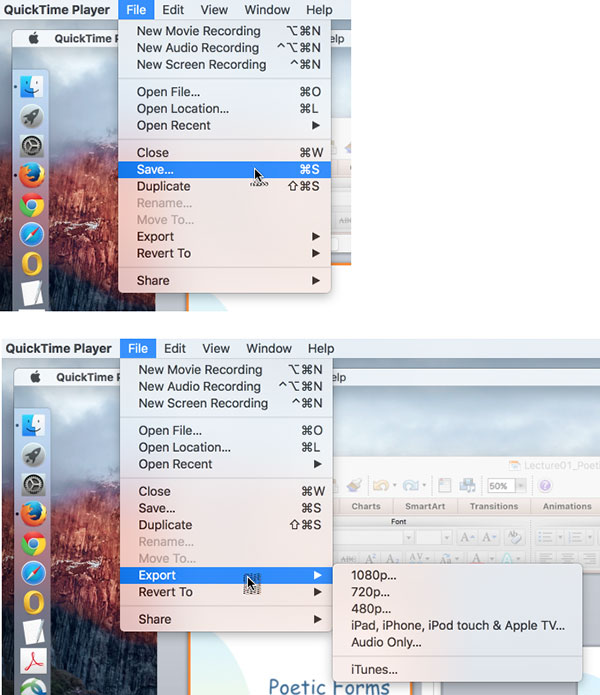
After trimming, splitting or combining the video files you can choose either save or export option if you wish to save the file in different format and settings.
About QuickTime, you may also want to know:
How to Edit QuickTime Videos on Mac and Windows
QuickTime Player is a media player with some basic editing features. Sometimes people want more advanced editing tools which QuickTime could not provide. For instance, it doesn't allow you to remove unwanted pieces from the middle of the video, it doesn't support video formats like WMV, VOB, FLV, MKV etc, and it's limited to only certain formats and resolutions.
For more advanced editing requirements we recommend professional Filmora Video Editor. Filmora Video Editor could do all these editing which QuickTime couldn't.
Filmora Video Editor - Powerful and Easy with Fully Stacked Advanced Features
Filmora Video Editor for Mac or Filmora Video Editor for windows is easy to use video tool for both consumers and professionals. Besides all advanced editing features, it also offers various tools to enhance and create great quality videos.
Key features:
- Filmora Video Editor is all in one video editing software. It has a full range of editing tools for rotating, trimming, splitting, cropping and joining videos.
- It allows you to give amazing effects to your videos. It has 300+ special effects like transitions, filters, title, overlays, text and motion elements.
- It offers multiple options to save and share videos. You can export the video to any video format of your choice.
- Optimize videos for use with several devices like iPhone, iPad, Apple TV, Galaxy, Xbox One, PS4, Smart TV, etc.
- Allows you to import images and clips from Facebook, Twitter and other social media channels using software interface. You can also upload the edited videos to Youtube or Vimeo directly from the program.
Steps for Cutting Videos Using Filmora Video Editor
Step 1
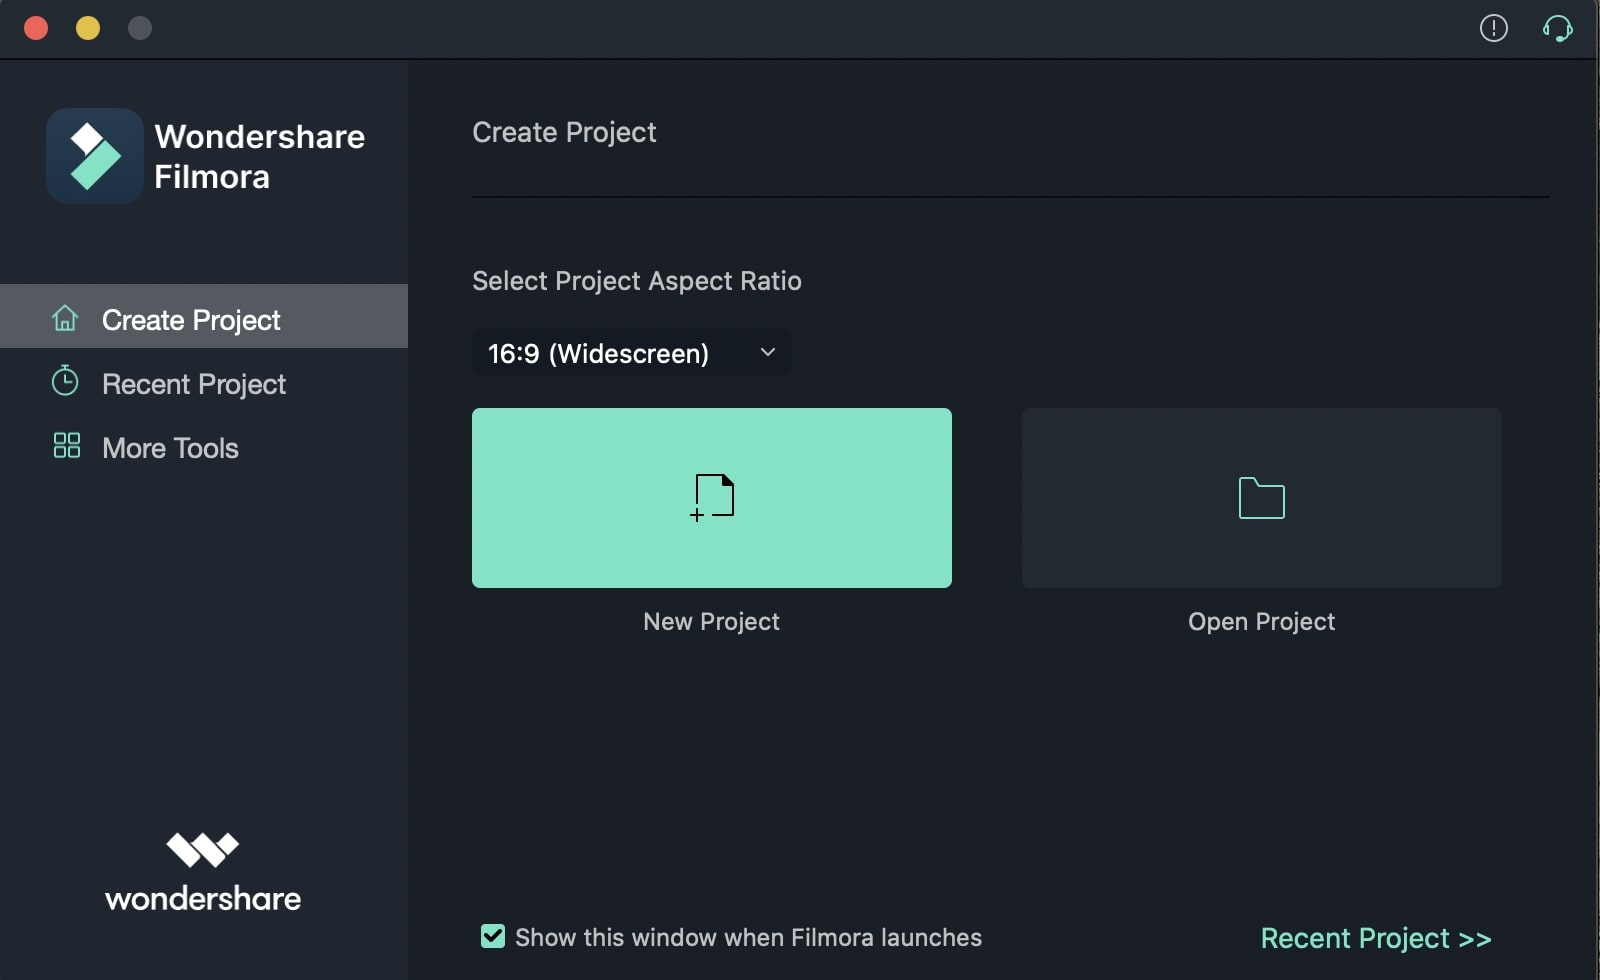
Launch the program and select New Project.
Step 2
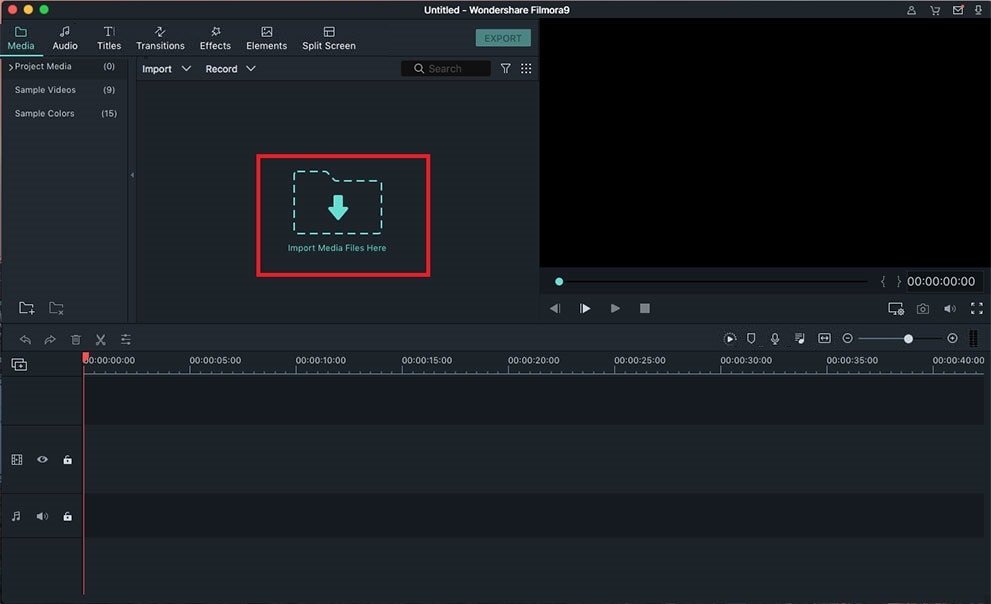
Now import the video by clicking Import Media Files Here and browsing the video from a computer or simply drag and drop it to that place.
Step 3
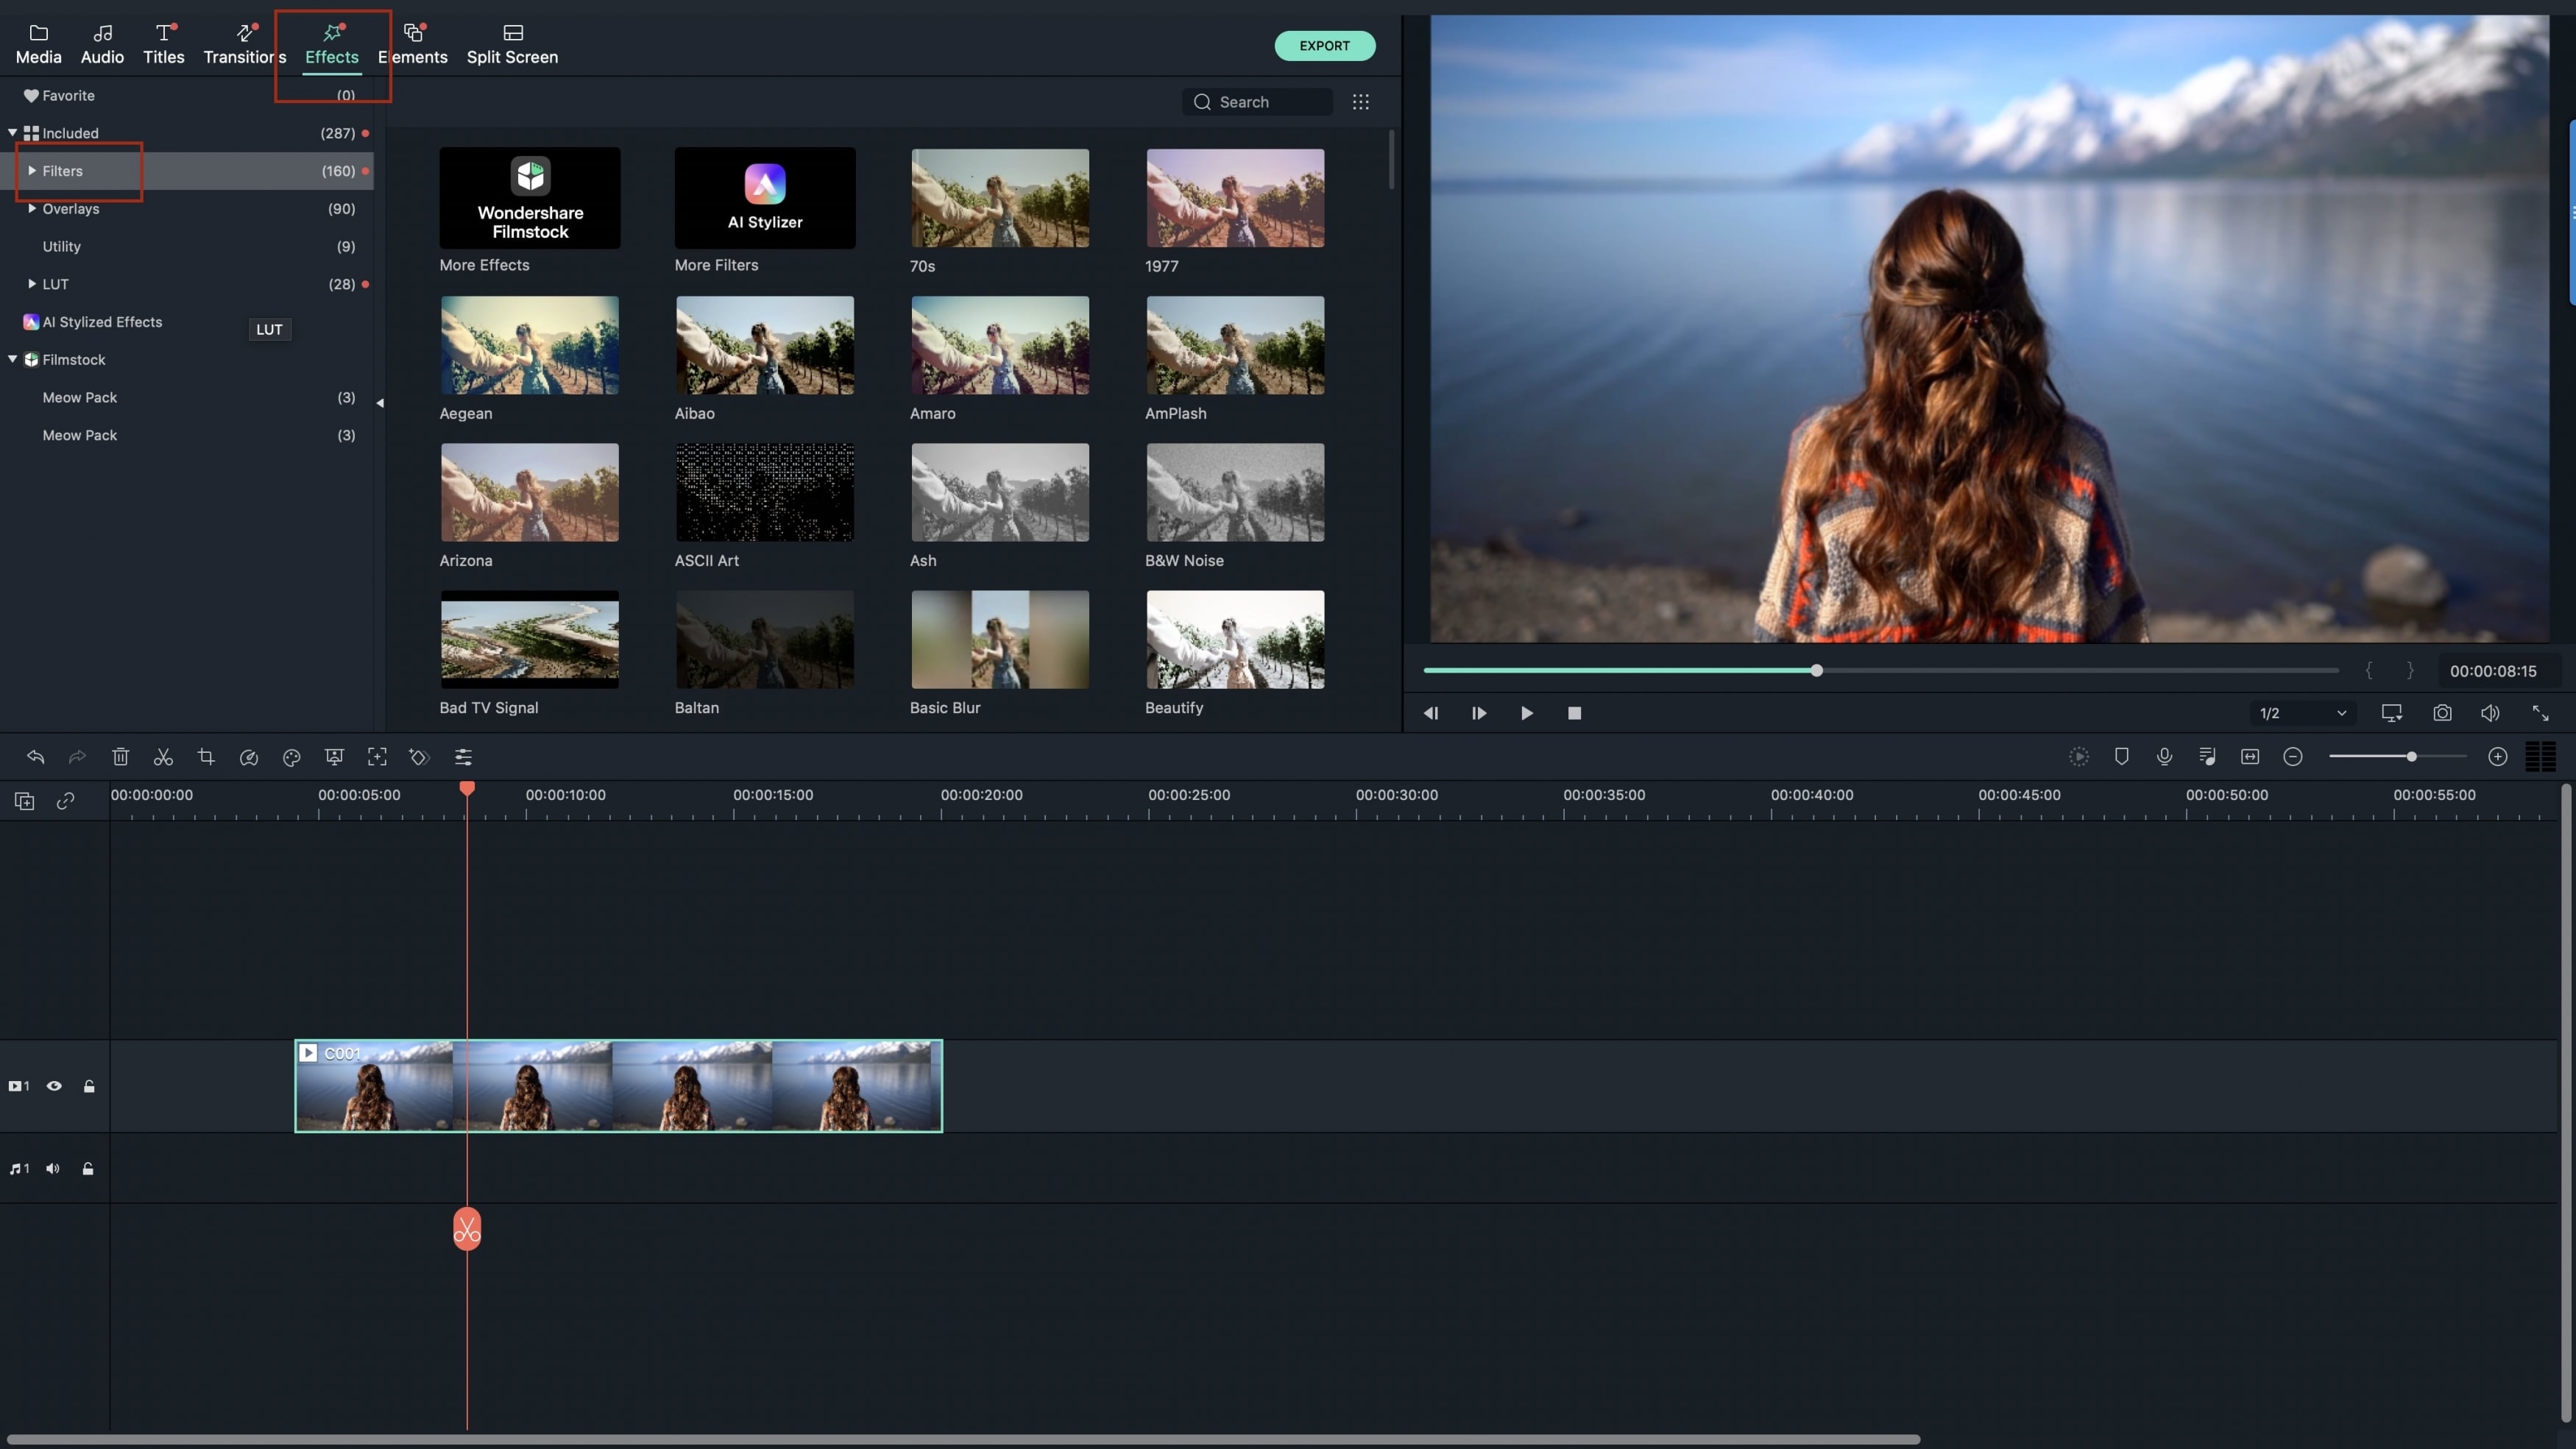
For cutting a middle section of the video, move the cursor to the beginning and end of the video section you want to cut. Now click the scissors icon. It will separate the section from the original video clip. Now you can delete the section by right-clicking on the video and selecting Delete.

Step 4
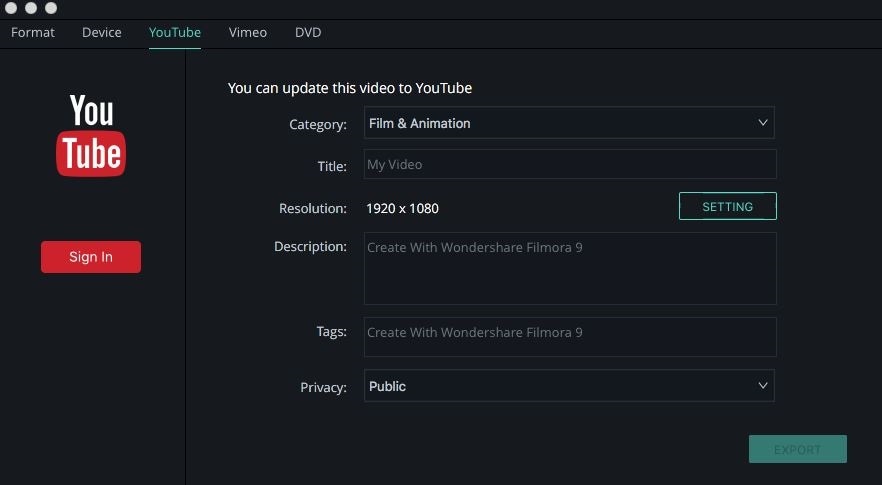
After finishing editing press the "Export" button. This will open a new window where you can change the desired format and other settings such as aspect ratio. You can directly share the edited video to YouTube, or Vimeo from here. After selecting the desired settings press Export to complete the process.
Conclusion
QuickTime Player is basically a media player which offers some basic editing. But for more advanced editing requirements you must use professional video editor software like Filmora Video Editor. No matter you are a professional video maker or just a casual social media user, the quality and size of the video is very important to get any attention from your viewers.


