- Can you turn a video into timelapse?
- What exactly is timelapse video?
- ...
A time-lapse video is to capture the moment on a lower frequency than the real video is captured. It is a technique of filming a frame in a much lower frequency than the normal sequence of a video. The video plays at a normal speed and the time appears moving faster with a lapsing. To make a good time-lapse video, you need a high-quality camera or video recorder, a proper subject and a professional time-lapse video software.
In this post, I'll guide you to choose the subject, camera or video recorder, timelapse video software step by step, so that you can create a time-lapse video easily.
Now, let's get started.
- Part 1. Things You Should Prepare to Create A Timelapse Video
- Part 2. How to Make A Timelapse Video by Converting A Standard Video
Things You Should Do before Creating A Time-lapse Video
1st - Choose A Subject
There are several subjects that are freqently chosen by users of time-lapse photography. You can take some of them into considerations and start your own time-lapse video creating ideas.
- Sunset/Sunrise
- Flower blossiming
- Ice melting
- Flower rottoning
- Movement of busy roads and streeets
- Cloud moments
- Stars movement
2nd - Choose Your Device
Generally speaking, there're two ways to create a time-lapse video: one is to record a time-lapse video as the events happen; the other is to convert a standard video into a time-lapse movie.
If you'd like to make a timelapse video in the first situation, then you need to choose a device that comes with time-lapse feature or time-lapse mode, then the result will be good when the device is stable and the subject well-lit. Under this situation, a DSLR camera, smart phone, GoPro or other action camera are all good at shoot a time-lapse video. (Prepare a Tripod to make the device stable)
Obviously, recording a time-lapse video should do many preparations, and it is definitely time-consuming. So, if you don't want to spend too much time on it, converting a standard video to time-lapse video could be a nice option. To reach it, you need to select a reliable time-lapse video editor program as your assistant.
3rd - Choose A Proper Video Editor
A time-lapse video editor allows you to set the frame and split a standard video into multiple parts, then using the "Speed up" function to accelerate the selected video clip. Then your video will play like a real time-lapse video.
On the other hand, this kinds of program also enables their users to create a timelapse video from photos (here you need to collect hundreds or even thousands of images). This kinds of timelapse video always comes with high quality, small size and funny.
But what is a good time-lapse video editor? If you have no idea about it, I'd like to recommend Filmora Filmora Video Editor for Windows (or Filmora Video Editor for Mac) for your reference.
Why? Let's learn the detailed features of this program as below.
How to Make A Time-lapse Video by Converting A Standard Video?
Filmora Video Editor creates a masterpiece for your video with the easiest interface for Window & Mac users. You can import any of your video, photo or audio files from your camera, Android, iPhone, iPad and so on, but also use 1000+ video effects to customize your video clips as you like. What's more, this program provide the free trial version, which allows you to experience all functions one by one.

Key Features
- All the video controls are injected in a single program like trimming, splitting, rotating, cropping and joining. It allows you to modify the brightness, ratio, hue, speed, contrast, and saturation for your videos.
- Comes with more than 200 filters that could be utilized on your windows for video editing and they are amazing when it comes to changing the style your video looks.
- Advanced editing skills help you create slow-motion video, timelapse video, fast-motion video, etc. within few simple clicks.
- Gives you a high quality and amazing video upto 4K.
- ...
Now, let's check how to make a timelapse video with Filmora Video Editor:
To get started, please ensure you have launched the program and entered the "Full Features Mode".
Step 1: Import video to the program
Using "Import" or "Import Media Files Here" to load your video or photos you wish to create into the media library. Then, drag it to the Timeline.

Step 2: Split and cut video for time-lapse editing
Drag the slider bar to the postion you wish to perform the timelapse effect, then hit on "Split" icon to cut the video to two parts. Repeat this action to trim the video into several parts.

Step 3: Speed up video clip
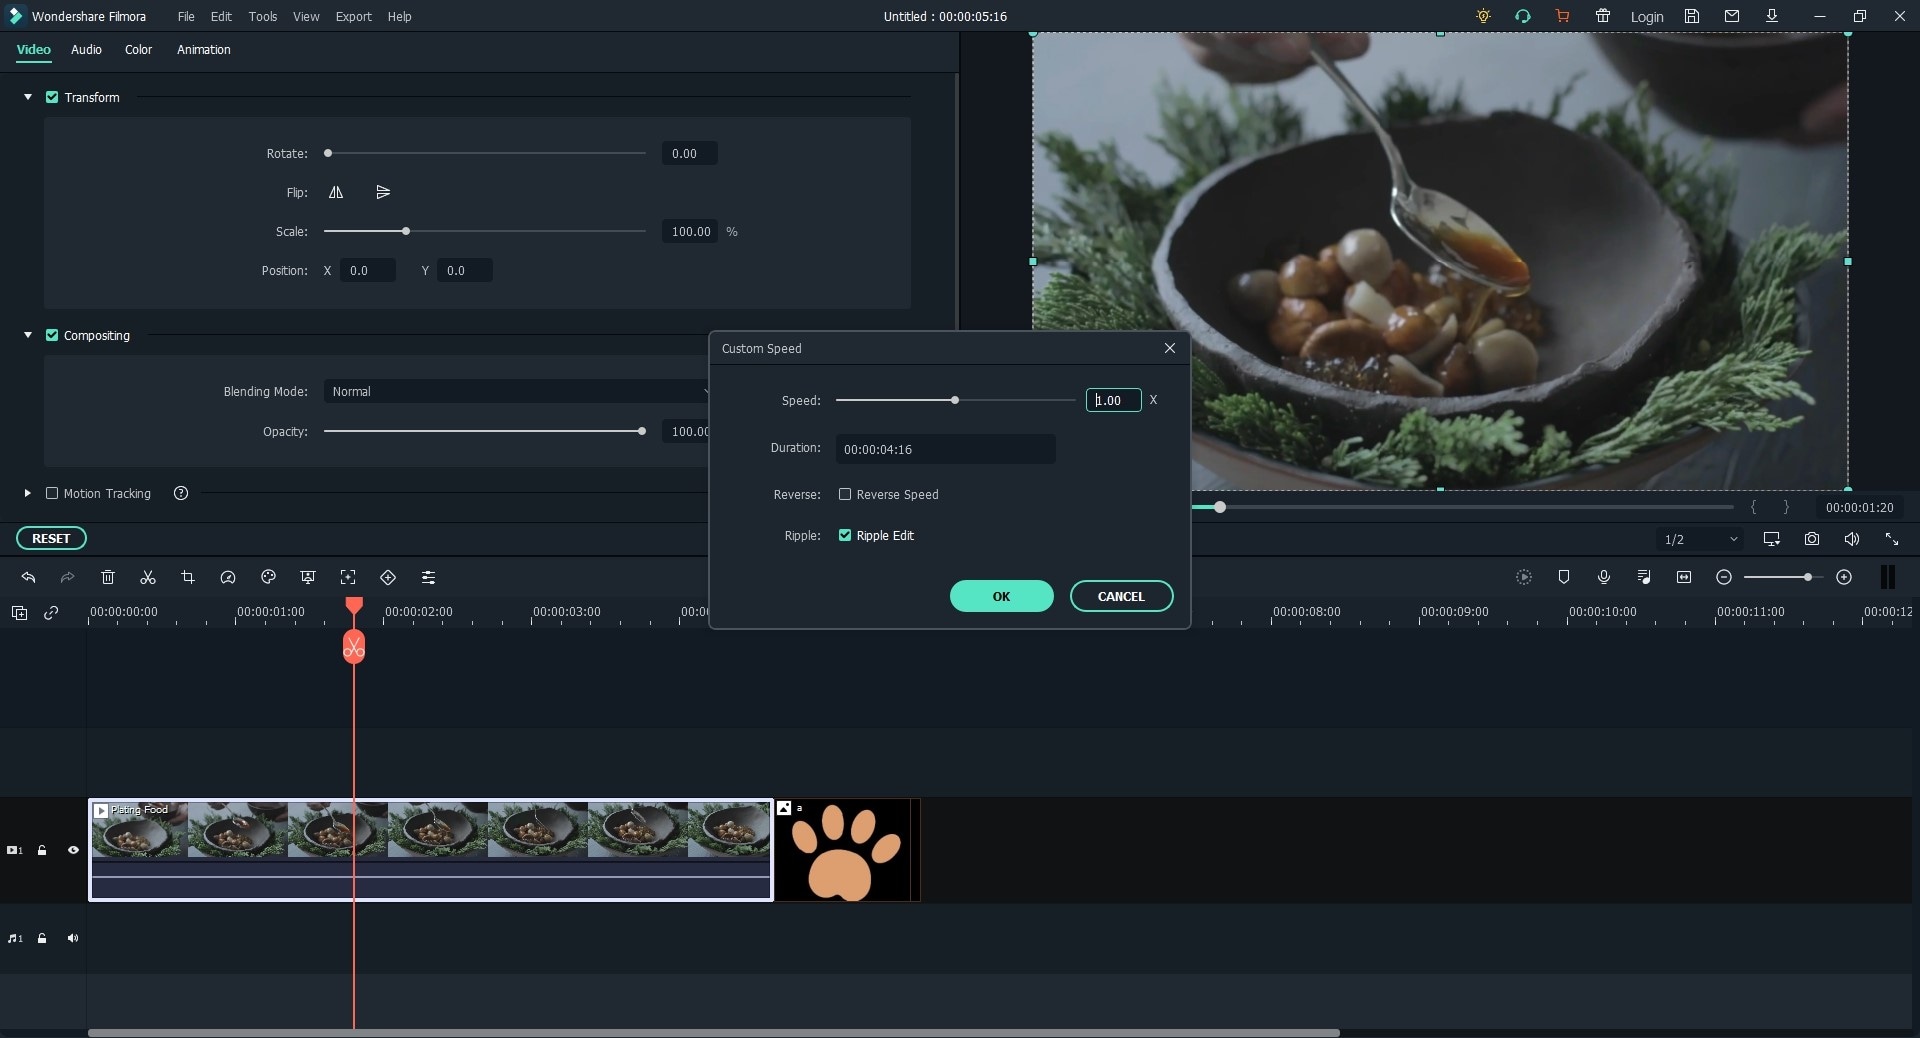
Double-click on the video clip you wish to speed up, and a window will pop up. Find the "Speed" option and drag the slider to the right to speed up the video. This program support up to 100x fast motion and 0.01x slow motion.

Alternative Step: Adjust photo duration
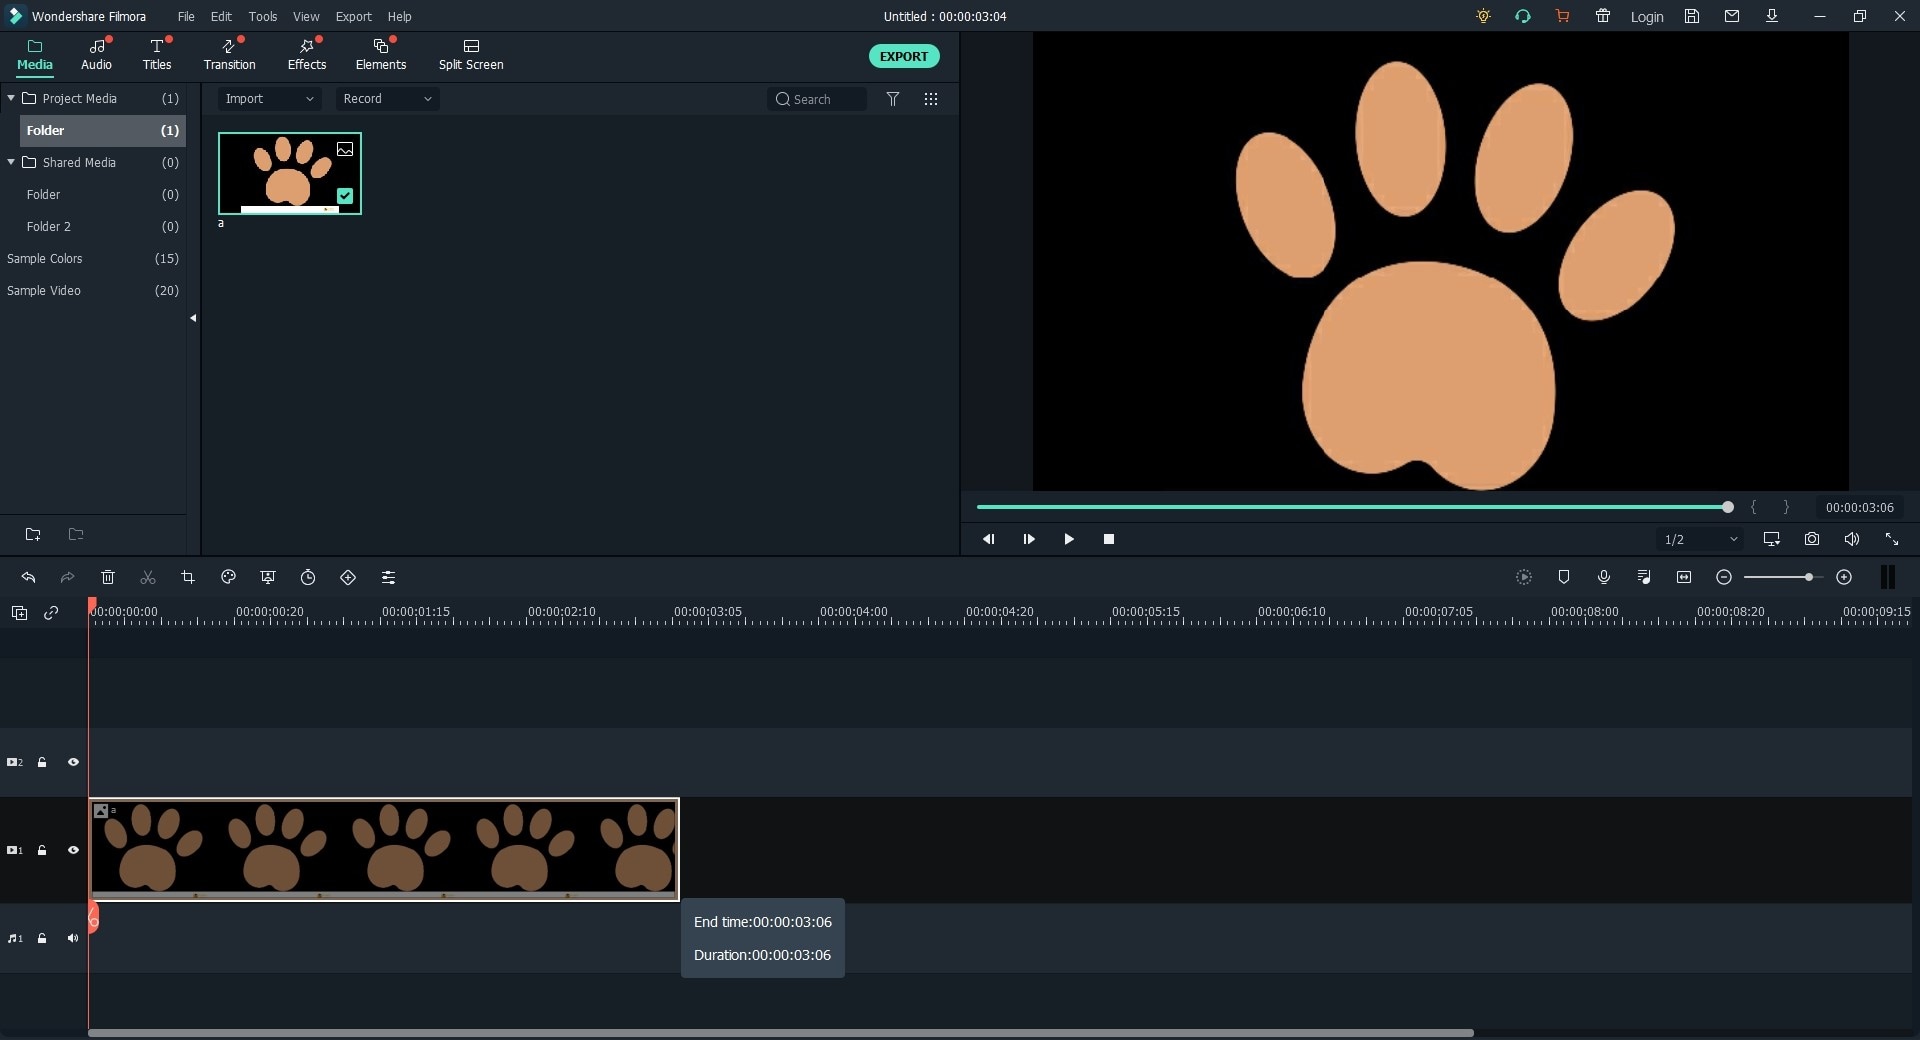
Drag all photos into the Timeline and make sure they're placed in the right order. Now, you can select one of the photo and double-click it to open the Photo edit panel. Find "Duration" section and change the duration of the photo to 00:00:00:01 or other duration according to your own needs. And then click "Apply to All".

If you want to add some background music, you can follow the guide to add background music to timelapse video.
Step 4: Export created timelapse video
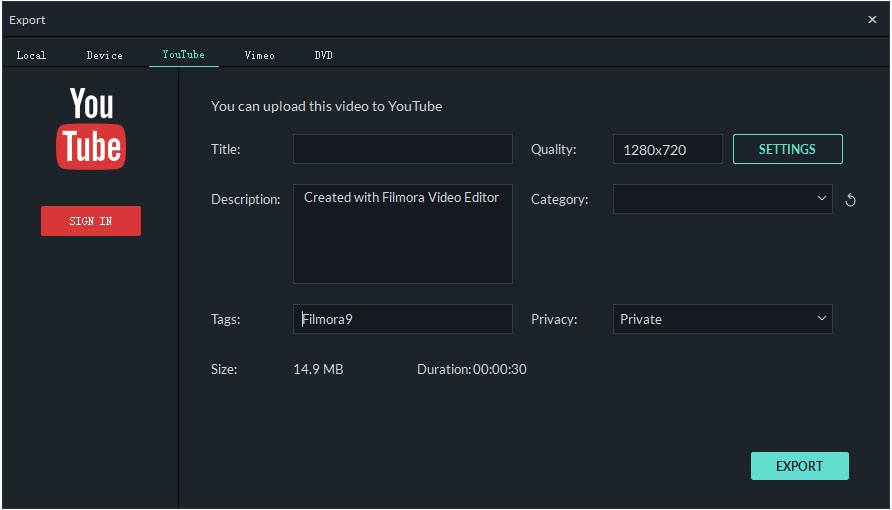
When the above settings have done, you can click "Export" button to choose an output format for exporting and saving the new created time-lapse video on PC or Mac.

Conclusion
Now, have you gotten the way of creating a time-lapse video by yourself?
Or will you try to use Filmora Video Editor to make a timelapse video?
Please leave me a comment below and share your ideas about this topic.


