- How do you make a video shake effect in After Effects?
- How to add a camera shake effects to your video?
For some purpose, are you also searching for these issues in search engines? Maybe you want to create a real earthquake or explosion effect for your video, maybe you want to express a chaotic mood. Anyway, a powerful video editor with video shake effects can help you achieve this easily.
What's more, as a collection of effects and transitions that move the video clip in desired manner, camera shake effect also can
- make scene look more interesting by adding appropriate movements.
- help blend VFX with real clips, this way videos seem realistic and VFX make your scene exciting.
- add subtle highlights in advertisements.
- ease the transition between two clips.
Very interesting, isn't it?
So, in this post, I will introduce two effective methods to help you add video shake effect to your video.
Let's start.
- Part 1: Filmora Video Editor - Simple and Practical Video Shake Effect Editor
- Part 2: How to Make a Video Shake Effect in After Effects
Method 1: Filmora Video Editor - Simple and Practical Video Shake Effect Editor
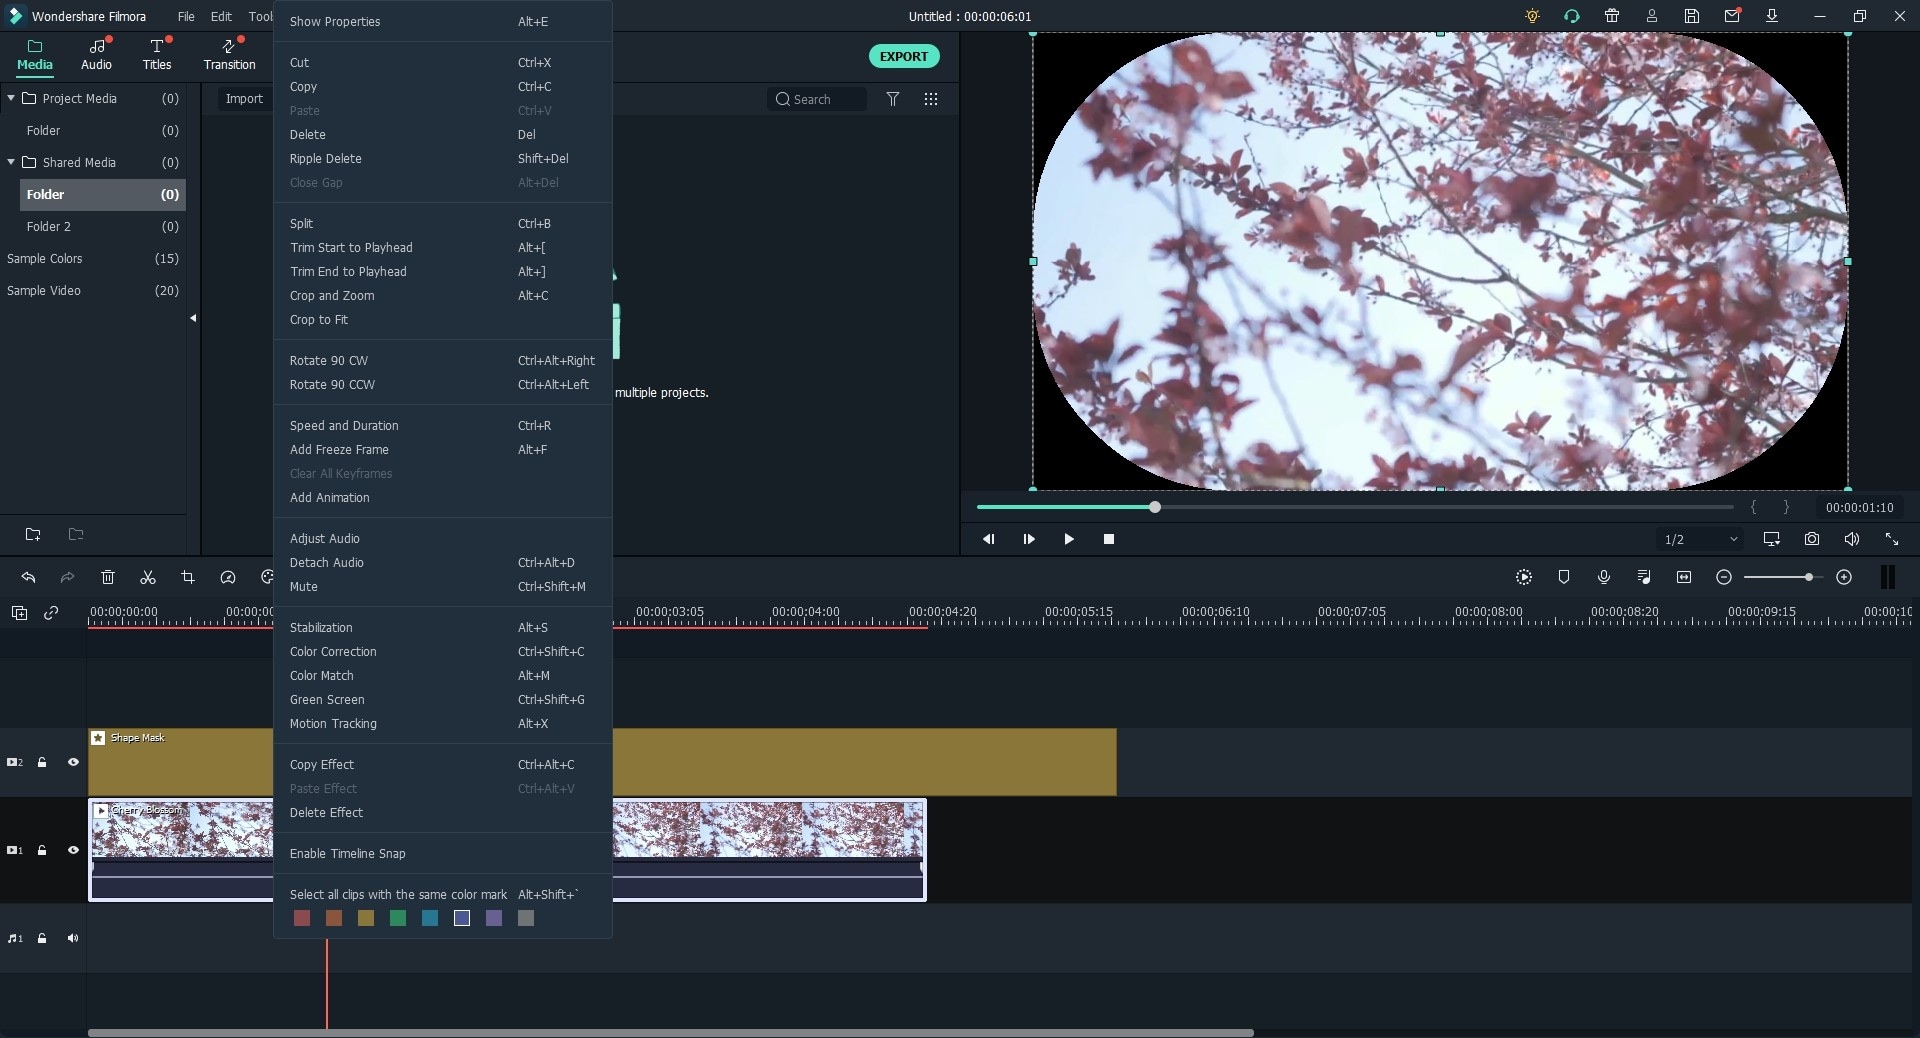
Filmora Video Editor for Windows (or Filmora Video Editor for Mac) is a powerful video editor that helps you with easy and quick apply des shake effects to your video. It comes with resolution of 4K. It is specially designed for beginners and semi-professionals that face trouble in editing a video properly. Its main functions include editing and inserting of images, videos, audios, text and GIFs. It has number of tools that do tasks like decreasing and increasing size of the image or even trimming and flipping a footage.
Key features of Filmora Video Editor:
- It has hundreds of special effects built in, including some different video shake effects to meet your needs for create a video with shake effects in a simple way.
- In addition to the basic editing features, it also has some powerful tools, such as transitions, green screen, split screen, picture-in-picture, tilt-shift, mosaic, etc.
- It has advanced color grading tools. You can use it to control and adjust the color of the video.
- You can also use it to edit audio and add background music, and y ou can also use it to add text or title to your videos.
- Its user interface is very friendly and suitable for novice and semi-professionals. They can learn to use it in a matter of minutes.
- It enables you to upload your shake effetc videos directly to websites such as YouTube.
How to Add A Shake Effects to Your Video with Filmora Video Editor
Now if you are wondering how to make most of video shake effects of Filmora and how to use them, here is a step by step guide to solve your problem –
Step 1: Download and Open Video Shake Effect Editor
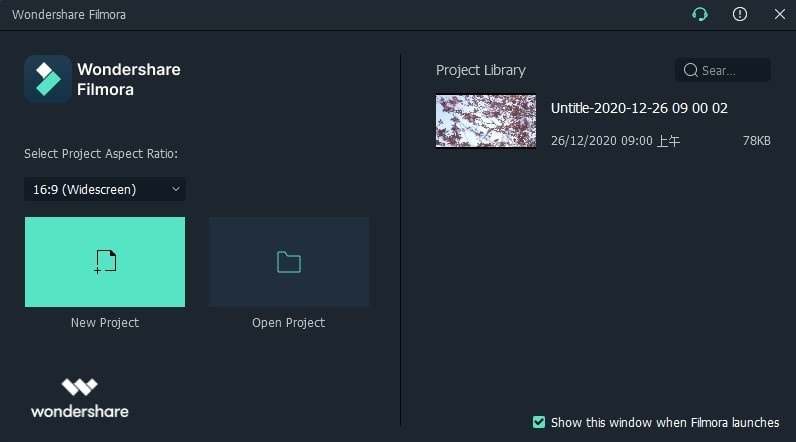
First you need to install Filmora software on your device. Once you are done with installing and run the program, you can use its features easily. Click "New Project" to continue.
Step 2: Import video files
Now place click on the Import Menu. Go for the selection of Import Media Files, thus your files will be added to editor’s panel. Bring desired files from editor’s panel to timeline and go for editing.
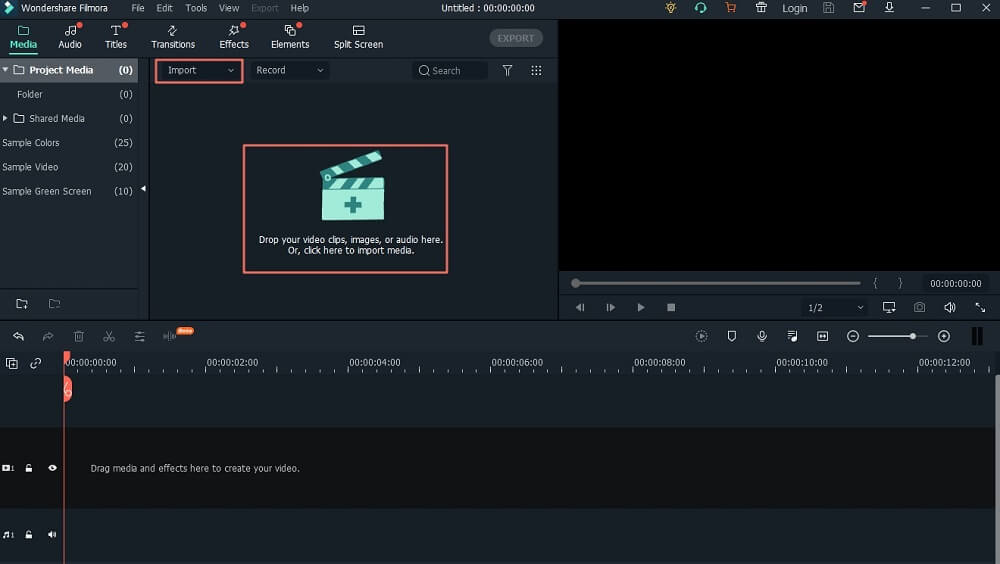
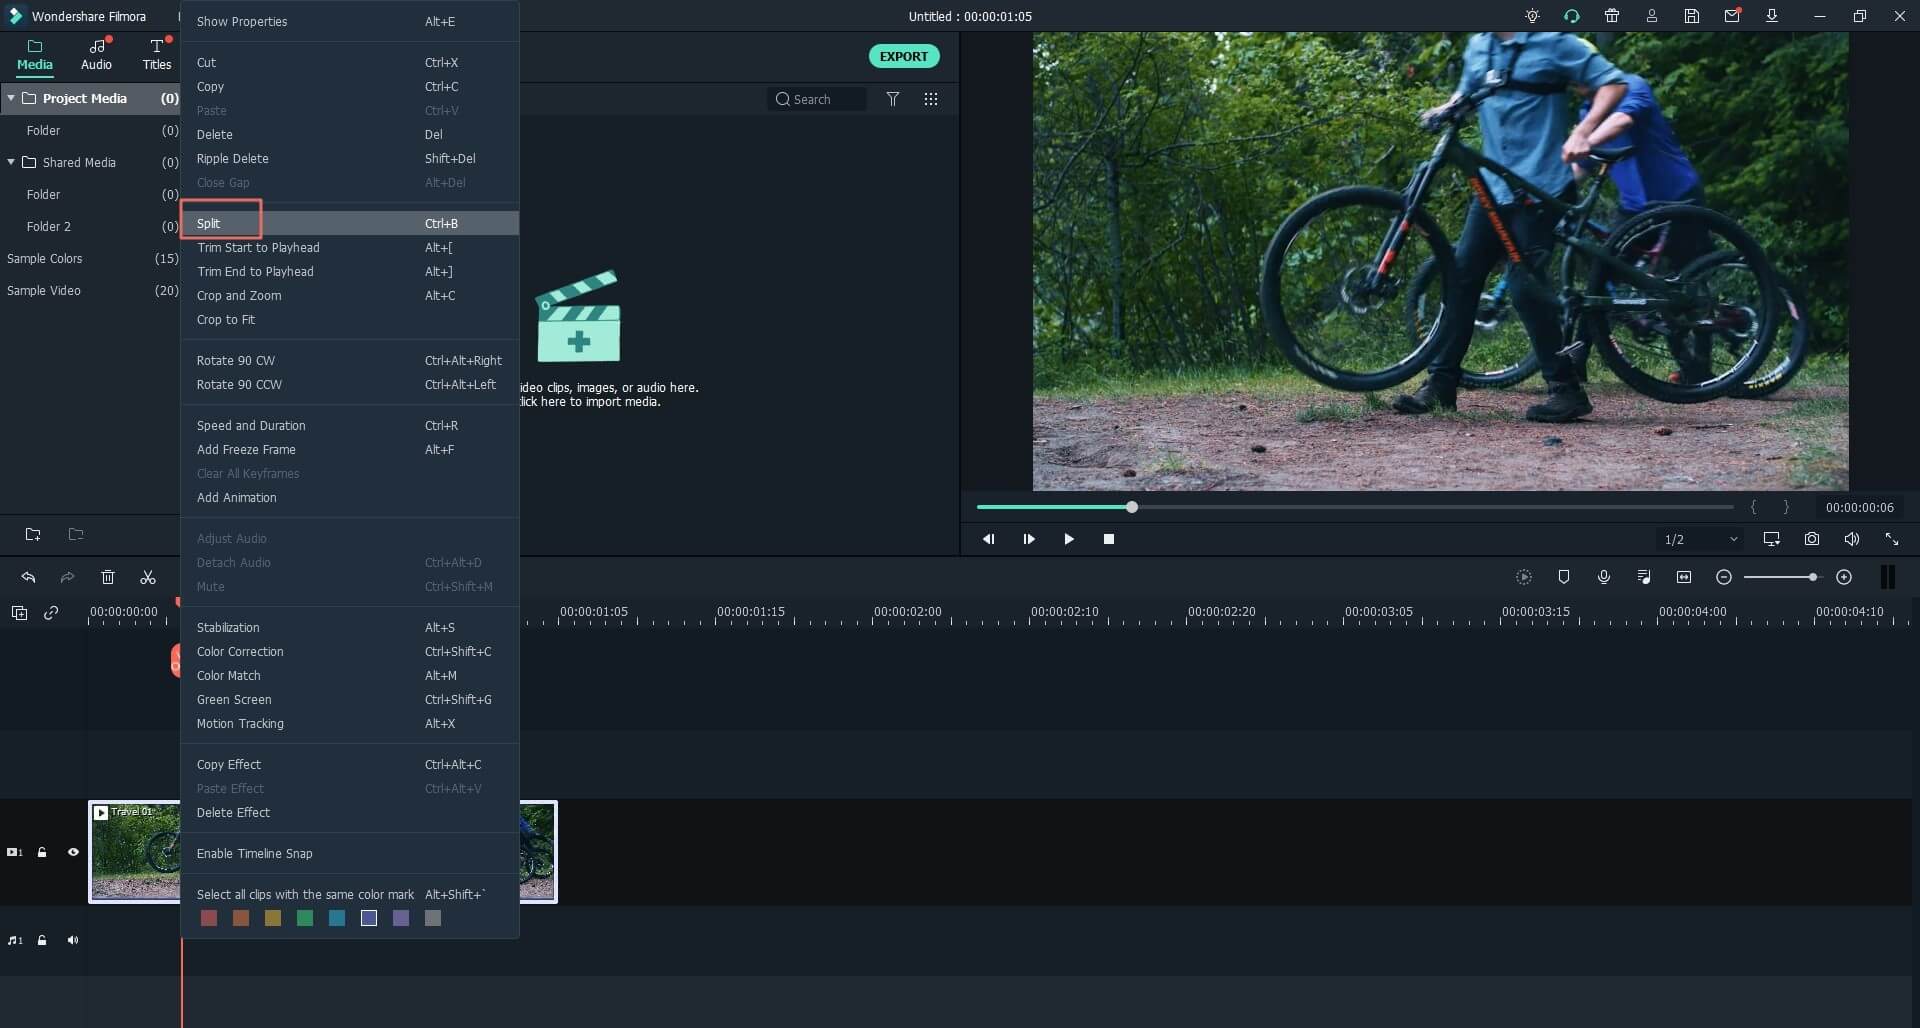
Step 3: If you want to edit your file like trimming or cutting, do it before moving to next step.
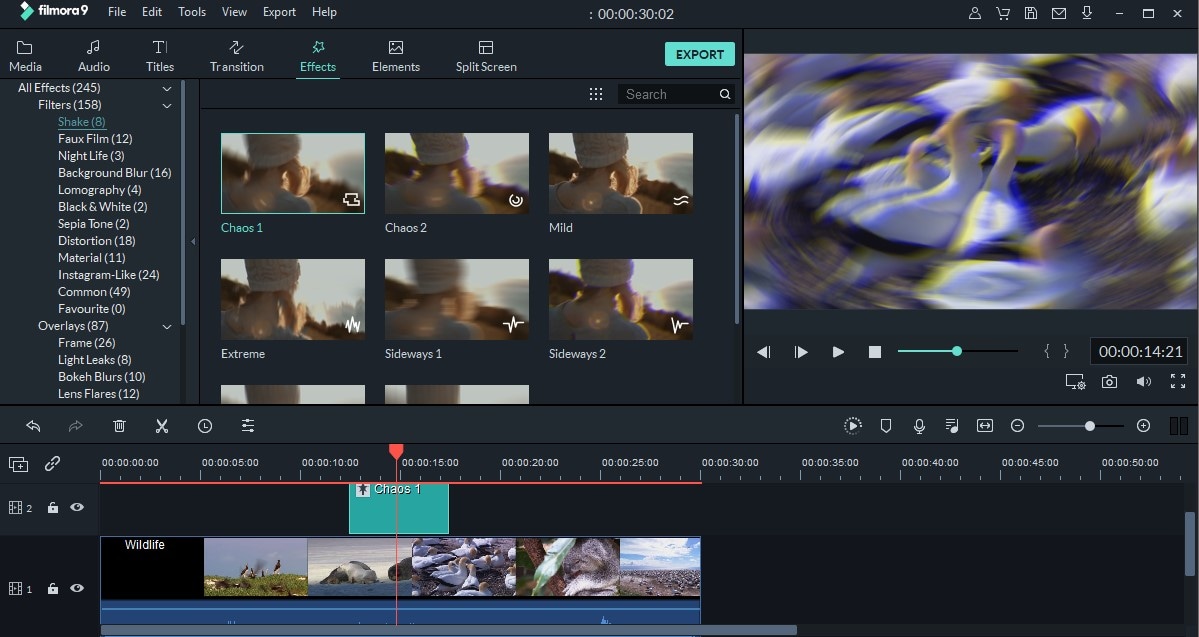
Step 4: Now select Effect icon and choose your favourite or any suitable camera shake effect, given in Shake category.
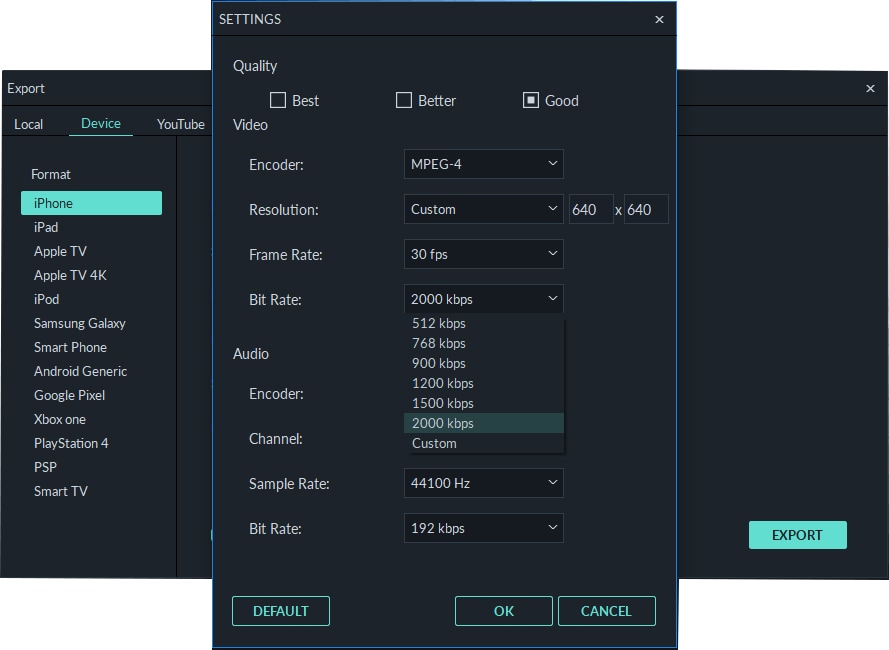
Step 5: When you think your video is ready, export it by clicking on Export option. In this step you also have to adjust resolution and output format of the video. Also select appropriate location on your hard drive where you want to export the file. Or you can directly share your video clip on any video publishing platform.
Method 2: How to Make a Video Shake Effect in After Effects
Adding video shake effects to a clip is a technique that is very necessary to improve previously edited shot. This way, you become able to bring a new twist to your video clip. If you want to do this with perfection like an expert, here are the steps to guide you about how to make a video shake effect in after effects –
Step 1:
Very basic step is to add suitable wiggle expression. Select the menu of after effects. Go for wiggles. You will see a thing appear like a timeline. Go there and type “wiggle (a, b)”. Where “a” may be any number that shows frequency of shakes and “b” is a number that shows pixels.
Step 2:
Fix the scale to cover or remove the edges of video that will appear after adding wiggle expressions.
Step 3:
Now add multiple effects like rotation, making clip close or away. Remember keep the rotation limited to small angle like 0.5 to 0.7 degrees. Otherwise your clip will rotate to higher degrees making the scene look useless.
Step 4:
On this stage you have to make your footage look 3D to make it real-world-thing. It is done by adding wiggle to scaling both in vertical and horizontal. If you simply type wiggle (a, b), it will bring an imbalance in the wiggle of vertical and horizontal parameters. So, you need to use an extension of the basic formula as:
w= wiggle (a, b)
[ w[0],w[0]]
Final Thought
To sum up,
in Filmora Video Editor, adding camera shake effects to a video is simply done by importing file, adding to timeline, introducing effects and exporting it. While adding video shake effects in after effects is more advanced stage where you need to collaborate different expressions in one clip. Also it requires knowledge of some basic formulas to add the wiggle expressions properly. It doesn’t matter which category you belong to, directors, YouTubers and other vloggers, Filmora Video Editor is useful for you in all aspects. It is really a life saver!
Well, why not click the button below to try it for free now?


