In many situations, you might wish to record your screen to explain something clearly.
For example:
- You find a new software and want to recommend it to your friends or other people on the Internet. Thus, recording your Mac screen to demonstrate how to use it could be a good idea;
- When you're getting an error message and want to show it to a technician or a software developer, you might need to record a screen video;
- As a gamer, you might wish to record your competition and share it on YouTube, Vimeo, etc.
...
So, learning an effective way to record your screen on Mac or PC seems to be important when you have one of the above problems. And this article is here to show you two ways to record Mac screen step by step. (Windows users please check the solutions here)
Now, let's get started...
Recording Mac screen with the macOS Mojave Hotkeys
Apple has recently updated some of its features on macOS to help users get more out of their devices. One of these updates involves an upgrade of the screen capture tool. Users will find making basic screencasts to be easier than before on macOS Mojave or newer. Mac users no longer need to rely on QuickTime to create a screencast.
With the upgraded screen capture tool, you can not only record your screen as a video with sound but can also specify a recording area and adjust settings to your liking without having to use complicated commands. If you are experienced using MacOS, the hotkeys remain the same and can be used to record your screen.
How to Screencast using macOS Mojave Hotkeys?
Method 1: To record the whole screen, open the screen capture tool with the hotkey combination Command + Shift + 3.
Method 2: If you only want to capture part of your screen, use the hotkeys Command + Shift + 4. Next, use your mouse to select the area that you wish to record.
Method 3: Mac users can also choose to record a single window. To do so, press the hotkey combination Command + Shift + 4, then use the Space Bar to select the window you want to record.

You can choose a location to save your recorded videos by opening the screen record toolbar by pressing Command + Shift + 5, and then navigating to Options to select a save location. From the toolbar settings, users can also set a screen record timer and show or hide the mouse pointer.
To edit your recorded video, right-click on the video and select Markup. Here you have options to trim the video to edit out the unwanted parts. When you are finished editing, click Done to save your screen recording.
While this method can give you a basic screen recording, if you need higher quality screen recording, it is recommended you use Filmora Video Editor.
How to Screen record with Sound on Mac with Filmora Video Editor
One of the best tool available today to screen capture with sound on Mac is Filmora Video Editor for Mac or Filmora Video Editor. This powerful software is easy to use and comes packed with loads of features and functions.
Let's check the main features of this Filmora Screen Recorder software:
Key Features:
- Record your Mac screen with sound easily. You can choose to set the video recording details as you like.
- Download videos or media files from Facebook, Instagram and Flickr. And support almost all popular meida file formats.
- A large amount of built-in eidting tools to help you trim video length, split and merge clips, adjust contrast and brightness, correct color, etc.
- Apply hundreds of stunning video effects and filters, add sound effects and much more.
- ...
Step-by-Step Guide: How to Screen Capture on Mac with Filmora Video Editor?
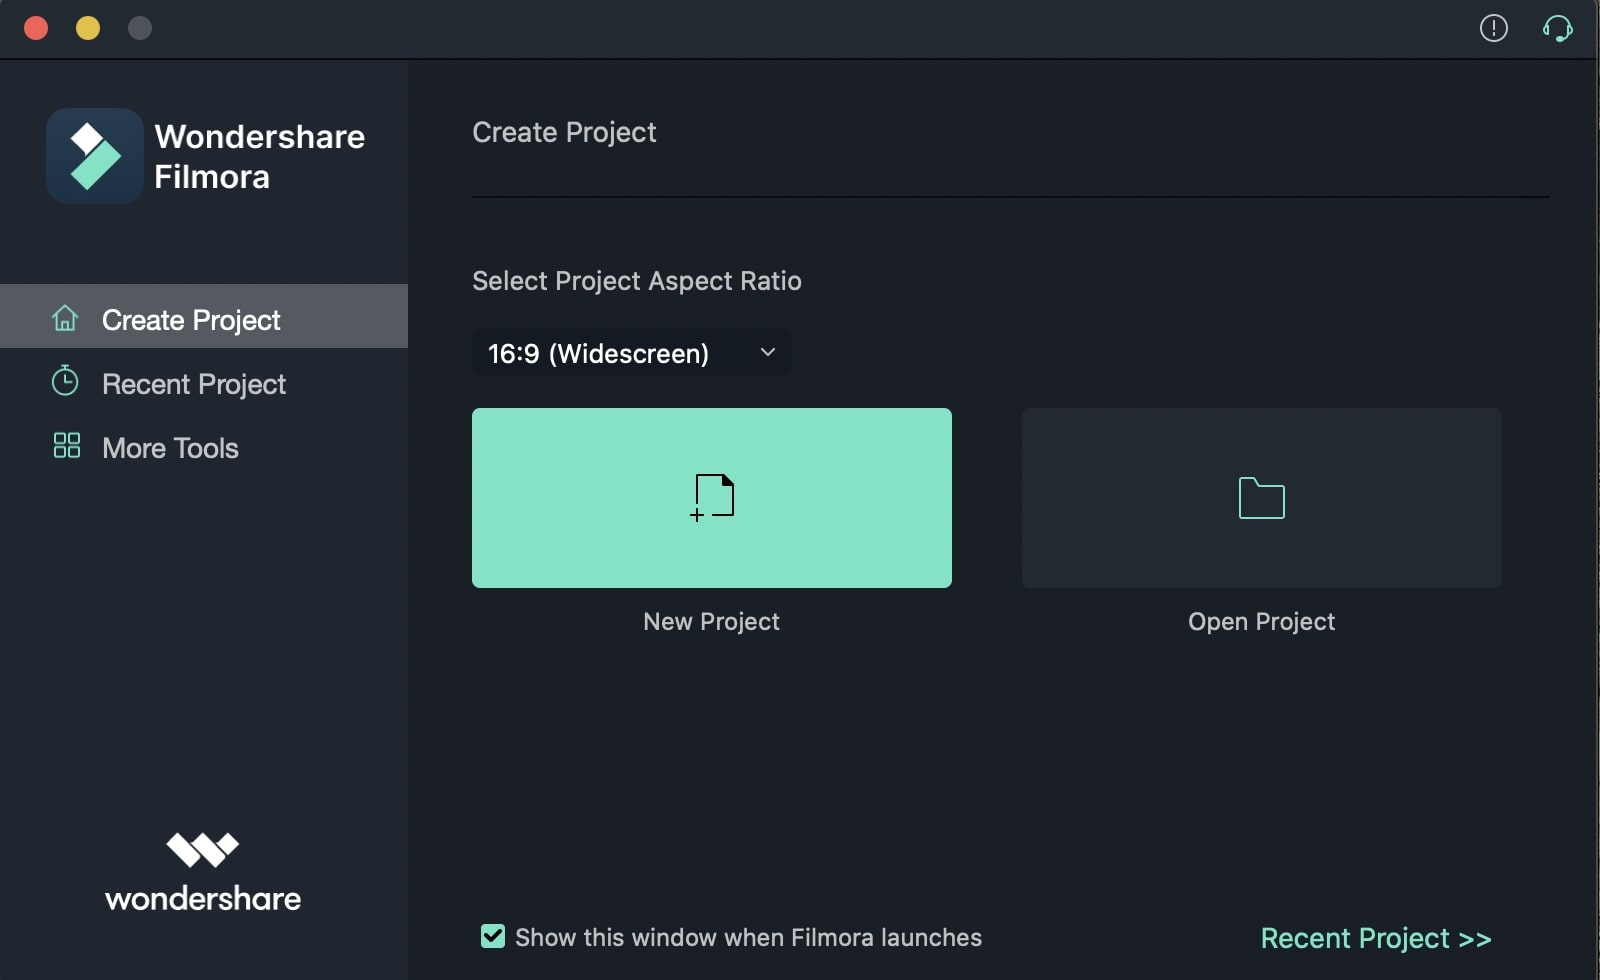
Step 1. Assuming you have downloaded and installed the latest version of Filmora Video Editor from the official website, double-click on its icon to launch the program and choose to enter the editing panel by choosing "New Project".
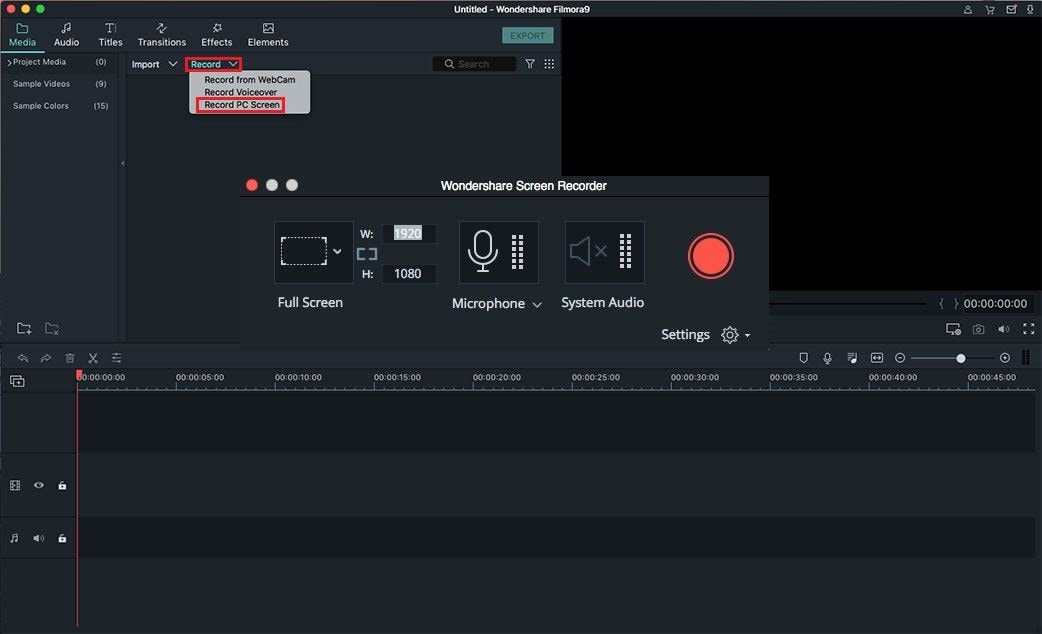
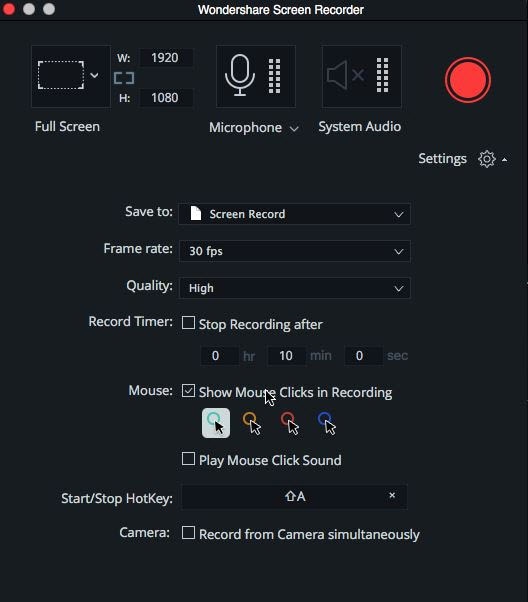
Step 2. Navigate to File > Record Media > Record PC Screen. Before you start, make sure to adjust your record settings.
- Select whether to record the entire screen, a selected window or a section of your screen.
- You can also adjust settings for recorded audio.
- Select whether to record an external mic or system audio (sound from whatever is playing on your screen) or both.
Step 3. Now click REC to start the screen capture. You will see a short countdown. At any time during your recording session, you can press Pause to take a break or Stop to end the process. Your screen capture will be saved to your videos folder.
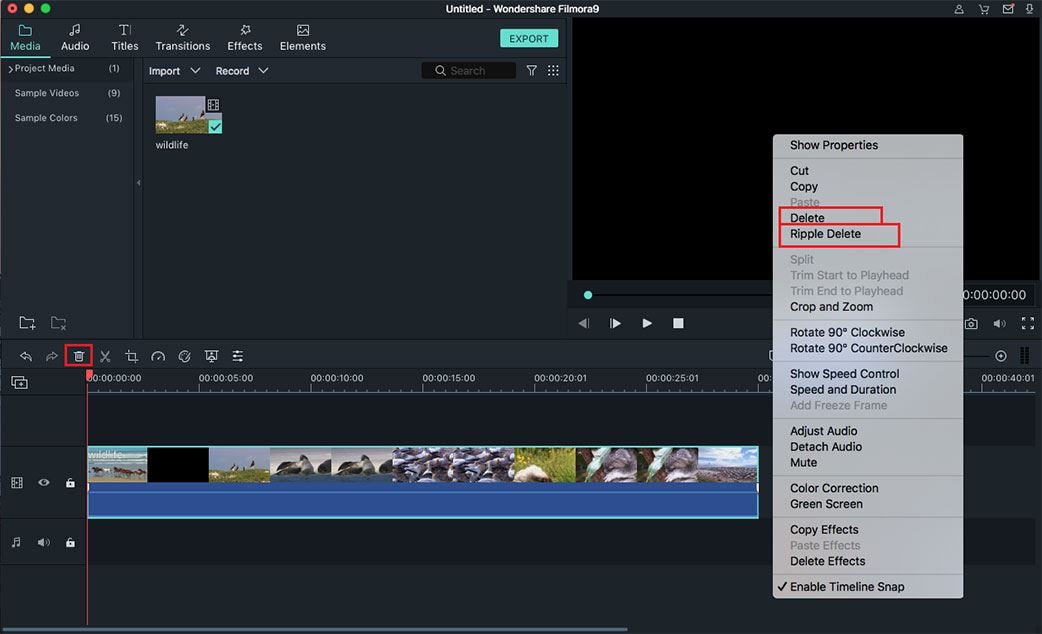
Step 4. After the recording, now you can edit and enhance your recorded video in Filmora Video Editor. For example, you can use the Split function to delete unwanted clips in your video; create a stunning or interesting intro or outro; pick up a proper transitions between two clips, etc.
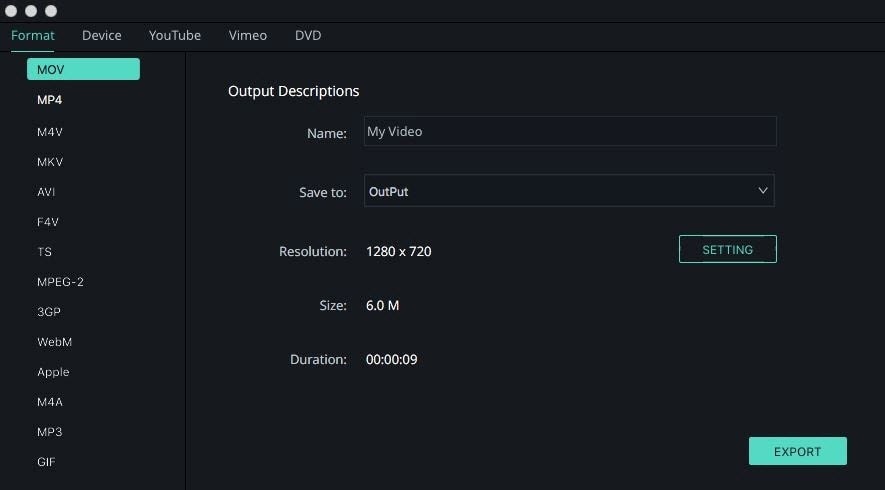
Step 5. When you have done the above settings, you can click Export button to save the recorded and edited video on local disk or share on social platform as you like.
Conclusion
Done! Have you gotten the idea of recording screen on Mac?
Obviously, it is really important to know how to record your scren on Mac, and I believe, the above ways can help you record any screen as you like.
If you're interested in Filmora Video Editor for Mac, you can click the below icon to have a try.


