You just uploaded a video to YouTube, but want to trim it to make it crisper. You could use YouTube studio editor to trim, download the YouTube video and re-upload to publish it.But what if you want to edit the video more than trimming?
That is where Filmora can help! It can effortlessly trim your YouTube videos and do much more. We explain everything in this blog.
Part 1. How to Trim a Video with YouTube Studio
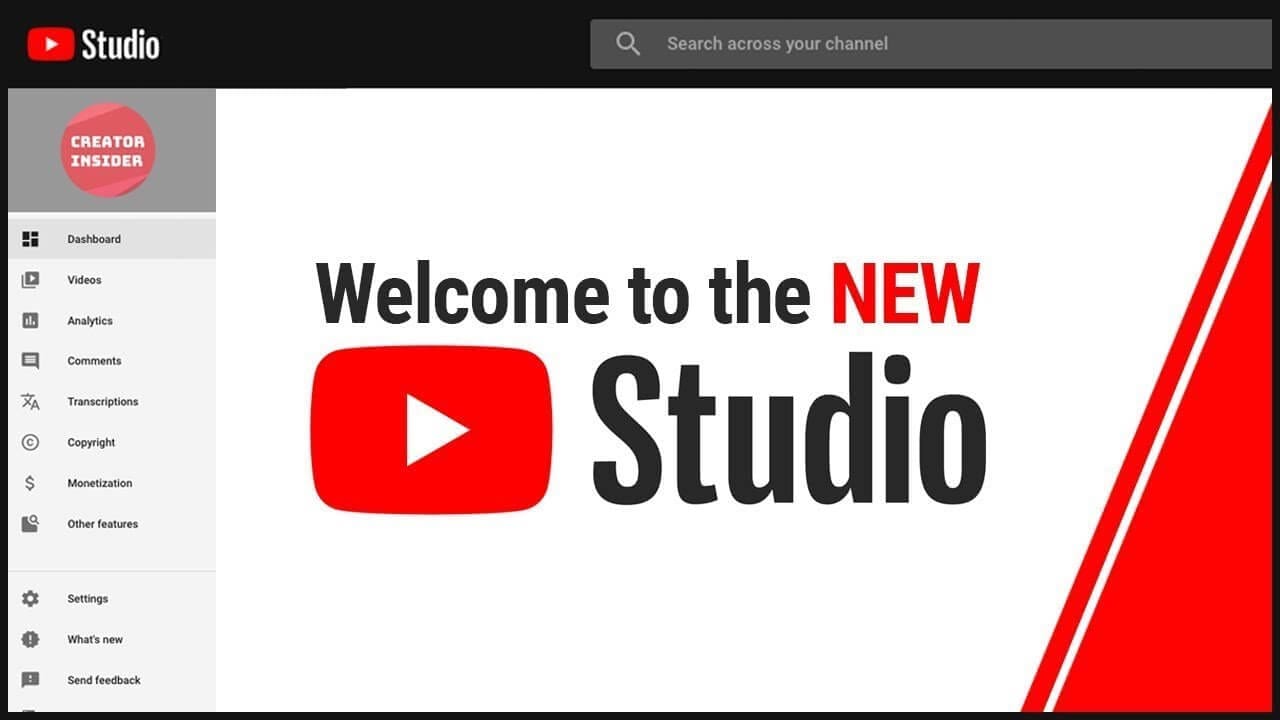
Step 1. Go to the YouTube Studio window of your channel.
Step 2. Click on the Content tab and choose the video to edit.
Step 3. Click on Editor - Trim to start trimming the video.
Step 4. An array of blue boxes will appear on the video timeline.
Step 5. Drag the edges till everything you want is within the blue box.
Step 6. Click save to trim out the rest of the video.
Note: Trimming a YouTube video does not reset the URL, view count or comments. You can undo the unsaved changes at any time by clicking on "Discard changes".
Part 2. An Alternative Way to Trim a YouTube Video
The limited feature set of editing options in YouTube Studio can limit your creativity. Filmora on the other hand is an all-in-one video editor for your YouTube videos. It can perform anything from basic editings like trimming, cutting and merging to advanced editing for your YouTube videos like speed ramping, motion tracking, audio ducking or audio denoise.
Here's how to trim your YouTube video in Filmora.
Step 1. Import video
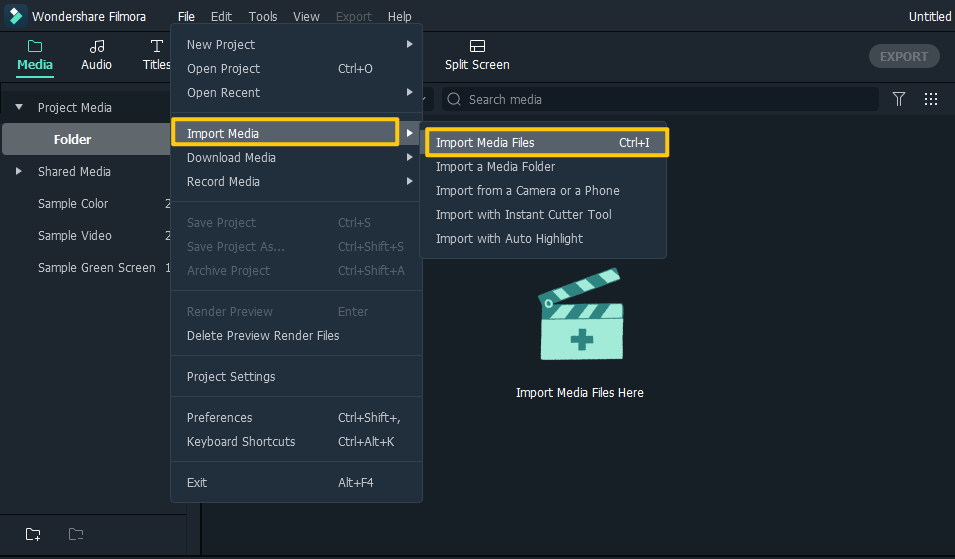
Download your YouTube video and import it into Filmora by clicking File - Import Media - Import Media Files. You can also do Ctrl + I.
Filmora supports most of the common video formats like AVI, MP4, MP3, MOV, MPG, VOB, WMV, and many more.
Step 2. Trim video on windows
Way 1: Drag to trim video
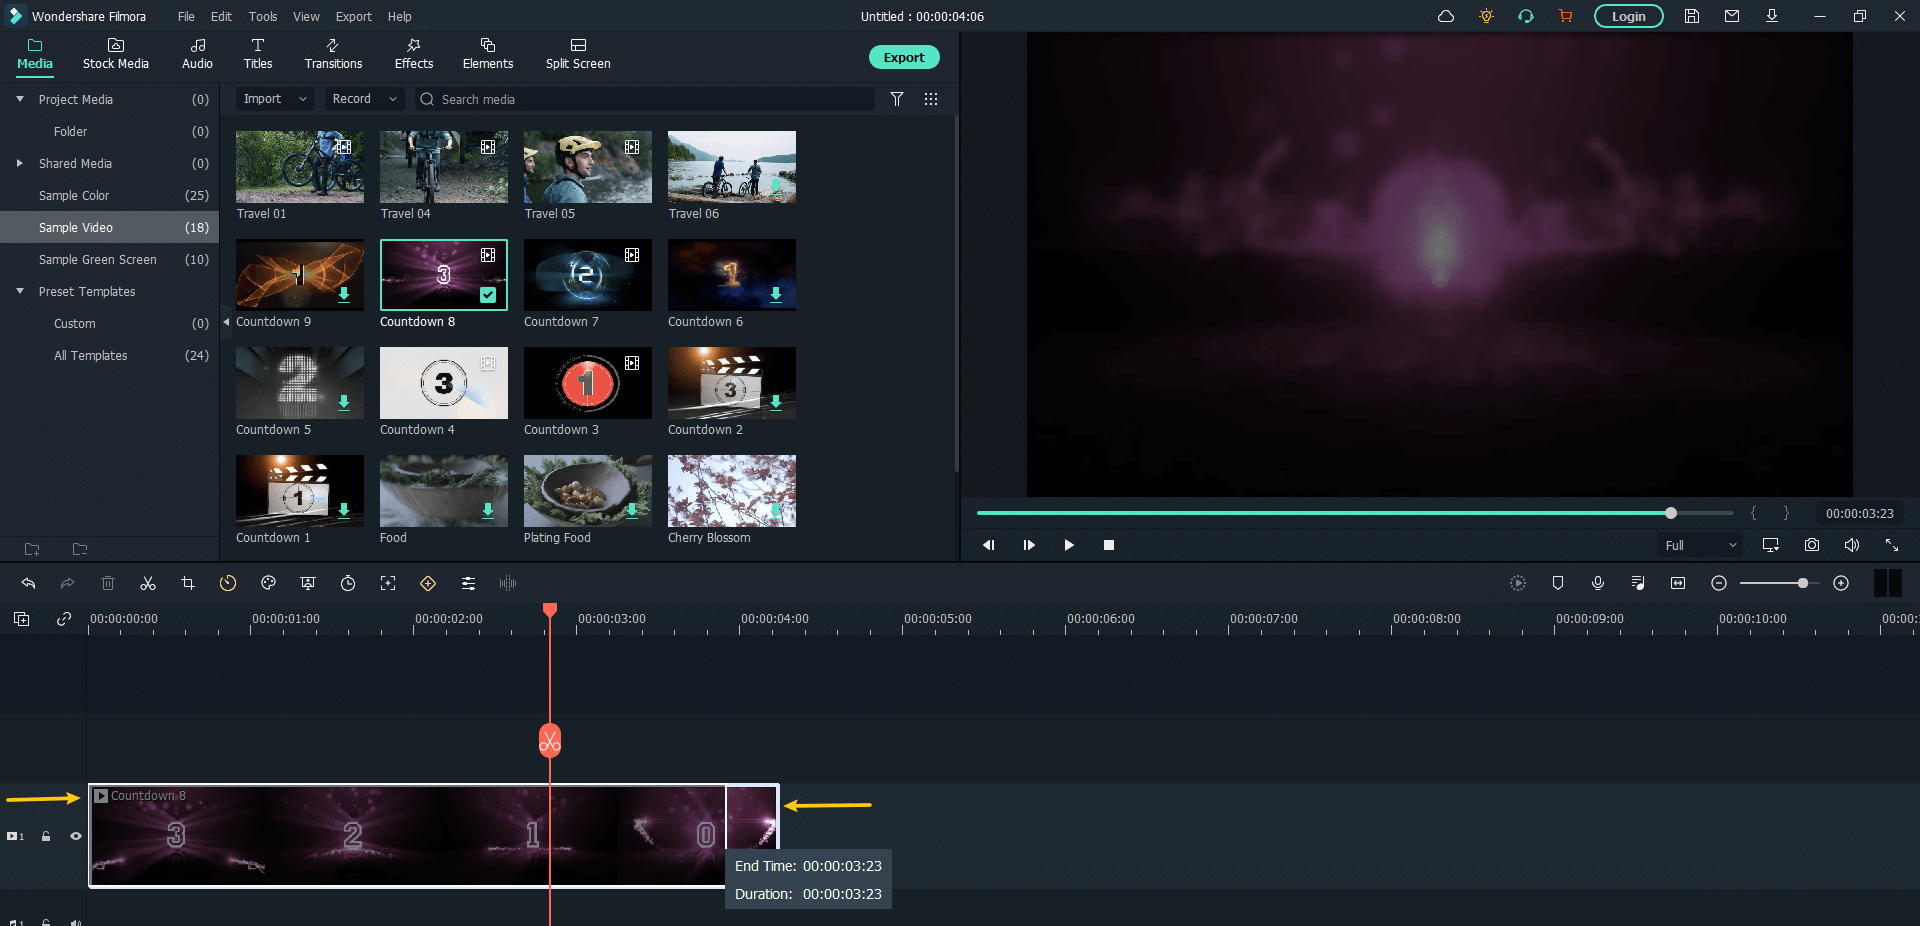
The edges of the clip can be dragged to the point you want to cut out. This automatically trims the video to that point.
You can move it forwards and backward if needed to adjust to the exact point. The changes are not permanent until you export the project.
Way 2: Trim to playhead
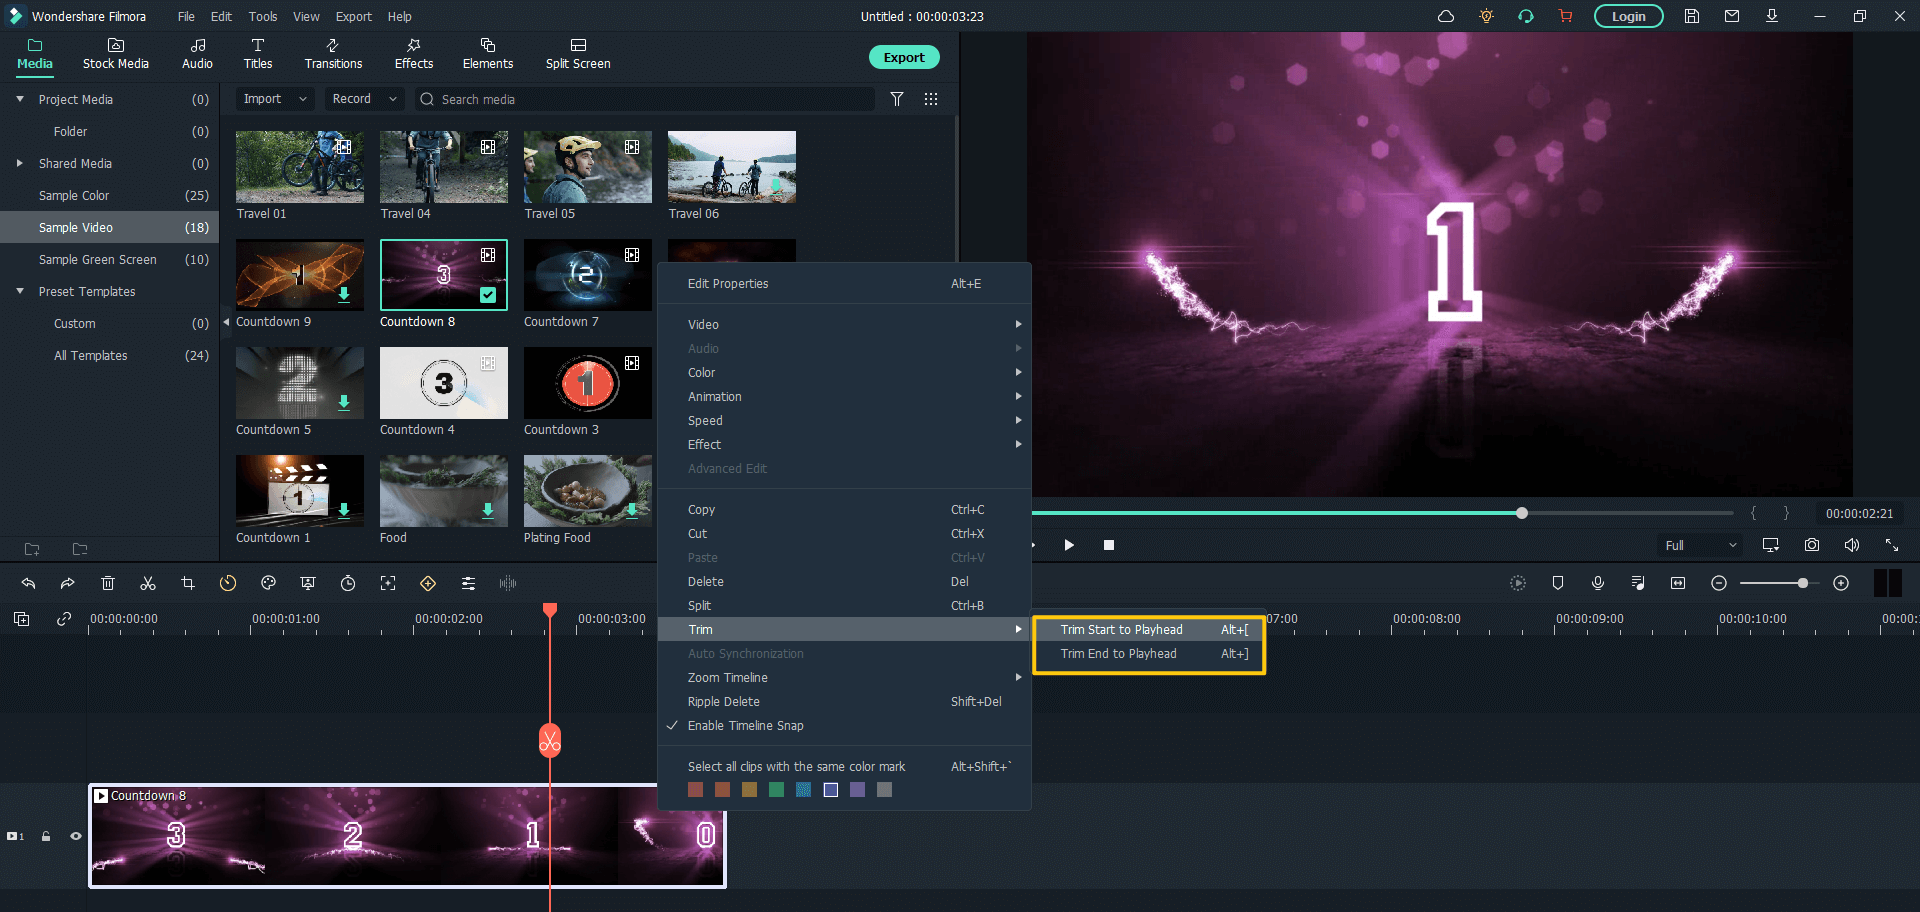
Put the red playhead at the point of trimming. Right-click and choose "Trim Start to Playhead" to cut out everything between the start of the clip and the red playhead. If you want to trim out the other side, i.e. from playhead to end of the clip - choose "Trim End to Playhead".
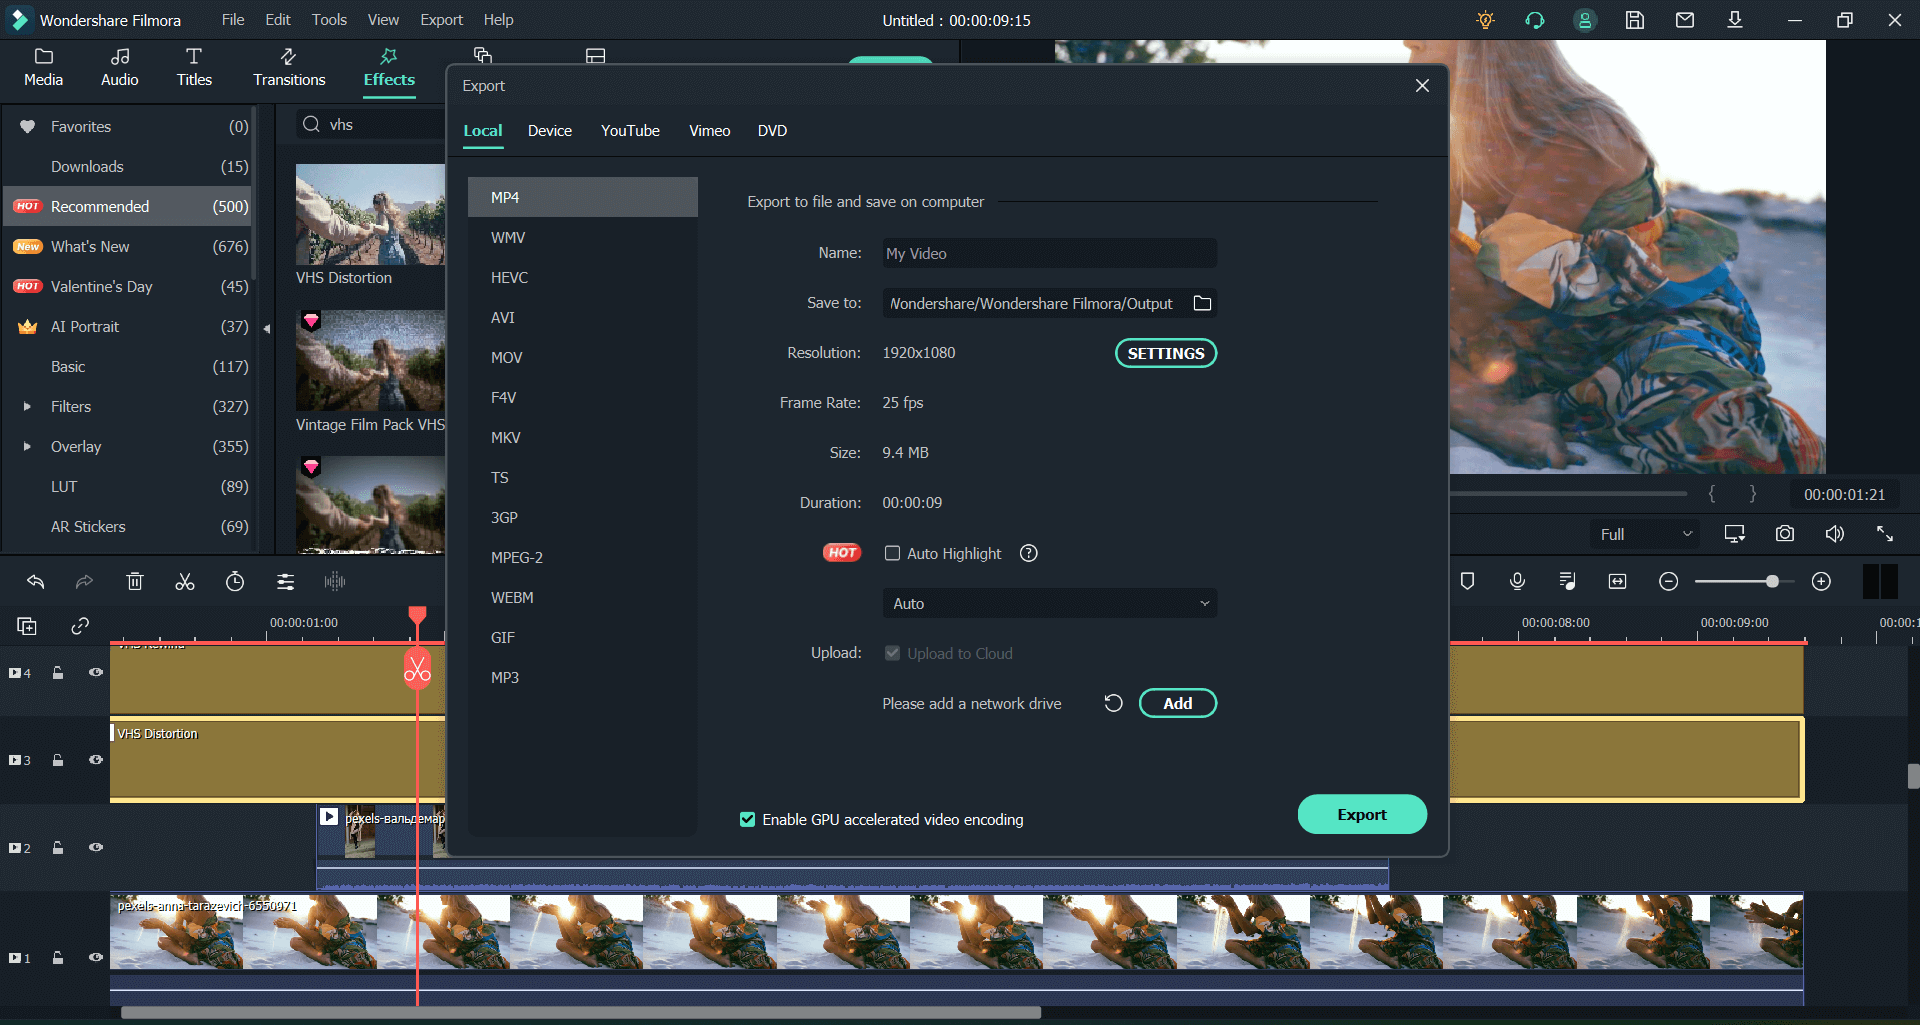
Step 3. Export video
Export the file by clicking on Export and choosing the format and location to save your file in.
You have now trimmed the video. This can now be re-uploaded to YouTube.
Filmora also has an option to connect your YouTube Account to it and directly upload the video to YouTube while exporting.
And that's is how easy it is to trim your YouTube video using Filmora.

Key Features
- Best video editing software for beginner and semi-professional
- Simple video editing tools including cut, trim, merge video
- Easily add transition/image/audio/transition/overlay/elements
- Advanced video editing features including speed ramping, motion tracking, color match, keyframing, masking, etc
- Advanced audio editing features including audio ducking, audio denoise, auto beat sync, auto synchronization, etc
- 500+ free special video effects to customize and create an awesome movie by yourself.
- Numerous free stock media from Giphy, Unsplash and Pixabay
- Top-notch industry-leading Boris FX and Newblue FX plug-ins and live graphics solutions to simplify complex editing tasks


