How do you overlay a picture/video on a video iMovie?
A Picture-in-Picture effect allows you to place a video clip or a picture on top of another such that they play simultaneously on different windows. This effect is such useful when you create a gameplay or education video.
As one of the best and easy to use video editor, iMovie provide basic effects and editing tools such as a Picture-in-Picture feature.
Follow this guide to enable you to achieve this feat effortlessly!
- Part 1. How to Apply Picture-in-Picture Effect in iMovie
- Part 2. Add PIP Effect with iMovie Alternative - Filmora Video Editor
Part 1: Apply A Picture-in-Picture Effect in iMovie
Let's learn how to add Picture-in-Picture Effect in iMovie step by step.
Step 1: Create a new project or open your recent project that you want to apply PiP effect.
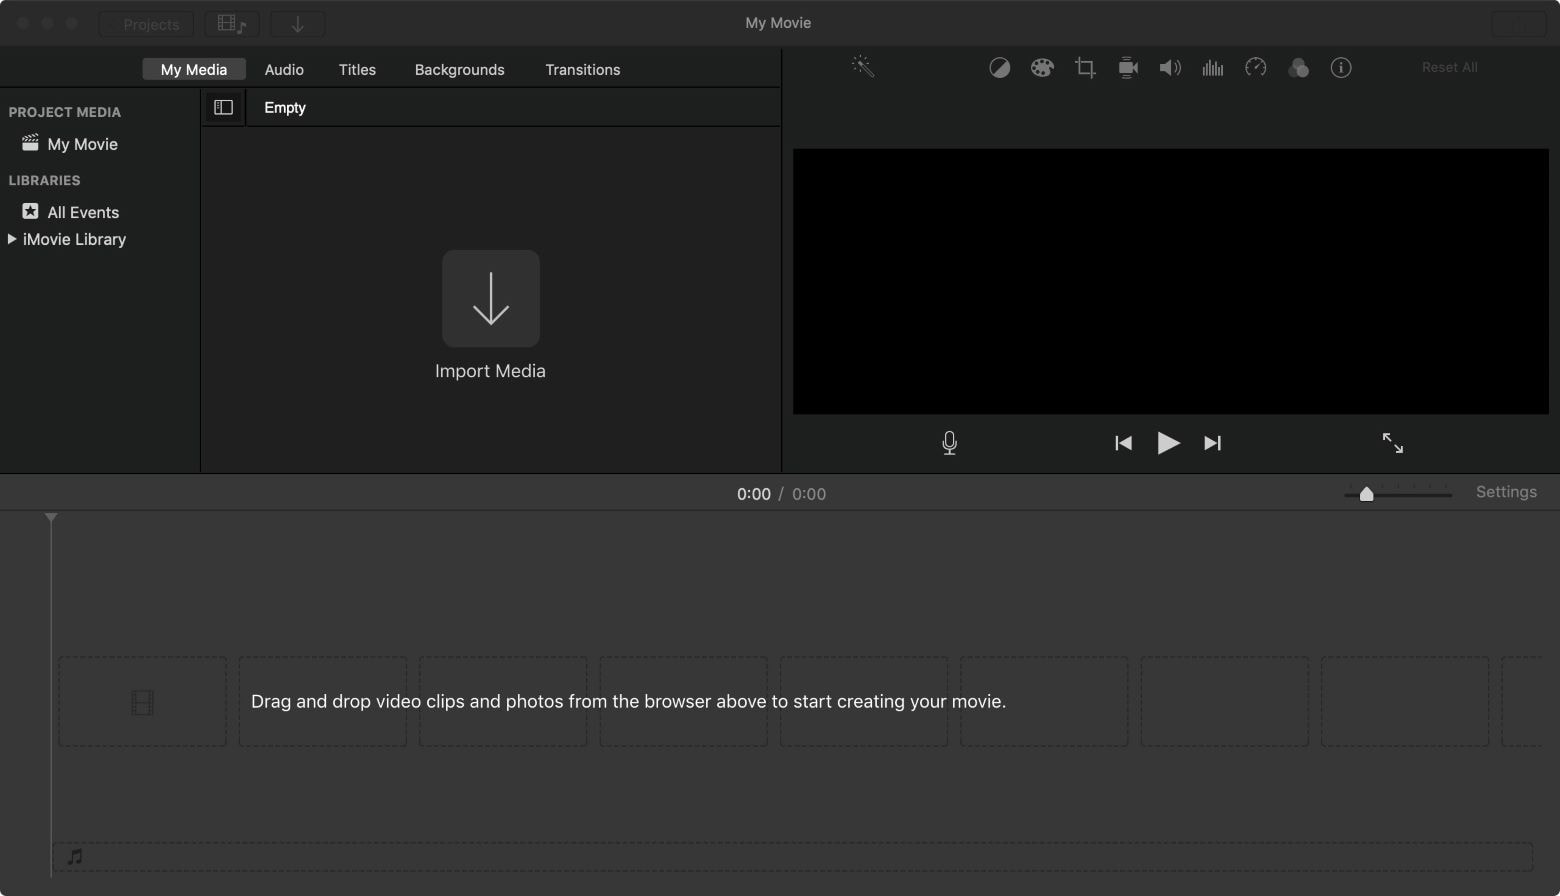
Step 2: Import your media files in iMovie, and drag the video that will be displayed on the full screen to the timeline. Then you need to drag another video you want it to play in the inset window onto the timeline. Click on it and Select "Picture in Picture" to apply video overlay effect to video. When the attached clip appears in the inset window on the project viewer you can drag it to position it anywhere on top of the main project clip as desired.
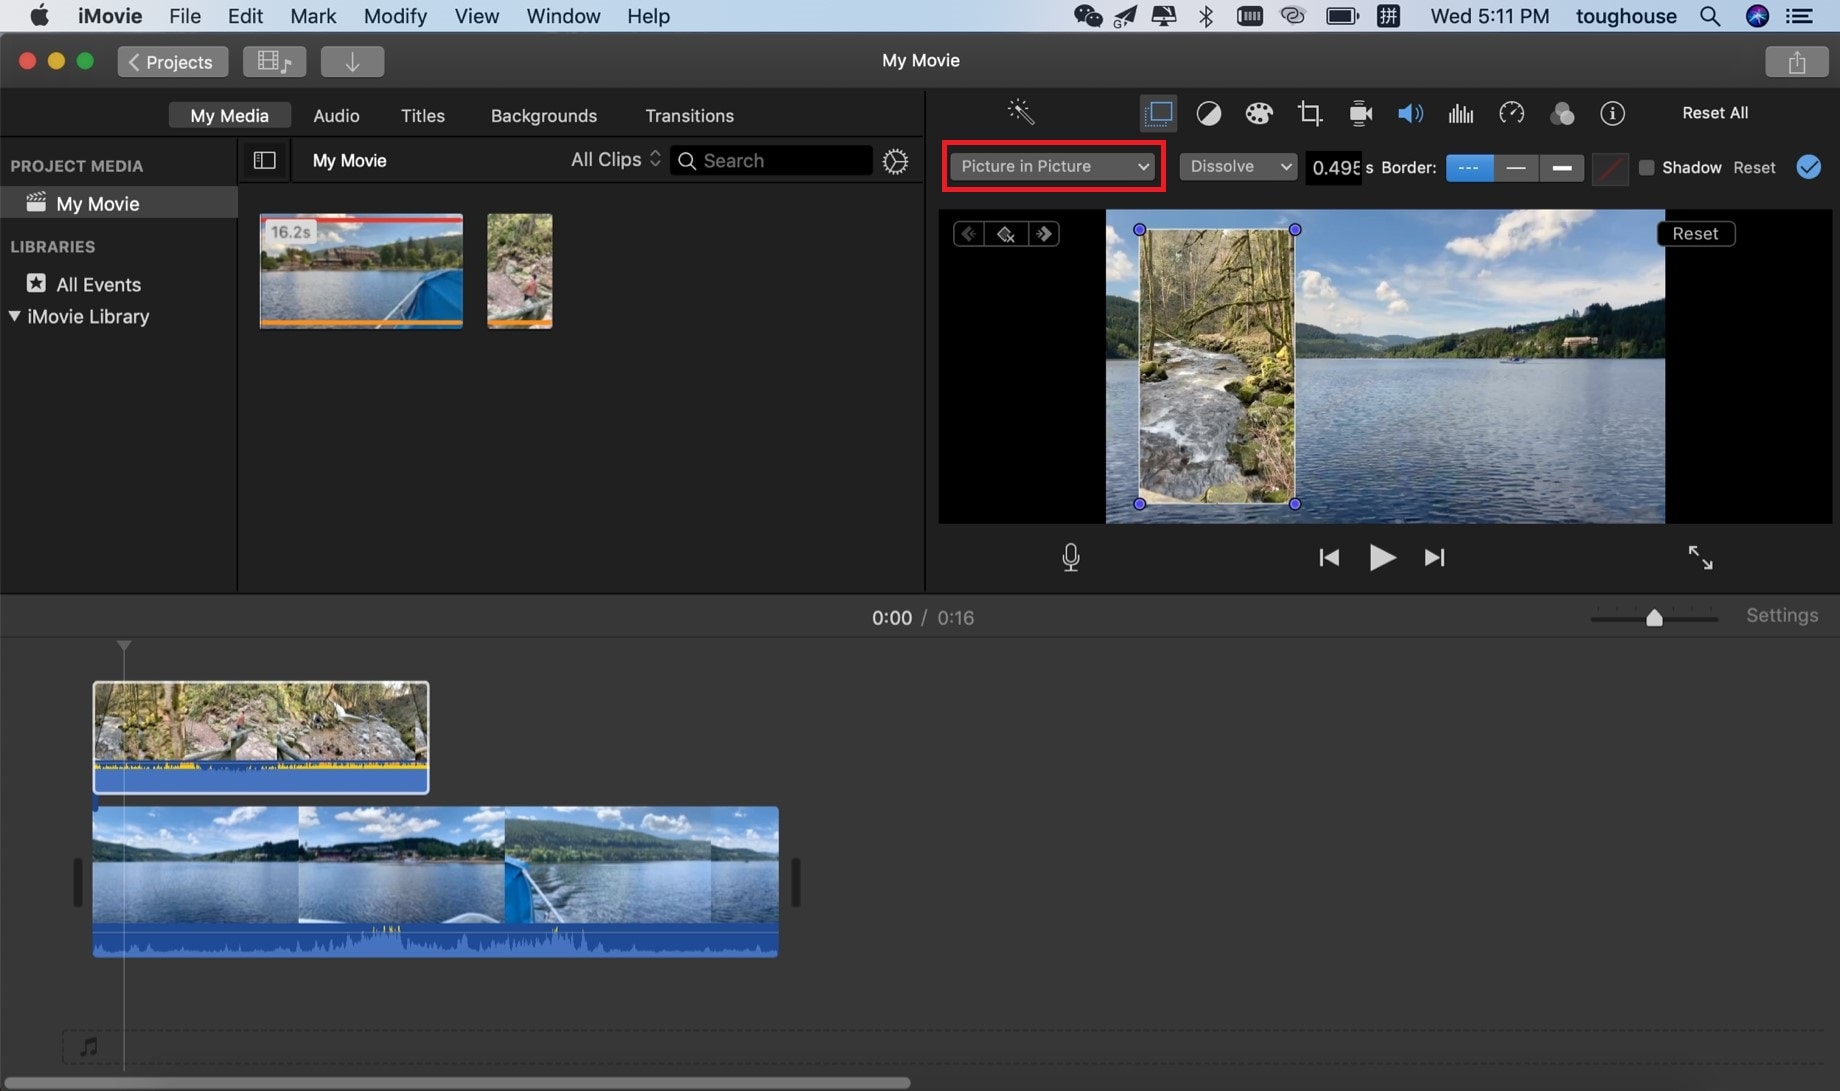
Step 3: Resize inset clip by using the corners that appear after clicking on it. Double click on inset clip to edit clip properties and effects from the popup menu.
Step 4: Preview project and save.
Part 2: Best iMovie Alternative with Picture-in-Picture Effect - Filmora Video Editor
Filmora Video Editor for Mac is the best iMovie alternative with PIP features for families and professionals. It simplifies movie making from merged clips in no time with so many features provided. You can add new projects by dragging them onto the project window and create movies with effects, perfect timing, transitions and music in the background. Among other features, besides the stylish effects you can use on your video are the capability to create Picture in Picture effect in Mac (macOS 10.13 High Sierra included) and Windows.

- Learn easily to add professional editing features to all the videos within 5 minutes.
- Drag, trim, split, crop and join videos by using basic video editing tools.
- Personalize your videos by utilizing filters & overlays, motion elements, PIP and Face off.
- Use the power of the program to share content directly to common social media platforms.
- Export video to desired device and in desired format.
Step 1: Import video to the program
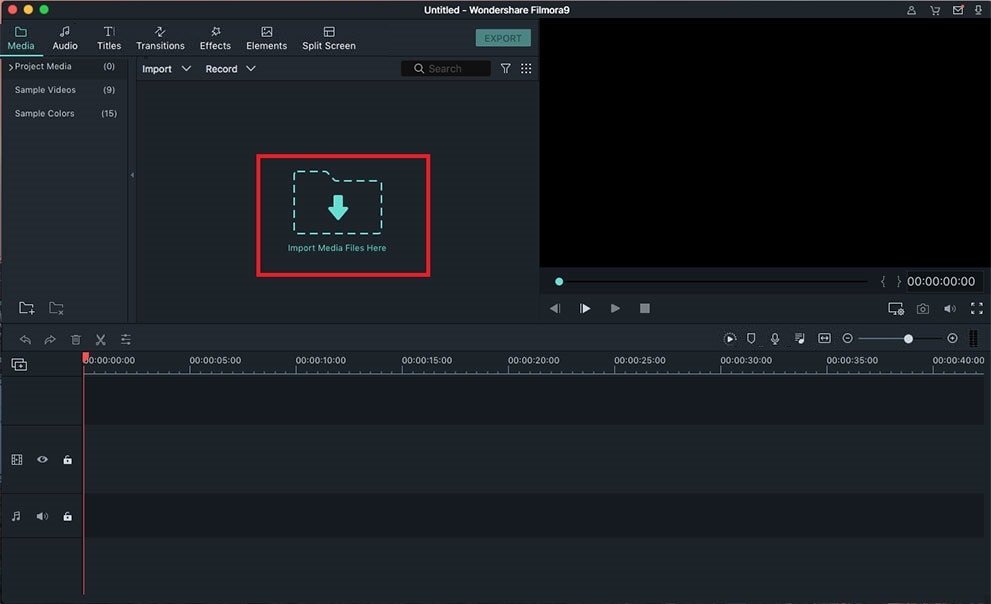
Open Filmora Video Editor and import videos whether as a single clip or multiple clips in a folder into the working panel. When videos load on the working panel drag main video clip to the first slot (labeled video) of the timeline.
Step 2: Add PIP Effect
Choose clip for inset window to create the Picture in Picture effect and drag into the timeline on the slot labeled PIP1 (default setting provide you with tree slots PIP1, PIP2 and PIP3). This means you can add up to three clips or a combination of a clip, a photo and a frame all at once to create the ultimate Picture in Picture effect.
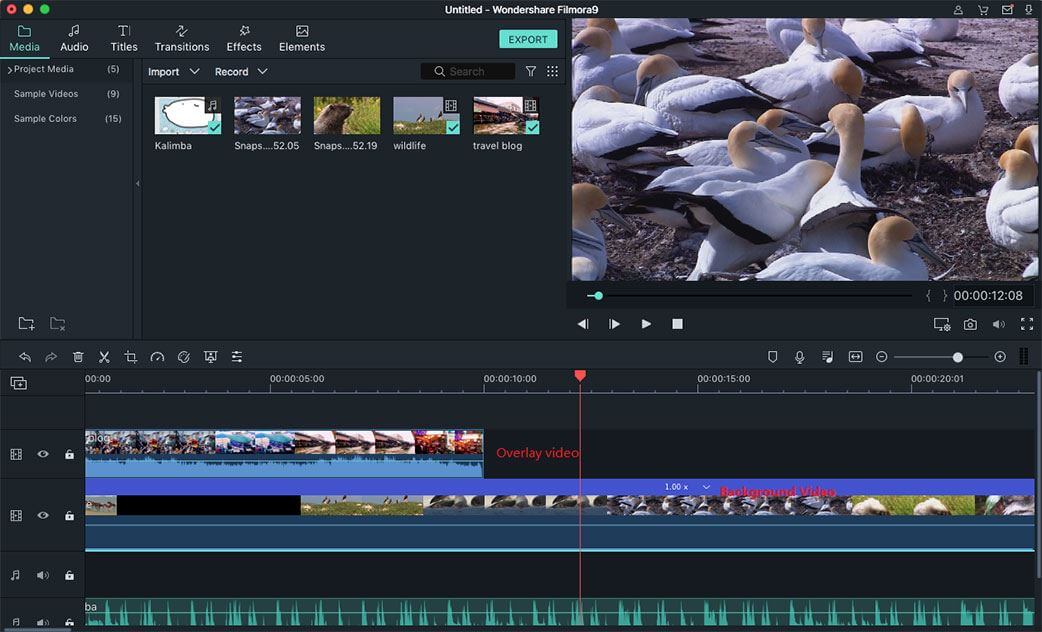
Step 3: Adjust the Picture-in-Picture Settings
Click on the insert clip on the timeline to select it and resize the inset clip window as desired using the corner points. Drag it to position anywhere you want on the main clip using the viewer to preview changes in real-time. You can double click the viewer to view the video in full screen mode.
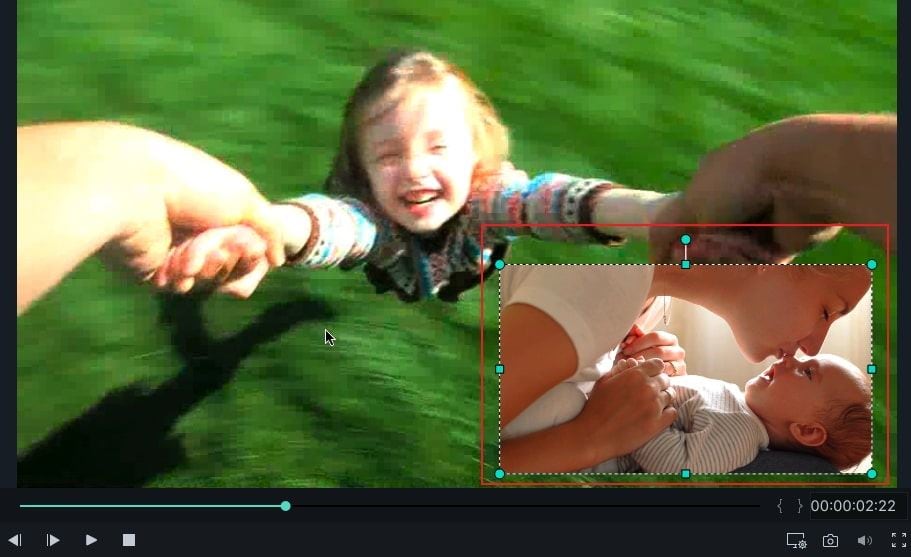
Step 4: Export the video file
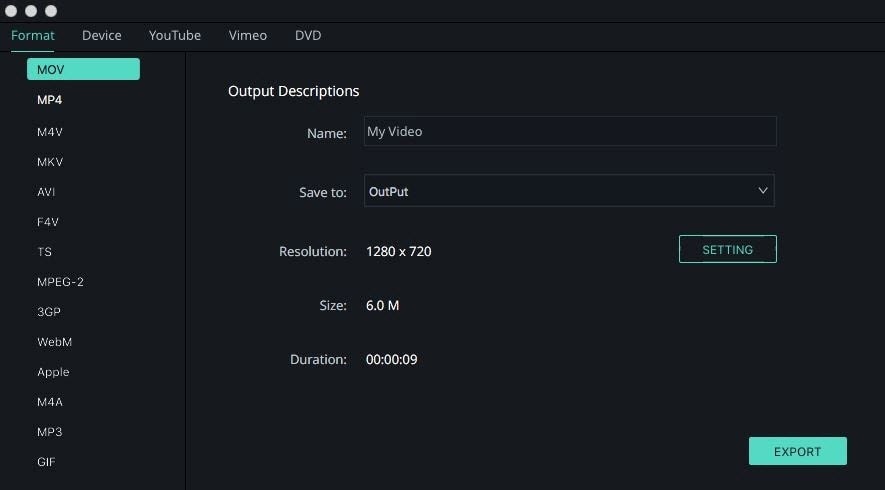
Preview clip for desired results the save project and exit or start a new project. To export final clip in other formats for playing in other devices or players use the export feature. Choose the format you want to save your video project in and make necessary video settings in the export popup window.
