Splitting large M4A audio files is useful for ease of uploading, transferring or distributing. To split M4A files, an editing software is required. Many existing software, however, are not compatible with the M4A format and those that are require re-encoding. A process that is not only tedious but also not familiar to many editing novices. Here we will introduce you to an easy-to-use M4A splitter to split video and audio with ease.
The Best M4A Splitter – Filmora Video Editor

Using Filmora Video Editor is a video and audio converter and editor, which can automatically convert and split M4A files. Filmora offers basic editing tools such as adding text and transitions, applying filters and many others. As the best M4A splitter, FIlmora splits files easily and fast without re- encoding. Re-encoding is a hassle and time-consuming step that editors detest.
Key Features of Filmora Video Editor
- Filmora is compatible with all video and audio formats including MPG, VOB, MOV, MKV, FLV, DAT, WMV, AVI, and MP4.
- The amzaing M4A splitter can split video downloaded from the internet, mobile phone, or digital camera, and convert to desired formats.
- Filmora has an easy to navigate interface that requires no prior splitting experience. Also, Filmora maintains the quality of split audio files.
How to Split Video into Frames Effortlessly
Step 1: Install and launch the program
To split M4A files you will need first to click the “Free Trial” button to download Filmora Video Editor. After downloading the program, install it your PC. Once you have installed the program you have to press the “Start Now” button on the pop up window to launch the program. A window with four main options, “Full feature mode”, “Easy Mode”, “Instant Cutter”, and “Action Cam Tool” will pop up. Select the “Full feature mode” to start using the program. The “Full feature mode” gives full control over the project.

Step 2: Import M4A files to the program
The Filmora interface has three main partitions, the media library, timeline, and video play black. To import files go to the media library and on the menu bar, click “Import” button. A drop-down menu will appear. Select whether to import file, folder or from any other device camera or phone. Alternatively, you can drag and drop the file directly onto the panel.

Step 3: Split M4A precisely
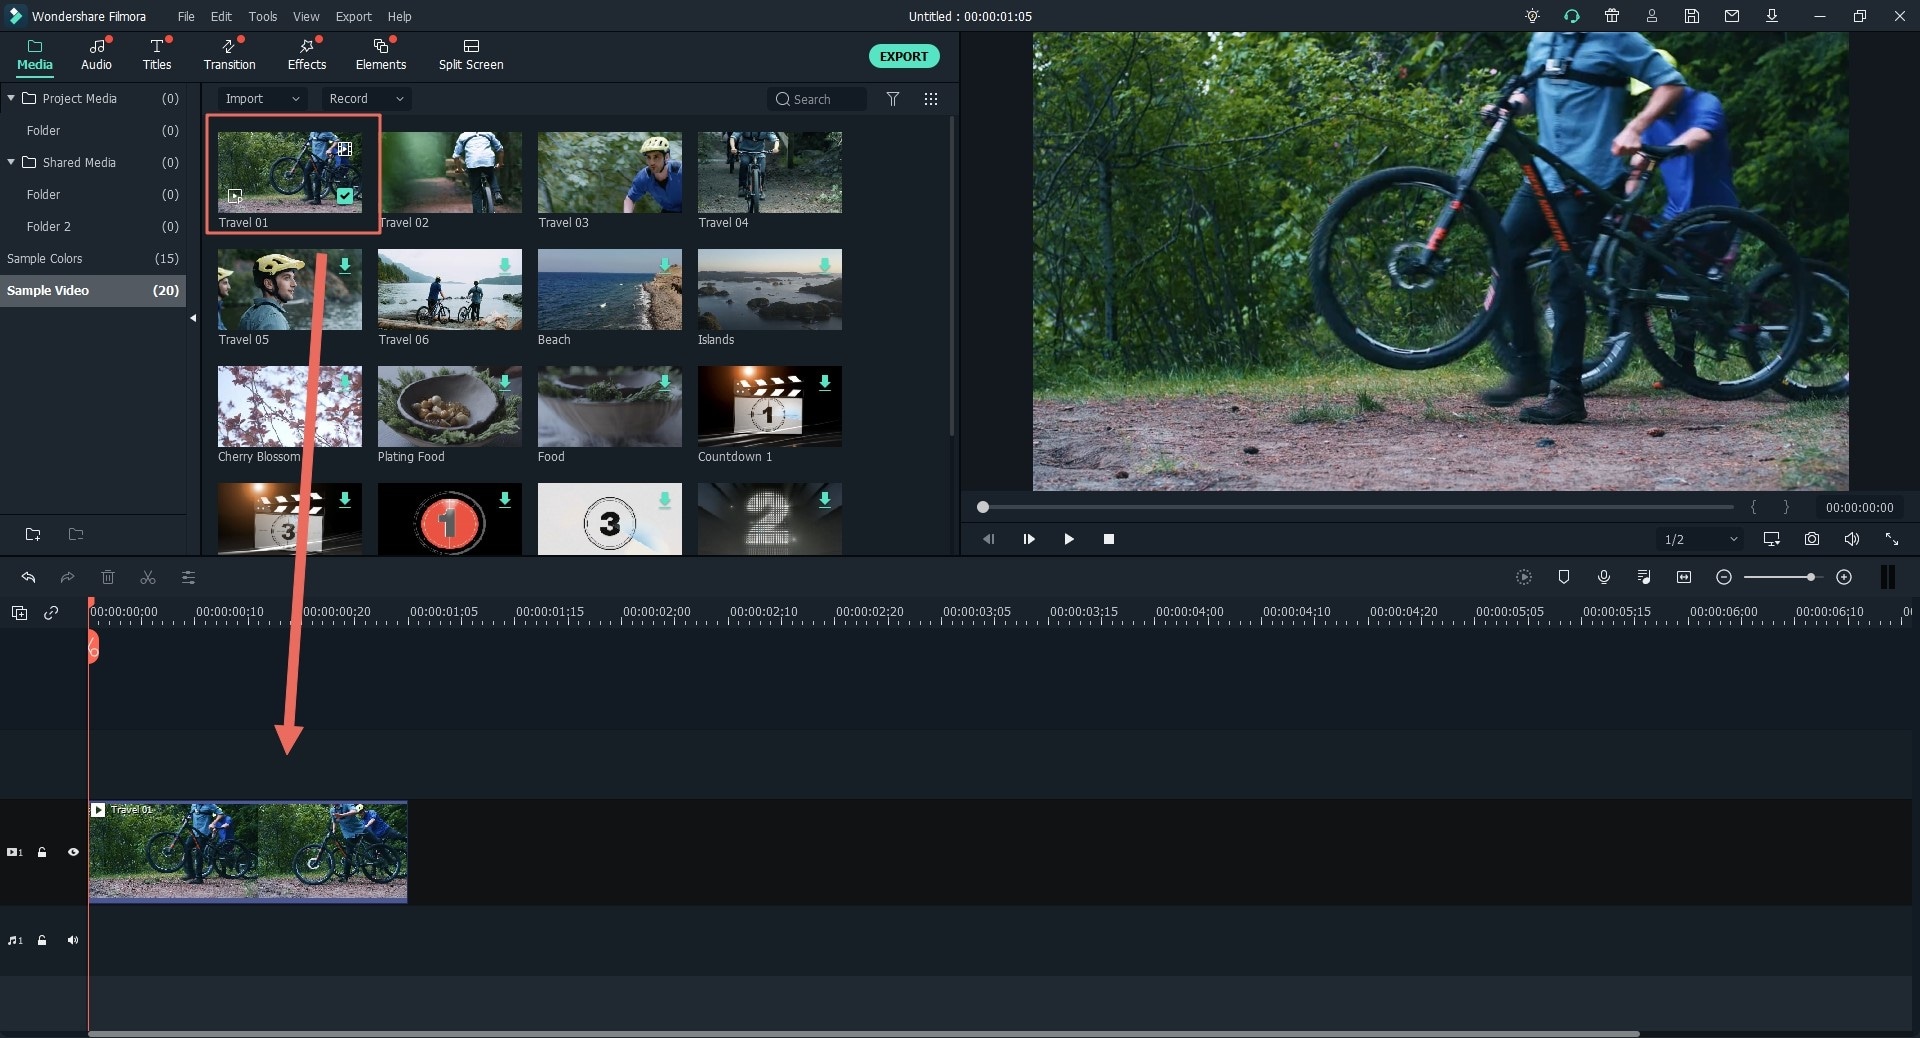
Drag the imported file to the timeline on the lower end of the interface. Alternatively, bring the cursor to “plus” sign inside the imported file to add the file to the timeline. And highlight the video and drag the slider to the position you want to split. Click the “scissor” icon above the timeline to split the file into two parts. Repeat the step if you would like to split the file into several parts. You can preview the file on the inbuilt player to ensure splitting is precise. To save the file, Click on the “Save” button on the top right side of the interface. A “Save as” window will appear, name the file accordingly and click “Save”.

Step 4: Export the video file
Click the “Export” button on the top left side of the interface. A drop-down menu with the options “Create video”, “Export to device”, “Upload to YouTube”, “Upload to Facebook”, “Upload to Vimeo” and “Burn DVD” will appear. Select “Create video”, an output window will pop up. Input the desired settings and click the “Export” button on the bottom left side of the window to export the file.


