When you want to create movies on your computer, windows movie maker may look like the go to application for that. The problem with this application is that it does not have many features that you can use to produce high quality videos that you can share with your friends and pass down to many generations. If you are an advanced user, it can be very frustrating to use because it is not very intuitive. It also crashes and freezes a lot. How about change to use the best Microsoft video editor alternative? Read on and get the best solution below.
The Best Microsoft Video Editor Alternative
Filmora Video Editor is a great alternative to Microsoft video editing software that you can use to make professional video. It is a great video editing software that you can use to make professional looking videos with basic editing tools, motion graphics, handicapped text, filters, transitions, overlays and other special effects and advanced editing tools. Using this application is quite easy because it features a clean user interface that displays all effects and tools in the main interface. It will take you approximately five minutes to learn and understand how to use it.
Key Features of Filmora Video Editor:
- After creating videos with this application, it allows you to save them to most popular formats, including MP4, M4V, FLV, MOV and so on.
- It allows you to share your videos directly to Facebook, Vimeo and YouTube after creating them.
- You can use it to burn the result videos to DVD at a simple click of a button.
- It has a drag and drop feature for editing videos, something that makes it absolutely easy to use for beginners.
- It has the ability to record the video games or videos of software that is running on your computer.
How to Edit Videos with Microsoft Video Editing Software Alternative
Step 1. Launch the Microsoft Video Editor Alternative
First, you will need to make sure that this application is installed on your computer. To install it, you will need to download it. Once you have successfully installed Filmora Video Editor, launch it to access the main interface.
Step 2. Import videos to the Microsoft Video Editor Alternative
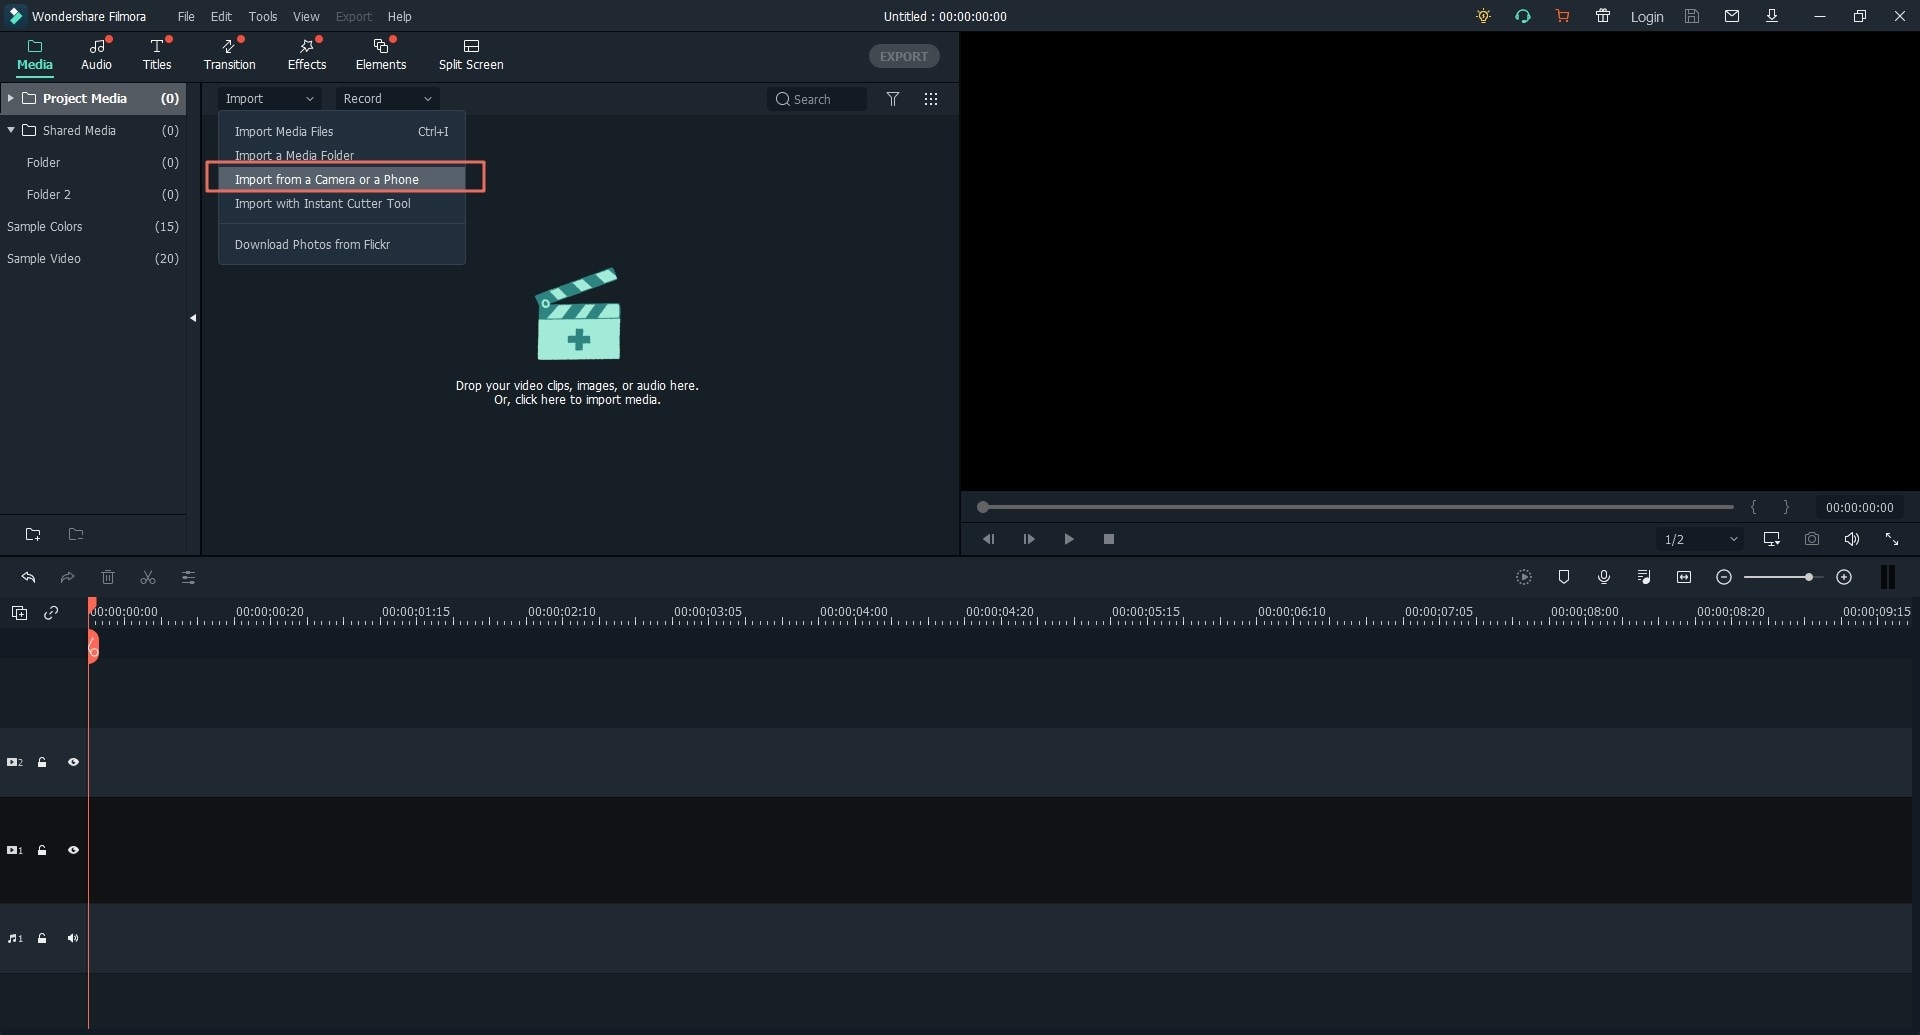
To import the video you want to edit to Filmora video editor, you will need to click “Import Media” that is located on the left side of the main window. Locate the file that you want and import it to the application.
Alternatively, you can locate the video you want to edit and then drag and drop it directly to the software.
Step 3. Edit videos
Once you have imported the video, you can go ahead to edit it. The following are some of the things that you can do:
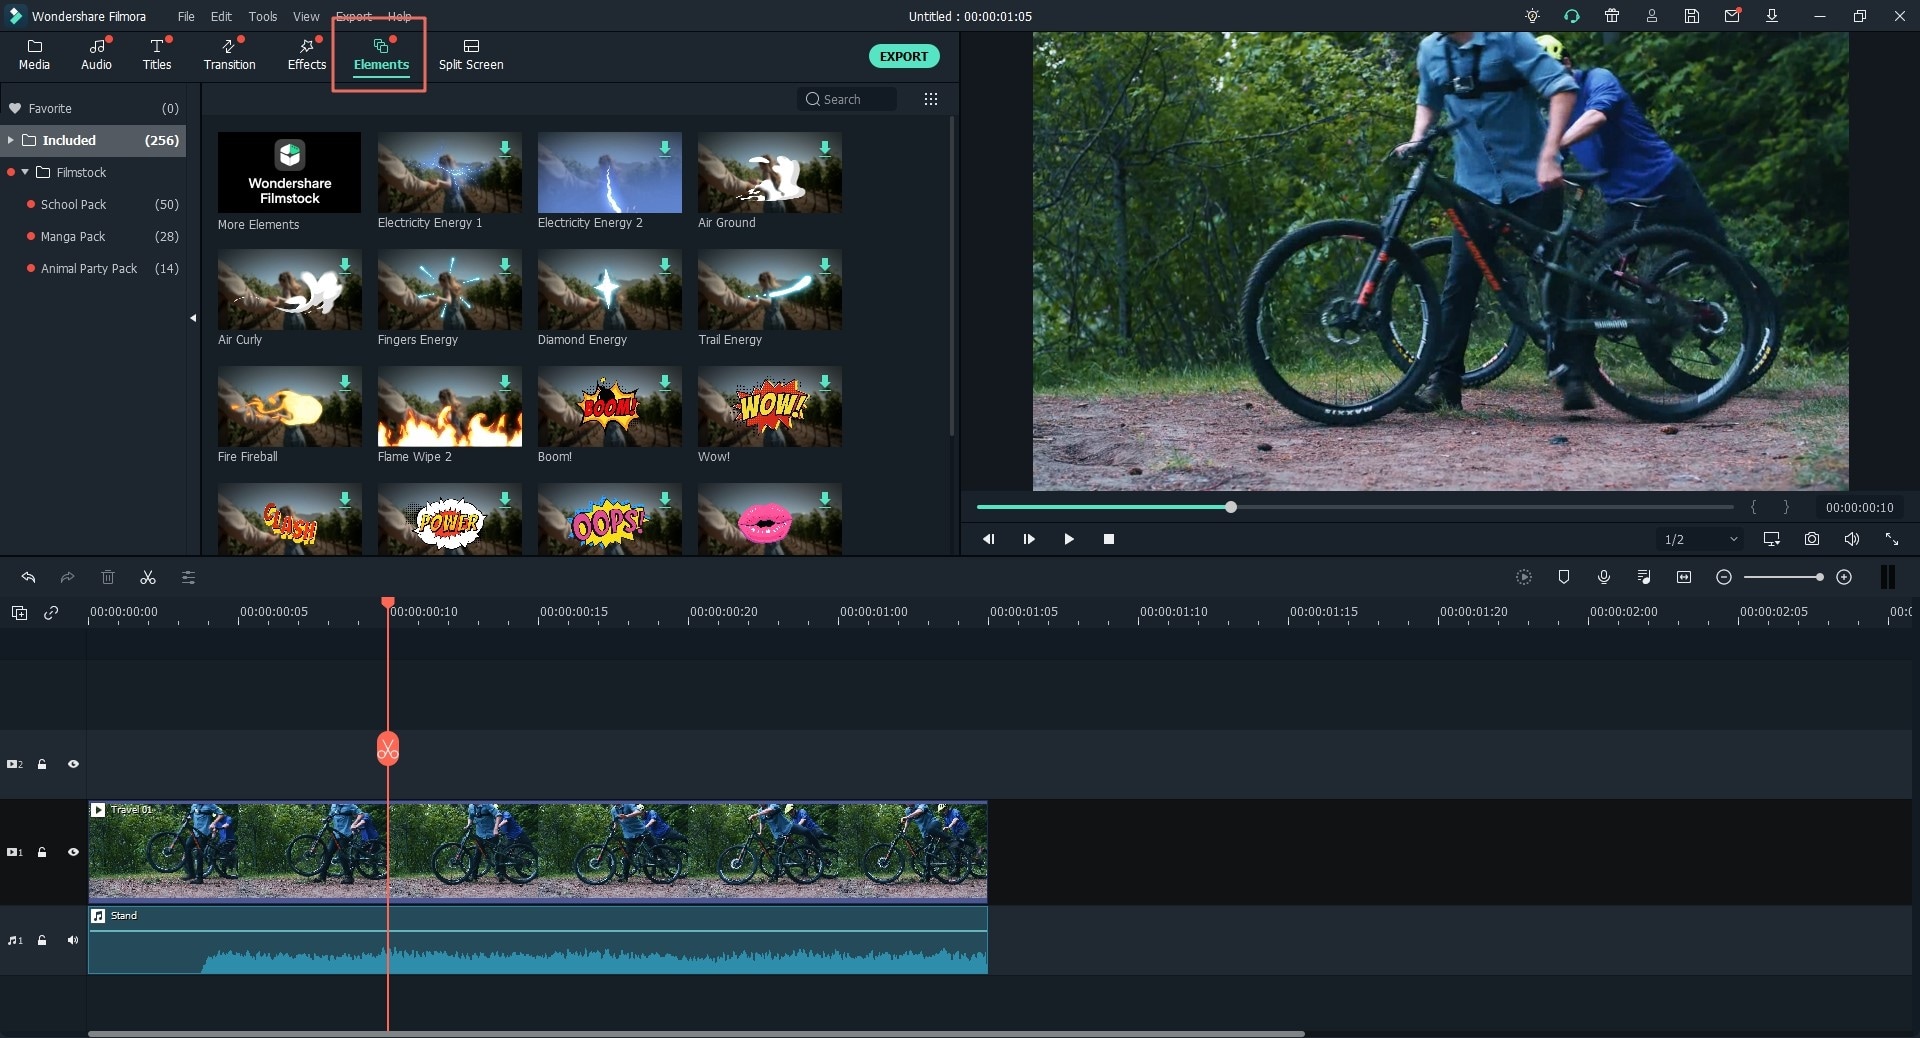
- Add Filters or Overlay Effects: To add or apply filters or overlay effects to your video you will simply need to choose the filter or effect you need on the left side of the window and then drag and drop it to the timeline where filters and effects should be. Move the cursor forward and backward to adjust the duration of the effects.
- Trim a Video: To trim your video, you will need to move the cursor at the end or beginning of the video. Once you do that, a pointer will appear. Move that pointer backward or forward to trim the video.
- Add Transitions: You will need to click the transition icon that is located on the left side of the editor in order to reveal all transitions. After that, select the transition that you need and then drag and drop it between two video clips on the timeline.
- Add Title: Click the T (Text) icon that is located on the left side of the main window in order to choose one that you prefer. After making your selection, drag and drop the title to the timeline and then make changes to it.
- Add PIP (Picture-in-Picture): This simply means that you are laying two videos together to allow a screen to display different scenes simultaneously. Just right click the video in the media library and then choose to add PIP.
Step 4. Export the Video
Once you are done editing the video, you will need to preview it to determine if it is the result that you expected. After that, you can go ahead and export the video to the format you need by clicking Export. Next, click on the format tab, enter the name of the video and then set up its parameters. After that, click on “create”. You can also export the video for playing on particular devices, burn the video to DVD or share the video on Vimeo, Facebook and YouTube. You just need to select the option you want and then click “Export”.


