Movavi Video Editor is a simplest yet easy-to-use video editor which offers a set of video editing tools. It is very suitable for video editing beginners. Although Movavi video editor is enough to fulfil the daily dose of video editing, it still lacks many important features of a video editor. For example, some videos from camcorders are not supported. And Movavi Video Editor not working issues occur frequently. Fortunately, Filmora Video Editor for Mac is the best alternative of Movavi Video Editor which doesn’t only include each and every feature of the Movavi but also has enhanced and must have features of a perfect video editing tool.
The Best Movavi Video Editor Alternative – Filmora Video Editor
From basic editing tools to the text adding options and tons of filters, overlays and transitions, Filmora Video Editor has covered it all. The best part is that Filmora Video Editor comes at the same price to that of Movavi Video Editor but does everything so efficiently.
Key Features of Filmora Video Editor:
- It supports tons of video and image formats so you can make a perfect video or a great slideshow of different images.
- It also has the ability to record the videos using the built-in web cam.
- Simple functionalities such as cut and join different videos and a distinguished feature includes improving the existing quality of the video.
- Other features include adding text to your videos, plenty of filters and transitions to join different videos and nothing much.
- You can save the videos in different Audio or Video files or can burn them directly on the DVD using the software.
How to Edit Video with The Best Alternative of Movavi Video Editor for Mac
Step 1. Launch the Movavi Video Editor Alternative
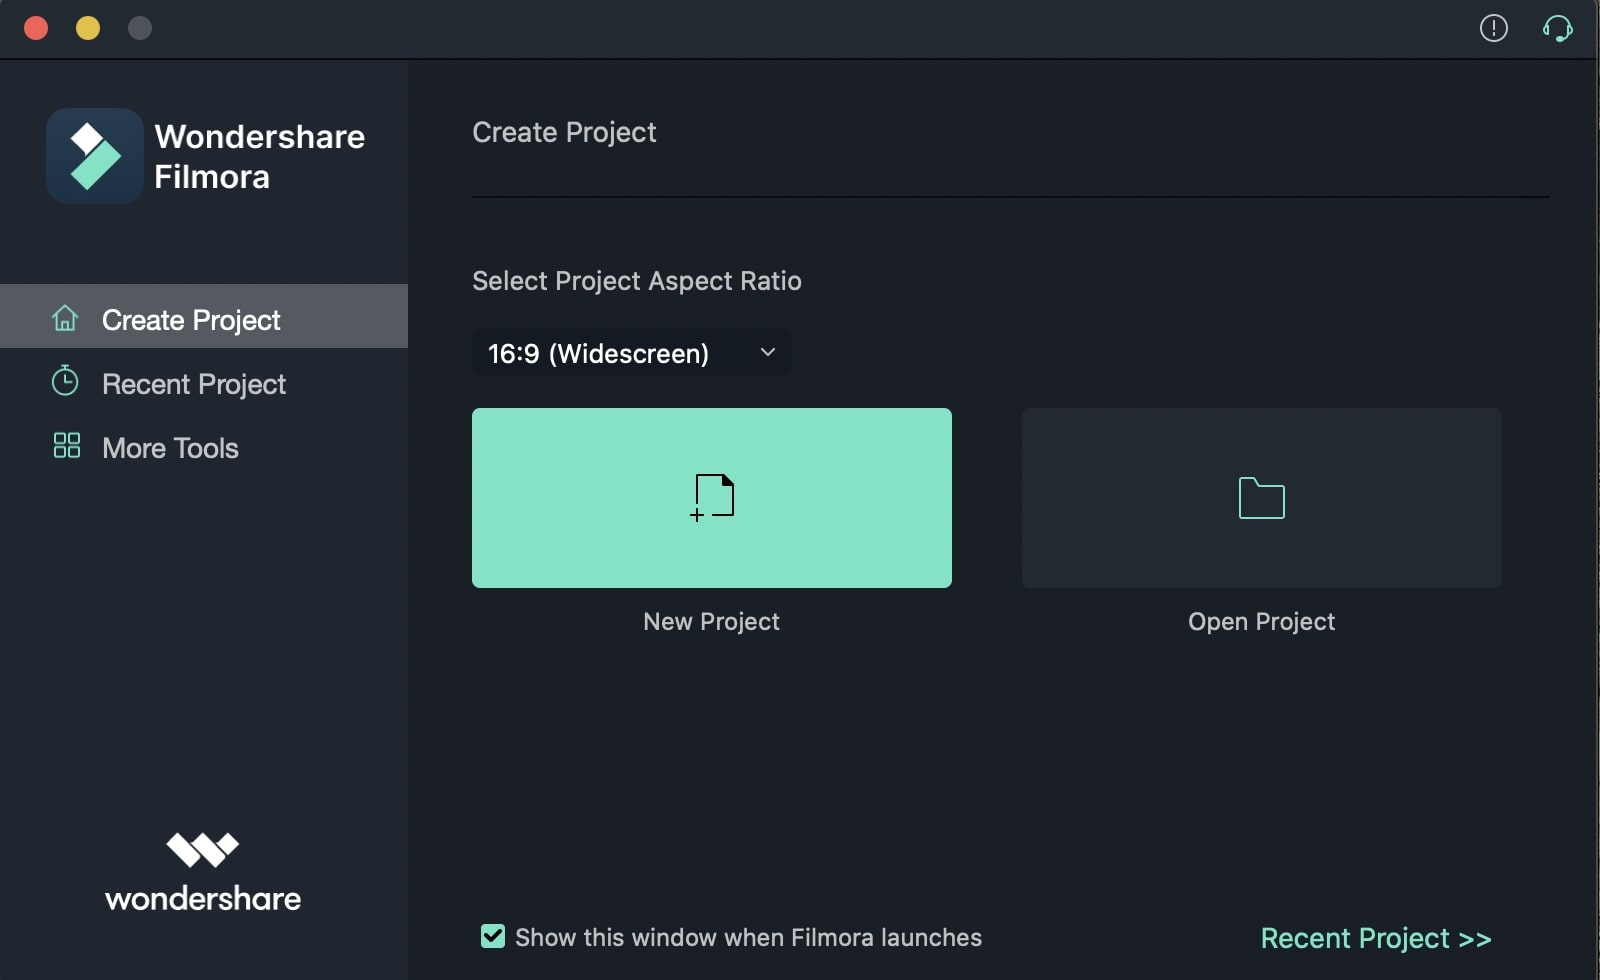
After download Filmora from official download page, install it first. Then, launch the program to start the video editing.
Step 2. Import Media Files to The Alternative of Movavi Video Editor
Filmora Video Editor supports a large range of formats of video, audio and image. Just simply drag and drop the needed media file to the interface ot click the "+" button to import videos.
Step 3. Edit Video
Besides the basic editing tools such as trim, crop, cut, adjust brightness and orientation of the video, Filmora also provides lots of resources to make the video more attracted.
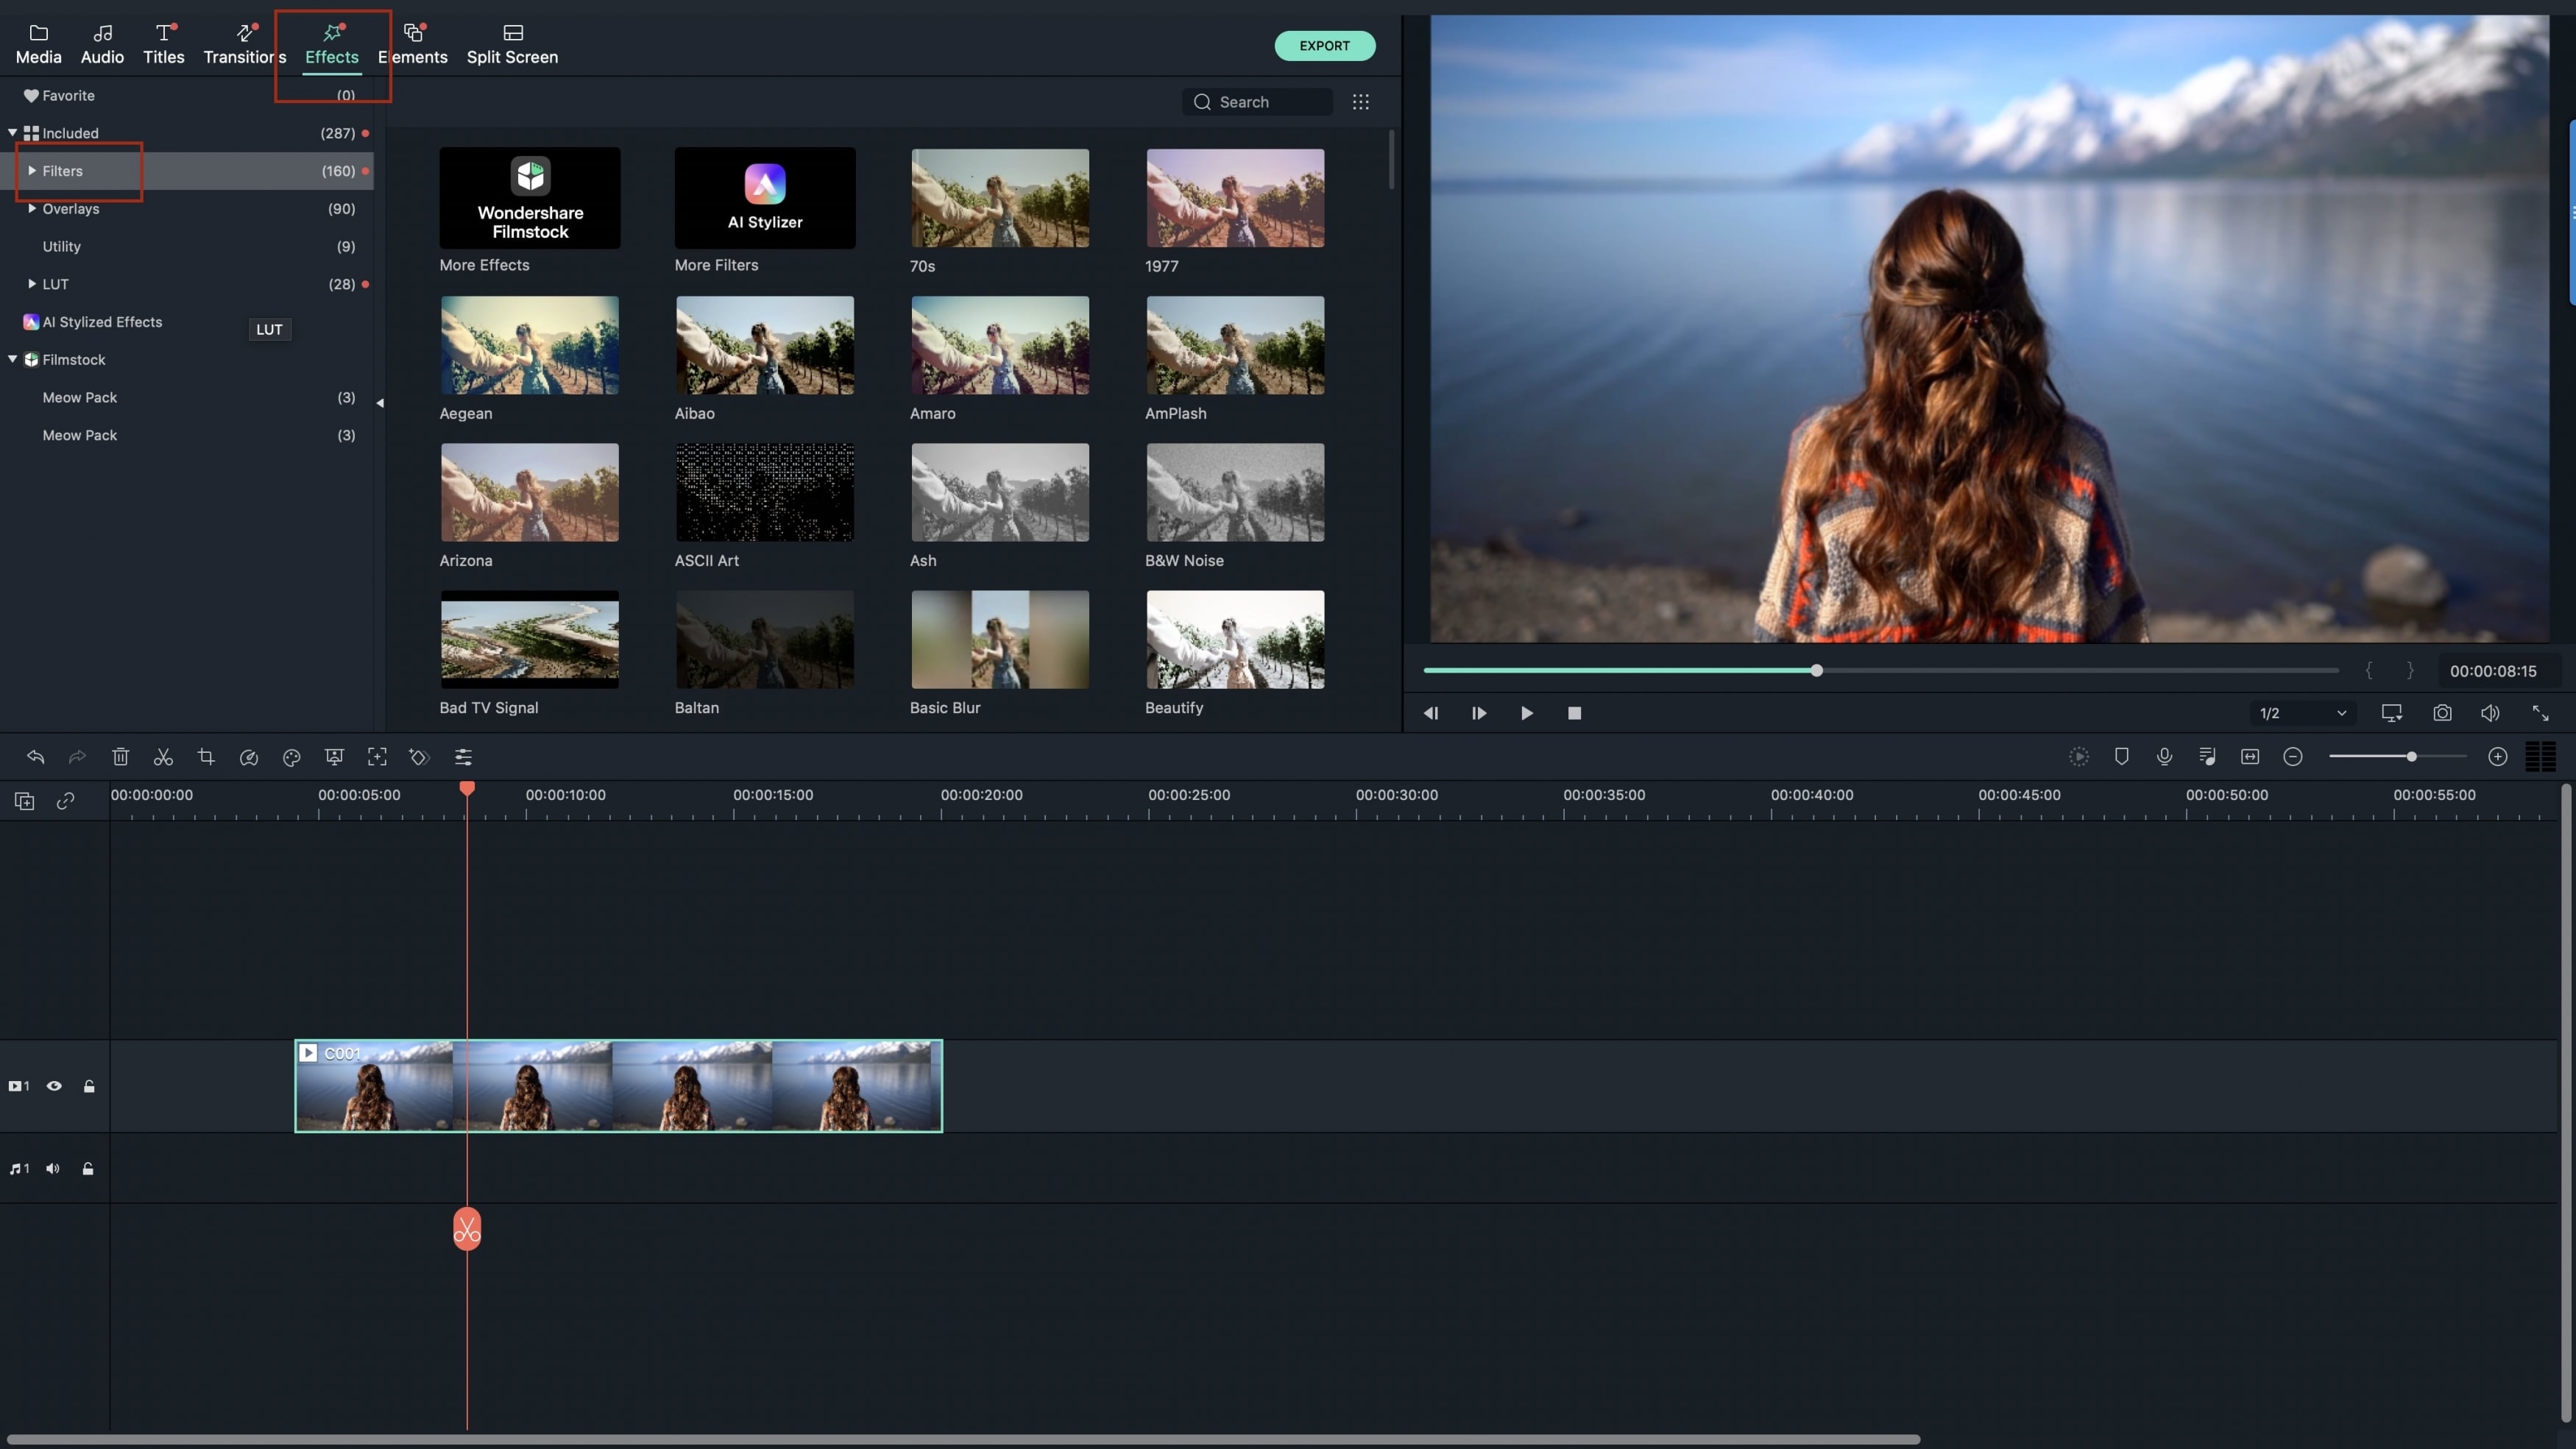
- Add Filters or Overlay Effects: To add or apply filters or overlay effects to your video you will simply need to choose the filter or effect you need on the left side of the window and then drag and drop it to the timeline where filters and effects should be. Move the cursor forward and backward to adjust the duration of the effects.
- Add Transitions: You will need to click the transition icon that is located on the left side of the editor in order to reveal all transitions. After that, select the transition that you need and then drag and drop it between two video clips on the timeline.
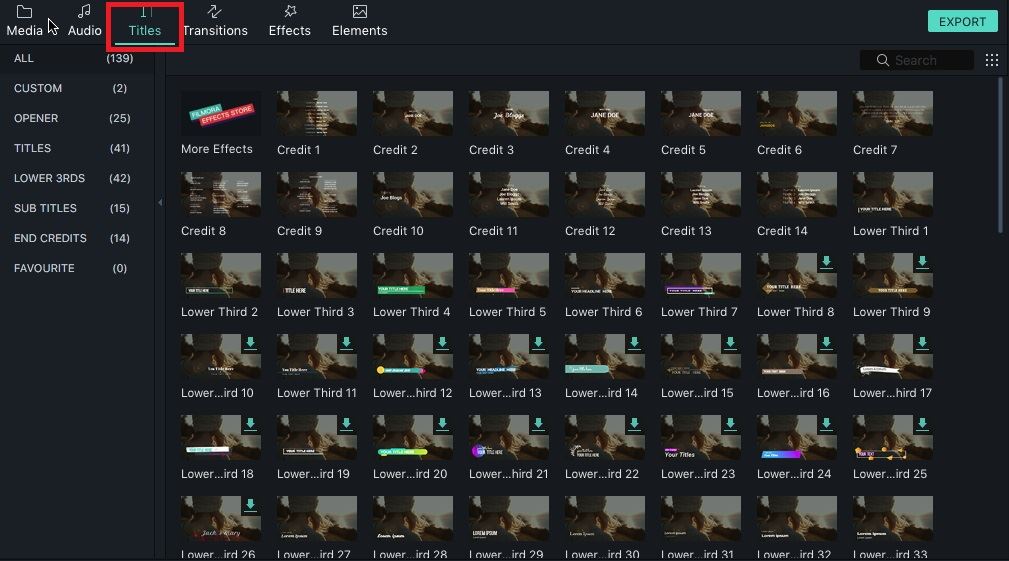
- Add Title: Click the T (Text) icon that is located on the left side of the main window in order to choose one that you prefer. After making your selection, drag and drop the title to the timeline and then make changes to it.
Step 4. Export The Well-edited Video
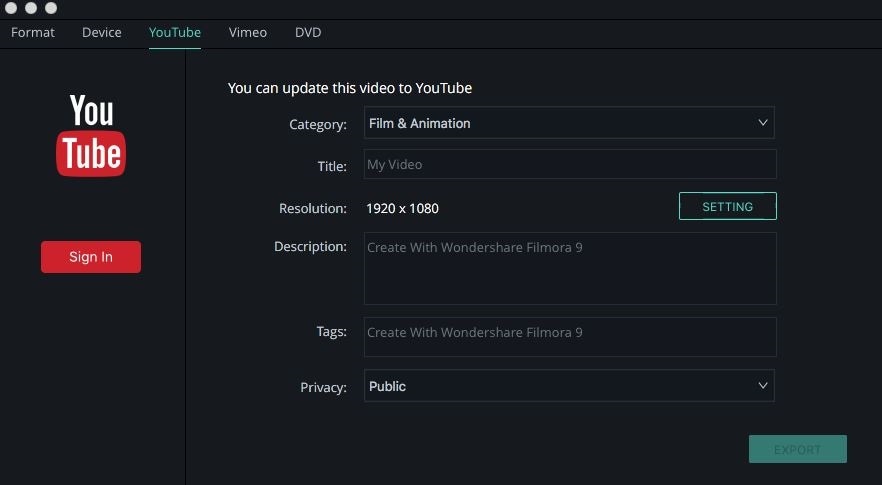
When the video editing is fully done, you can export the video to a certain format or device by clicking the "Export" button. You can also share the video to YouTube, Facebook or Vimeo directly from there.


