How to Add Transition Effects to Videos in Windows Movie Maker?
Adding Transitions to your videos can give them a more professional feel and makes your movies more appealing to the viewers. First of all, what are transitions? Transitions are nothing but the effect or animation that is used to change one scene of your movie to another. This guide is to help you to add transitions to video with Windows Movie Maker and its alternative.
- Part 1. Add Transitions to Videos in Windows Movie Maker
- Part 2. Another 3 Software for Adding Transitions for Videos
Part 1: How to Add Transitions to Videos in Windows Movie Maker

The following will show you clearly the step-by-step procedure to add a transitions in Movie Maker. Go to the storyboard and select a scene that will appear right after the first one. Go to the Tools menu and click Animations. In the Contents pane choose the transition you want to play and click it. Then the transition effect will be added to the video.
Step 1. Click the "Scene" or the clip that is right next to the first one on the storyboard.
Step 2. Click the tools menu and select "Animations".
Step 3. Click on any animation you want and the transition will be added to the video. You will know this when the page-turning kind of design appears right at the corner of the clip.
Part 2. Top 3 Best Windows Movie Maker Alternative to Add Transitions to Videos
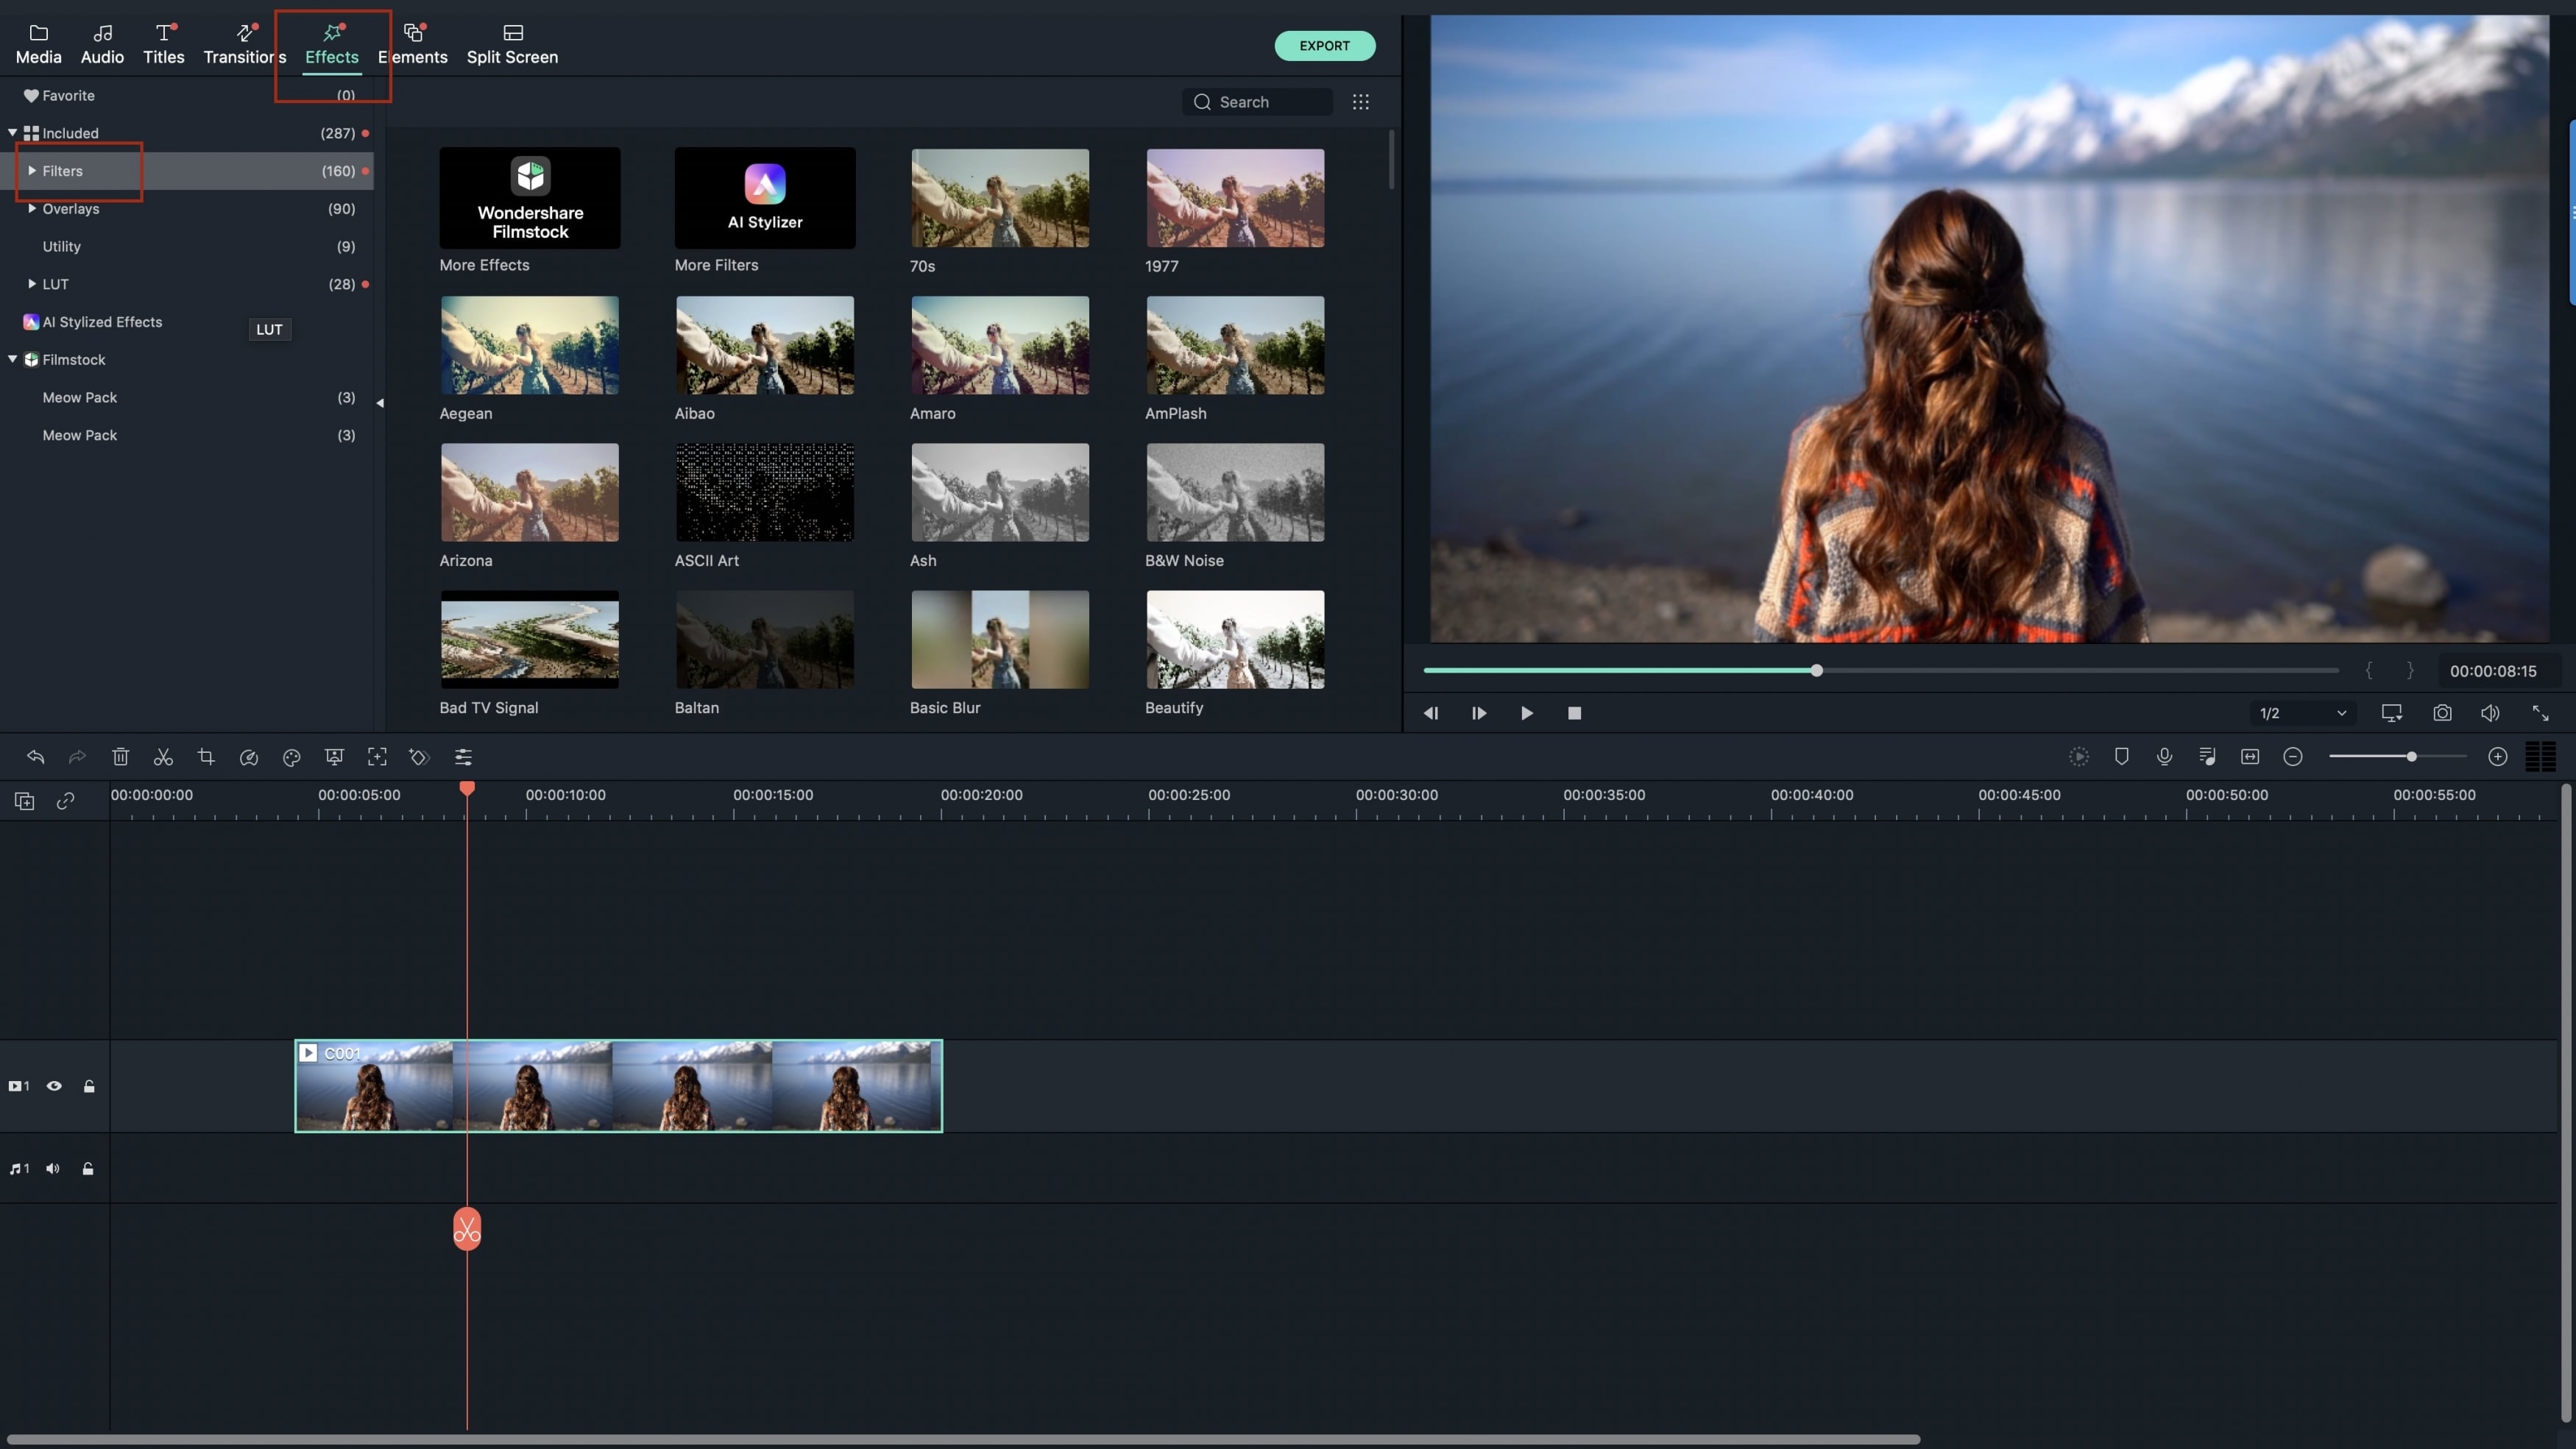
1. Best Movie Maker Alternative with Massive Transition Effects - Filmora Video Editor
Filmora Video Editor for Mac (or Filmora Video Editor for Windows) is the best Movie Maker Alternative to add transitions effect to video easily. You can edit videos, audio, and images in easy way. And you can also apply effects to your video to make the video masterpiece. After the video editing, you can share the video to YouTube, Facebook, Vimeo directly.
Key Features of Filmora Video Editor:
- Plenty of video editing tools, such as split, crop, merge, and trim, etc.
- More than 200 ready-made types of filters and covers, including a backlight, lens defects, old film, projector defects and so on.
- Comes with the voiceover feature for recording voice-over for your video and attaching onto it.
- Includes green screen feature, ability to add titles and texts into the video, applying transitions and the split screen feature.
How to Add Transitions Effects to Videos with Filmora Video Editor
You can follow the below simple steps to add transition to videos with this Windows Movie Maker alternative.
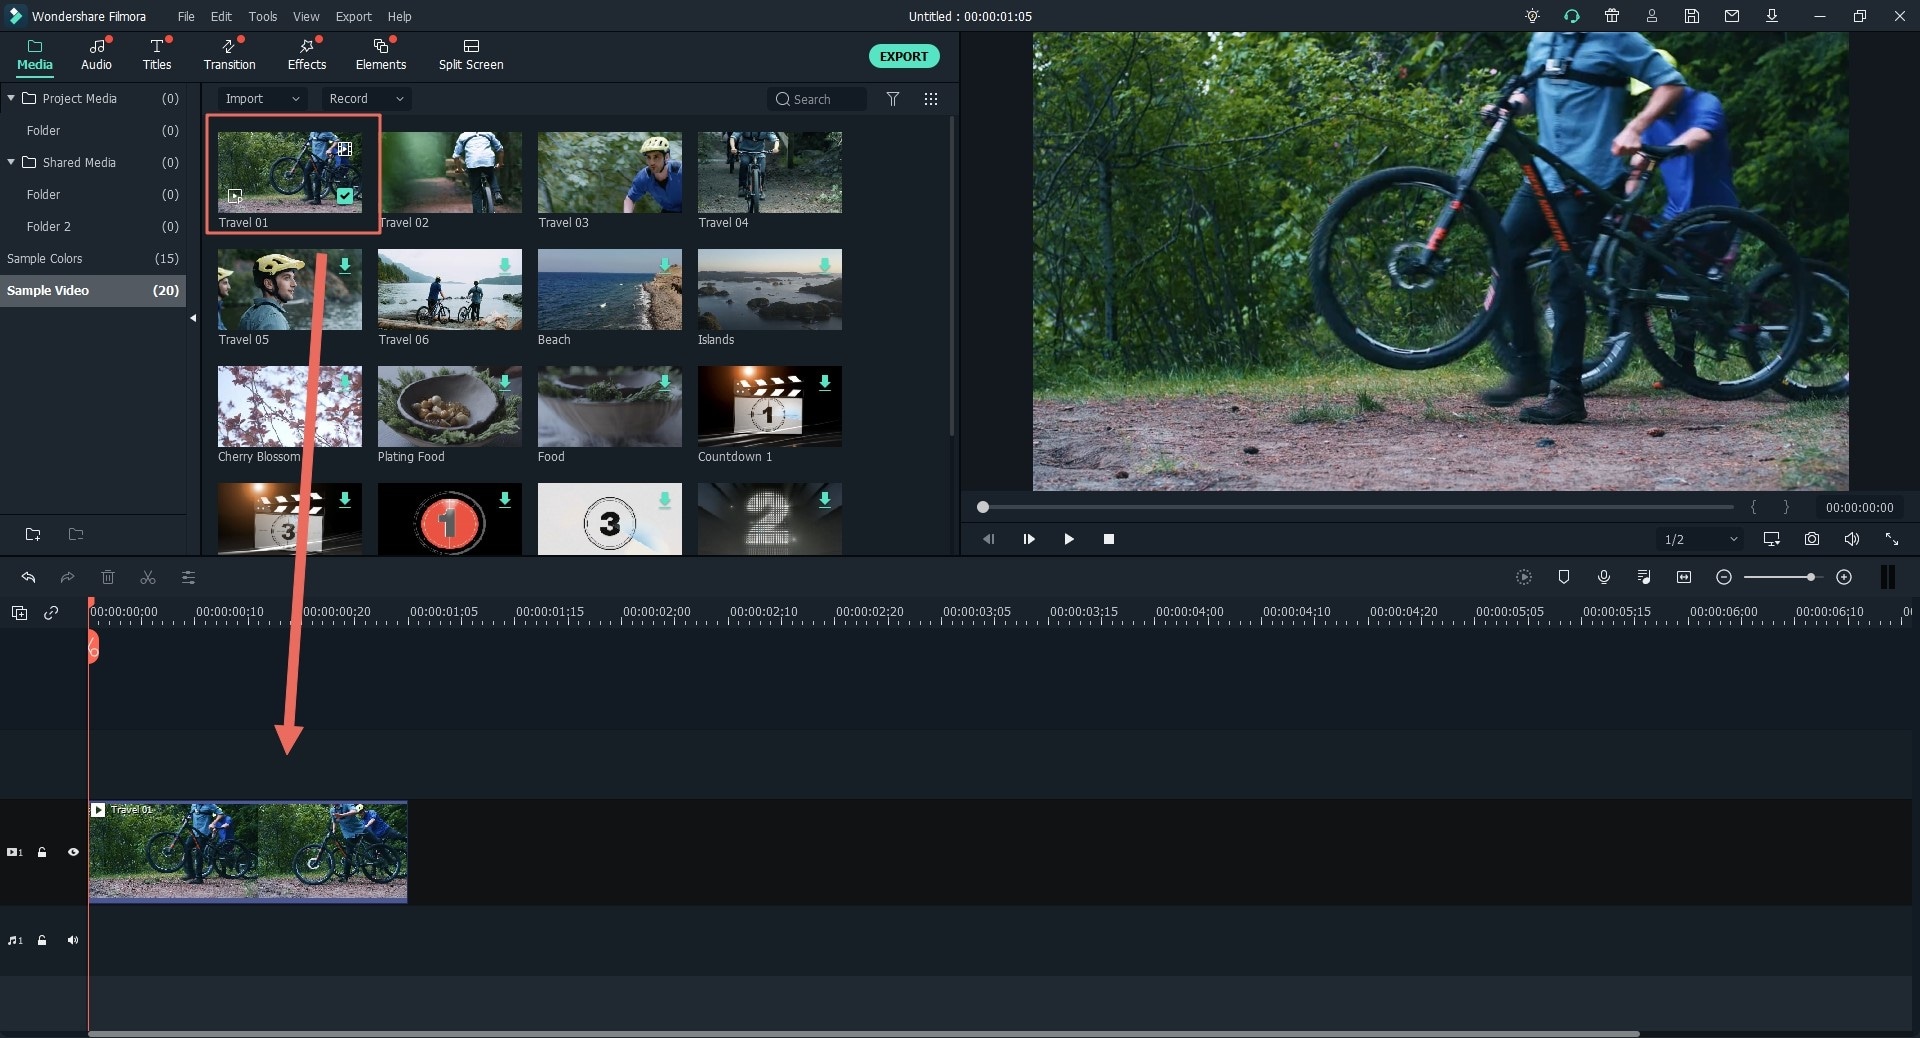
Step 1. Import video to the video editor
After install and launch Filmora Video Editor on you Mac or Windows PC, you need to import videos to the video editor frist. Now you can click the "+" icon to import your video or directly drag and drop it to the program with ease.

Step 2. Drag video to the timeline
Then you should drag and drop videos to the timeline for editing.
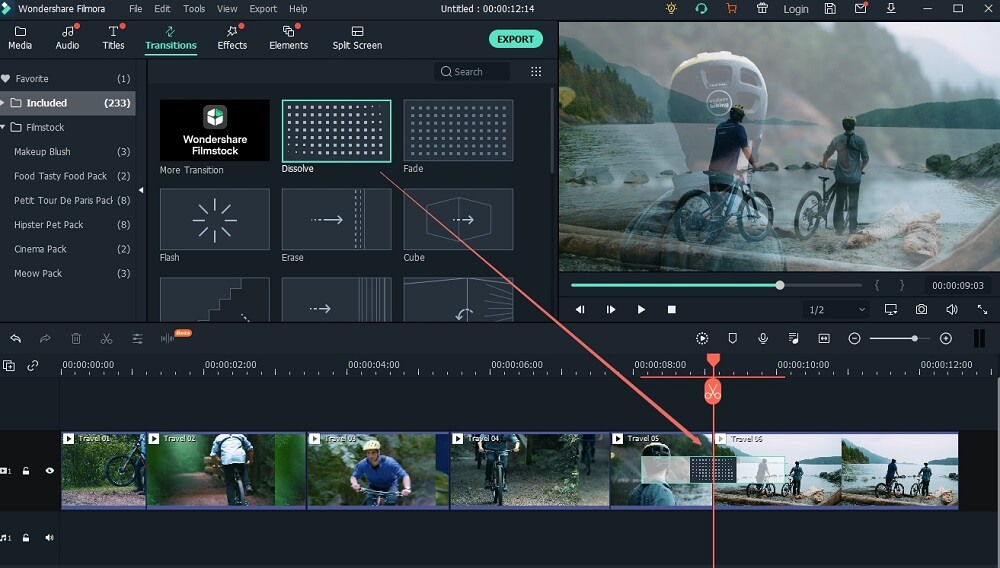
Step 3. Add transitions to the video
Now you can check the left panel and hit the "Transition" option to continue. As you can see, there are plenty of transition effects on the list. Just select one and then add it to the video after previewing the effect.
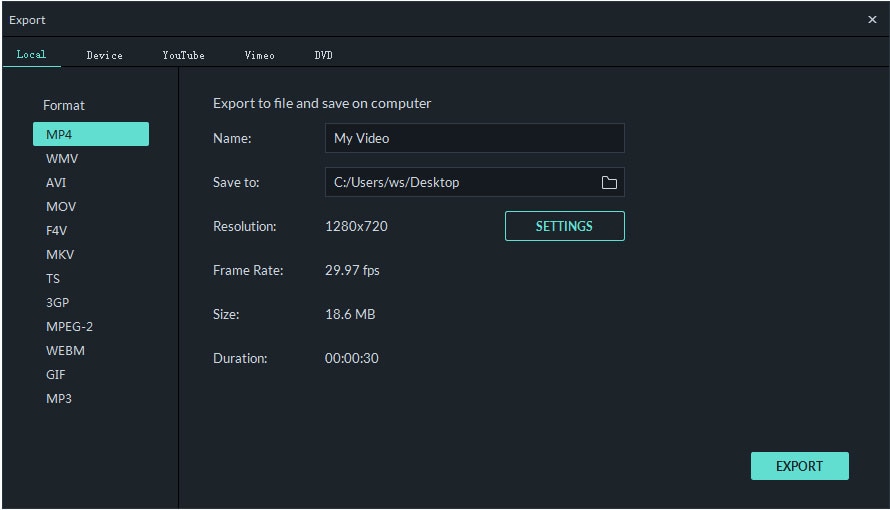
Step 4. Export the video
At last, you just need to click the "Export" button and set the output format and location. Wait for a while, you will get your video with transition effects in any format as you want.
2. AVS Video Editor
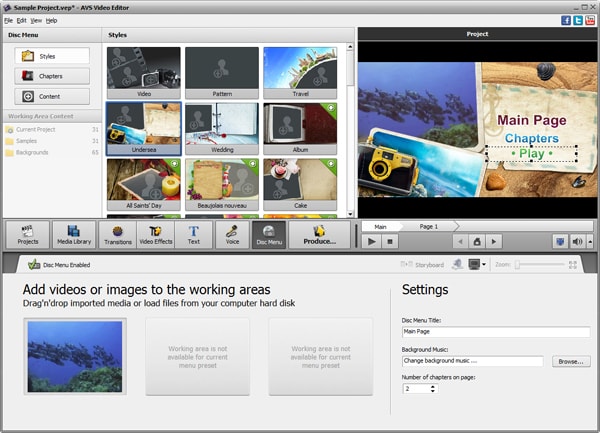
Key Features:
AVS Video Editor is another Windows Movie Maker alternative to add transitions to video. It lets you play with your videos in various different ways. The software has around three hundred video effects and transitions that you can use for your videos.
Price: $59 for unlimited access, and $39 for one year's subscription.
3. Sony Vegas Pro
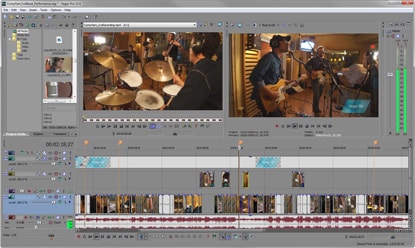
Key Features:
Sony Vegas Pro is an excellent and professional video editing software to add transitions to video. Its main feature is the 24p DV integration that enables one to convert any files into any format. It is very efficient and productive.
Price: $599.95


