Overlaying videos is slightly different than joining the two videos. Overlaying will basically add the two videos on the same screen, so, both of them can be played at the same time. It’s mostly used in the scene as somebody is thinking about the past and the scene of the past displays. Generally speaking, online video editing software can’t help you overlay several Christmas videos. You’re supposed to choose a professional video editing tool to do the video.
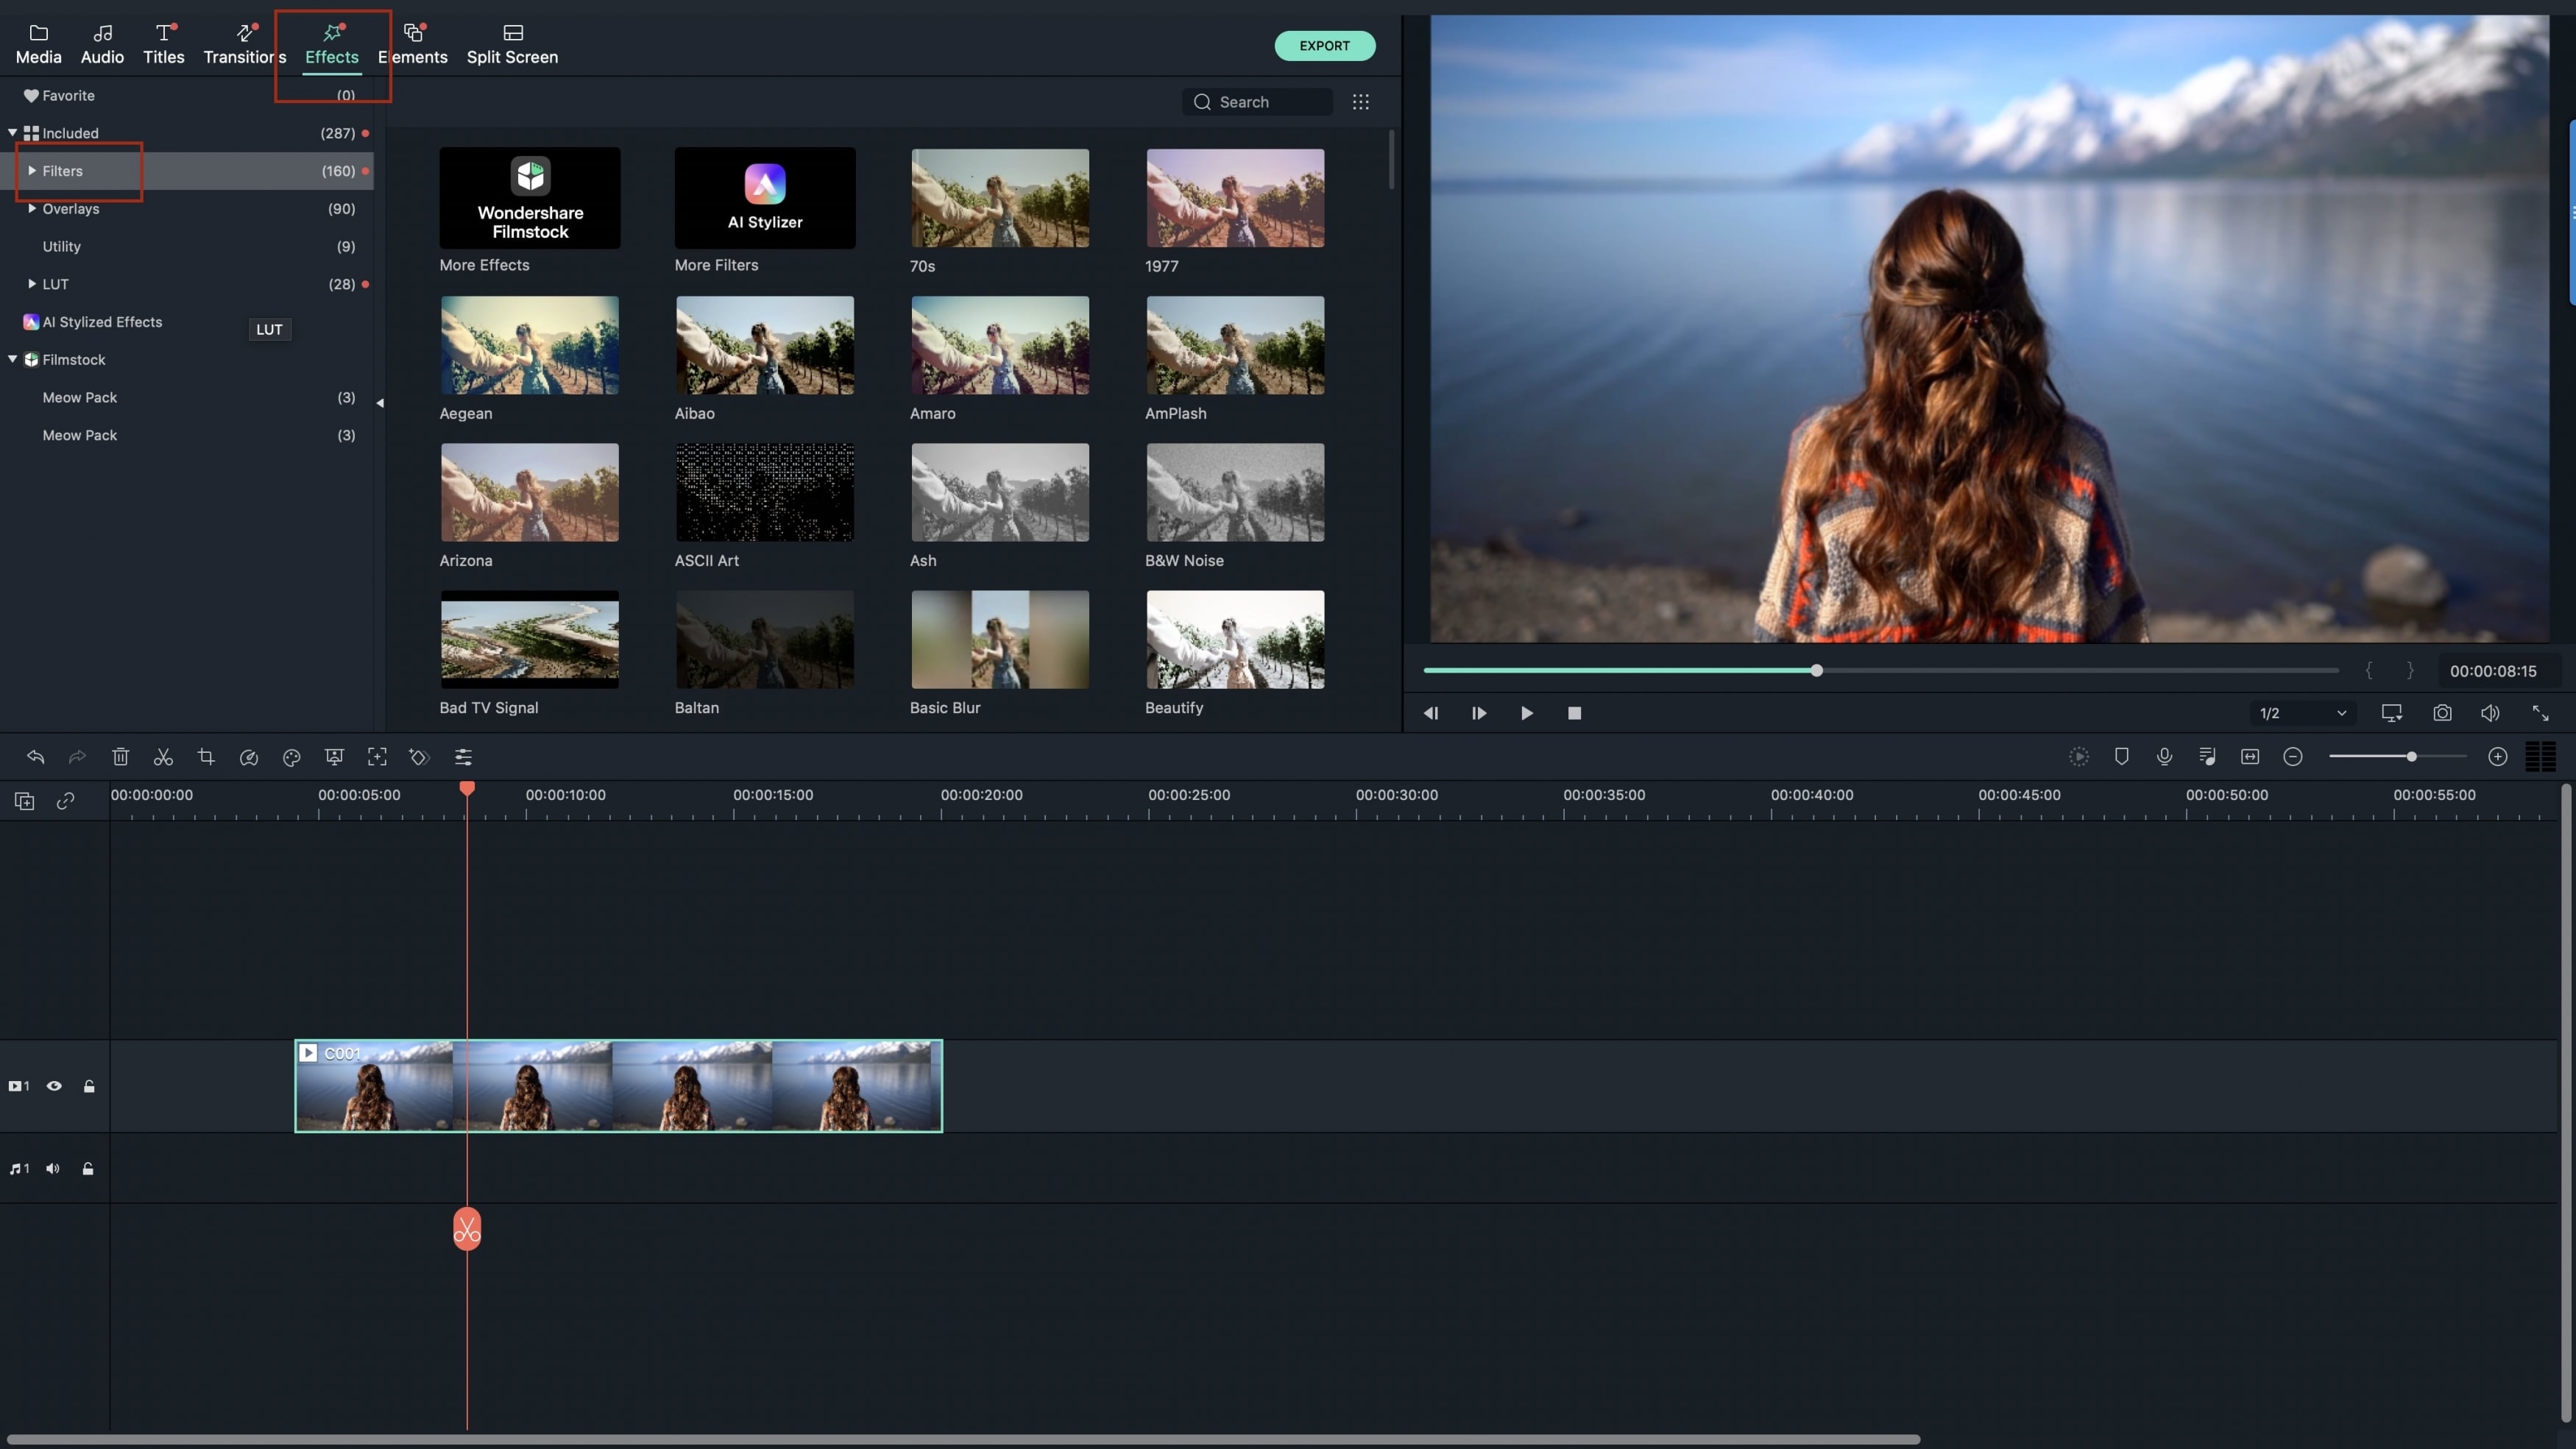
Filmora Video Editor is a spectacular video editing software tool available for both Mac and Windows PC users to overlay Christmas videos. It has included all features of a professional video editing tool yet maintaining the simplest user-interface. All the video editing tools and functions are present just above the project and users can simply apply them with one single click. Below are the simple steps for how to use Filmora Video Editor to overlay videos (picture-in-picture).
Step by Step guide to overlay Christmas videos via Filmora
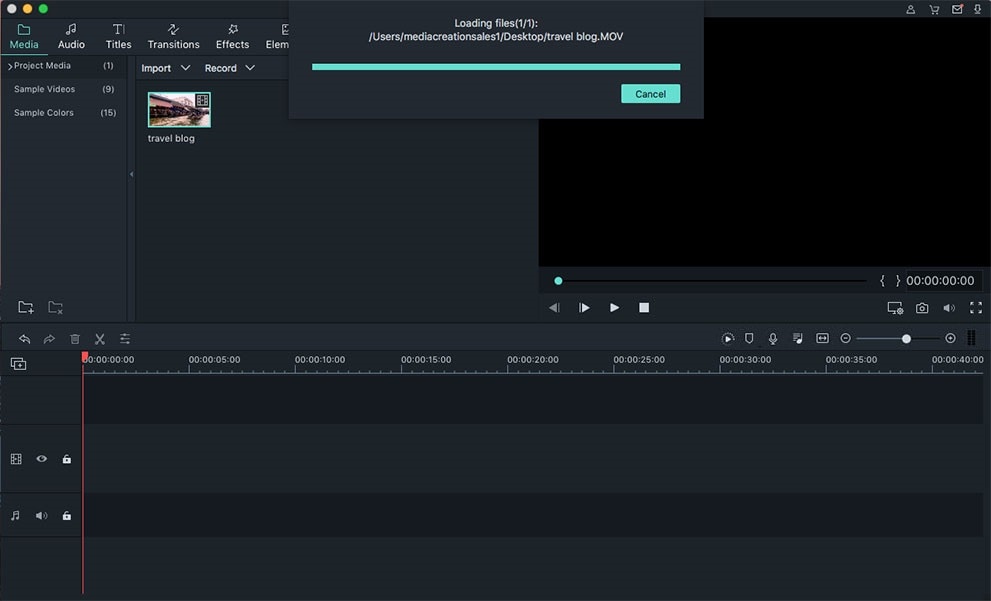
Step 1. Download and install the latest version of Filmora on your computer. Run it for the first time and select full featured version. On the main screen of the Filmora, click on the import media files to add the media files from your computer to Filmora. You can also add files to the media library directly from the Facebook or Instagram by clicking on the Import Media.
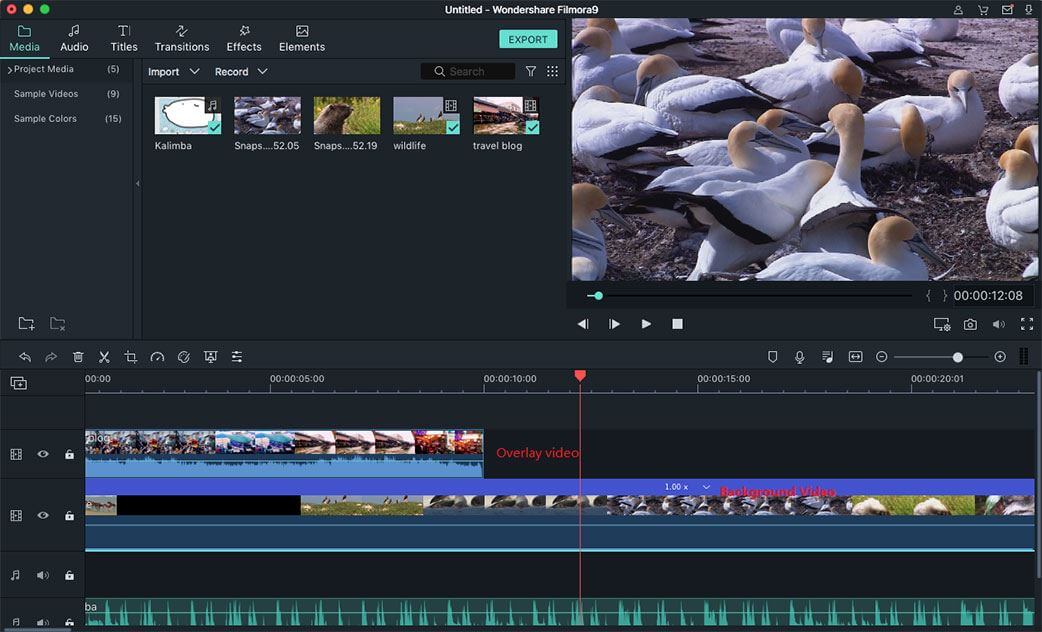
Step 2. Once the files are in the media library, next step is to move them to the project. First of all, move the base video to the project. Select and drag this video to the project on your computer. Now, pick the second video and carefully drop it on the project, before you can drop, make sure that you see a red are as shown in the screenshot below. Select the second video and you will see a green outline on the preview window, this will let you adjust the size of the second video. The next, double Click on the second video to unveil more options, to add the motion effect to your video, select the effect and double click on it to apply on the video.
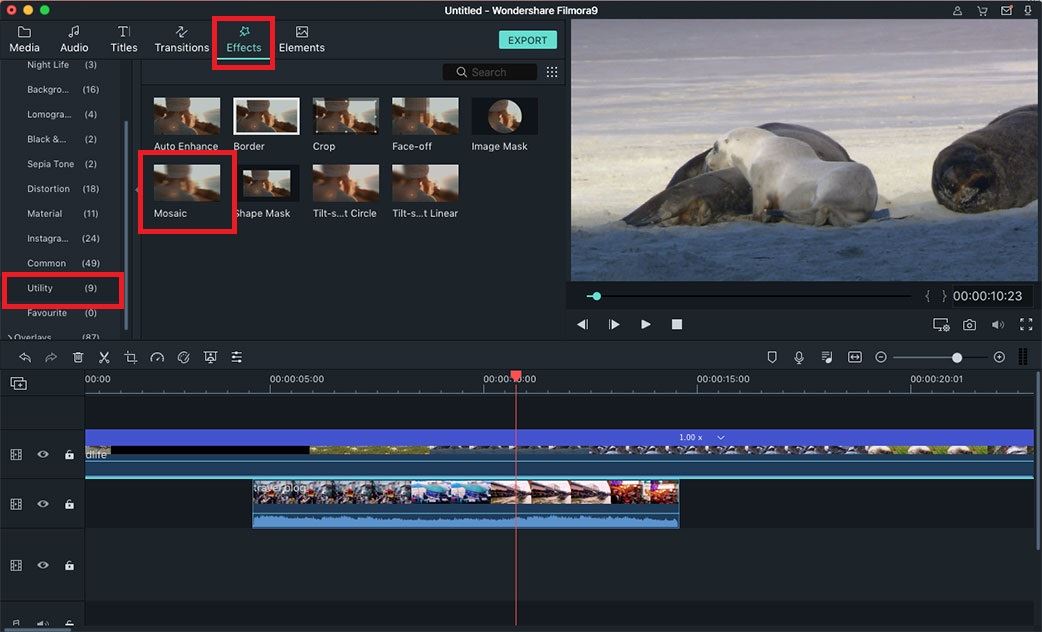
Step 3. If you want to add masks, green screen or adjust settings for the second video, click on “Advance”. A new window will be opened, you can select a particular mask and adjust its size. To apply a mask on the video, double click on the mask. Click on the Effect on the top of window, if you want to apply the green screen effect, check “Make parts of clip transparent” and you can also set the intensity. Click on “Shadow” to set a shadow for the second video, you can also set the distance, transparency and blur level for the shadow. Select a color that you want to give to the shadow. From the main box, you can set the direction of the Shadow.
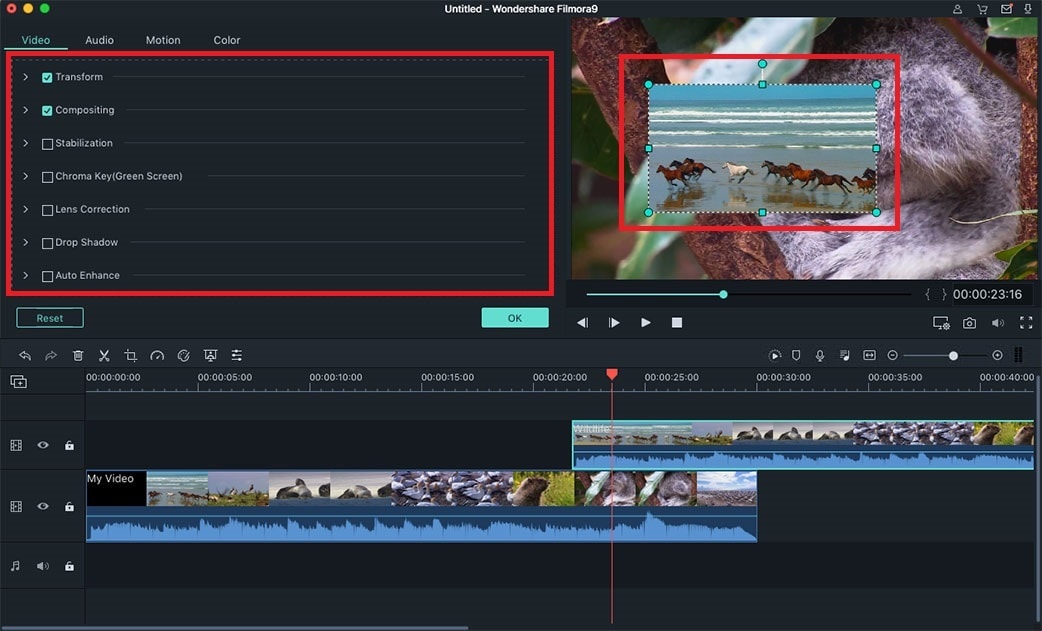
Apart from the shadows, it will also let you set a beautiful border around the second video. If you are already using a shadow, we will recommend you not to use the border. If you are not using shadow, check the “Apply border to the clip” The last option will let you flip and rotate the second video, you can rotate it clock wise or anti clock wise direction by 90 degree. After adjust all the options for the second video, click on the OK button in the window.
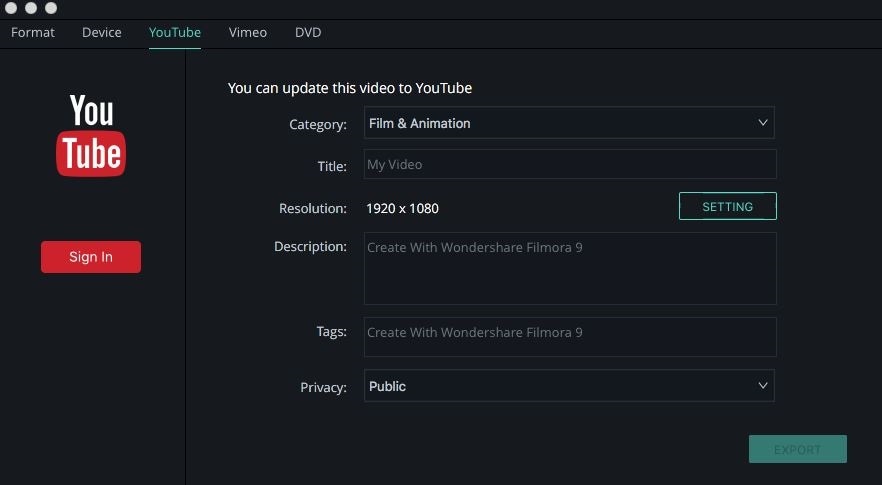
Step 4. Now, Click on “Export” to finally export the video. There are plenty of options to export the movie to your computer, Mobile phones or tablets. You can also upload this movie directly to the social networking website.
More About Filmora Video Editor
Once the videos are captured on different devices such as iPhone and video cameras, users need to have a tool to remove certain part of videos, rotate, crop or change the speed of these videos, Filmora provides these functions in the best possible way. You can also add different beautiful songs to your videos from the music library on your computer. For Mac users, it also provides an option to import the music directly from the iTunes library on Mac. Moreover, if you are looking for some simple music for your videos, you will not have to wander around the internet for your videos, Filmora has included some beautiful tracks to include to your videos. Select a track, preview it in the preview windows and add it to your project with one click. Apart from that, if you are joining two videos, you can also select from many different transitions available for the video editing. These transitions are equally applicable on the photos. To name your videos, use the beautiful text styles from the text library of Filmora. Last and the most important feature is overlaying the videos in the perfect manners, you can also adjust the screen size for the second video, and it will automatically blend the colors. This is best tool to use the green screen effect which Fillmore provides for both Windows and Mac version.
Download Filmora Free Version to Have a Try!


