Chromebook is one of the most popular personal notebooks in use today. Many people like them because they are relatively cheap, have good functionality, perform well, have long battery life and also because they are quite thin and light, are very portable. However, many Chromebook users don't know how to record video on Chromebook and want to know how to do it in details.
Thus,
if you're also one of the person who want to know how to record screen video on Chromebook, then you've been the right place.
This article will teach you how to easily record video on Chromebook and desktops. You can use them to record video from website on Chromebook or PC as you like.
Now, let's get started...
How to Record Video on Chromebook by Using Screencastify?
As Chrome OS only allows installations of official Google extensions and apps, one way to record video on your Chromebook is to install an app that supports screencasting from the Chrome Web Store.
Then, a good option here is Screencastify.
It is designed specifically for Chromebooks and allows users to create, edit and share screen captures. A few advantages of using this app include:
- High compatibility with Google Drive and Dropbox Plus, screen captures are automatically uploaded to Google Drive, easy integration with Google Classroom.
- Don't require Java or Flash plugins to work.
- ...
Now, let's check the detailed tutorial on how to screen capture on Chromebook with Screencastify.
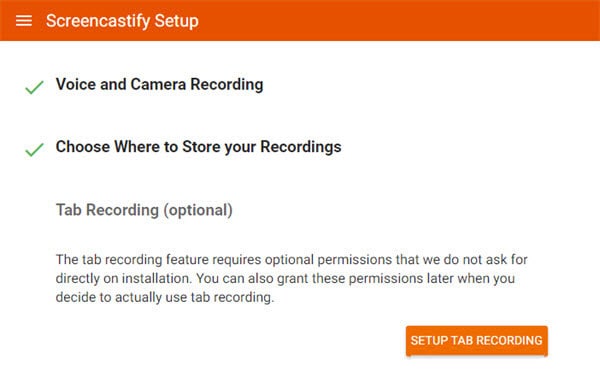
Step 1: Open the Chrome Web Store and search for "Screencastify" and install it in your Chrome browser.
Step 2: Screencastify will now appear in the top right on your browser. Click on it to open it and adjust the settings to your liking.
Step 3: To start recording, click "Start Recording" and you can click "Stop Recording" to stop the process at any time.
Step 4: After you are done recording, you have the option to upload it to your Google Drive or YouTube. You can also save the recorded video locally on your Chromebook hard drive.

Wait! Let's Try Filmora Video Editor to Record and Edit Screen Video on PC or Mac
Unlike the above solution, recording videos on PC or Mac will be quite easy than on the Chromebook because there are so many options for your reference.
Thus, the key point here is only to find a reliable yet professional video recorder & editor program as your assistant. If you have no idea about it, let's have a trial on the Filmora Video Editor or Filmora Video Editor for Mac.
This program is more than just software to record video and audio. It also comes with a full range of video editing tools that let you enhance your recorded video like a pro.

Key Features
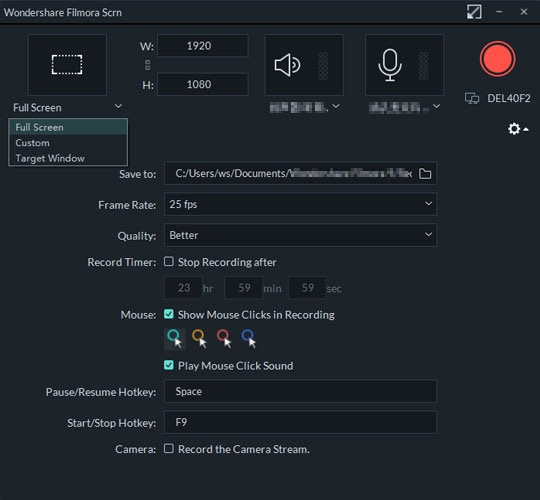
- Clean and intuitive interface helps you to record a video on computer as easy as 1-2-3. And it provides 3 different modes to capture the screen: full screen, custom and target window.
- Powerful video editing tools including trim, crop, audio mixing, transitions, add text/subtitles, etc.
- Standalone effects library - Filmstock is here to offer you with unlimited special effects.
- Export or share recorded videos on social platform or to any specific formats easily.
Now, Let's Learn How to Capture Screen Video with Filmora Video Editor:
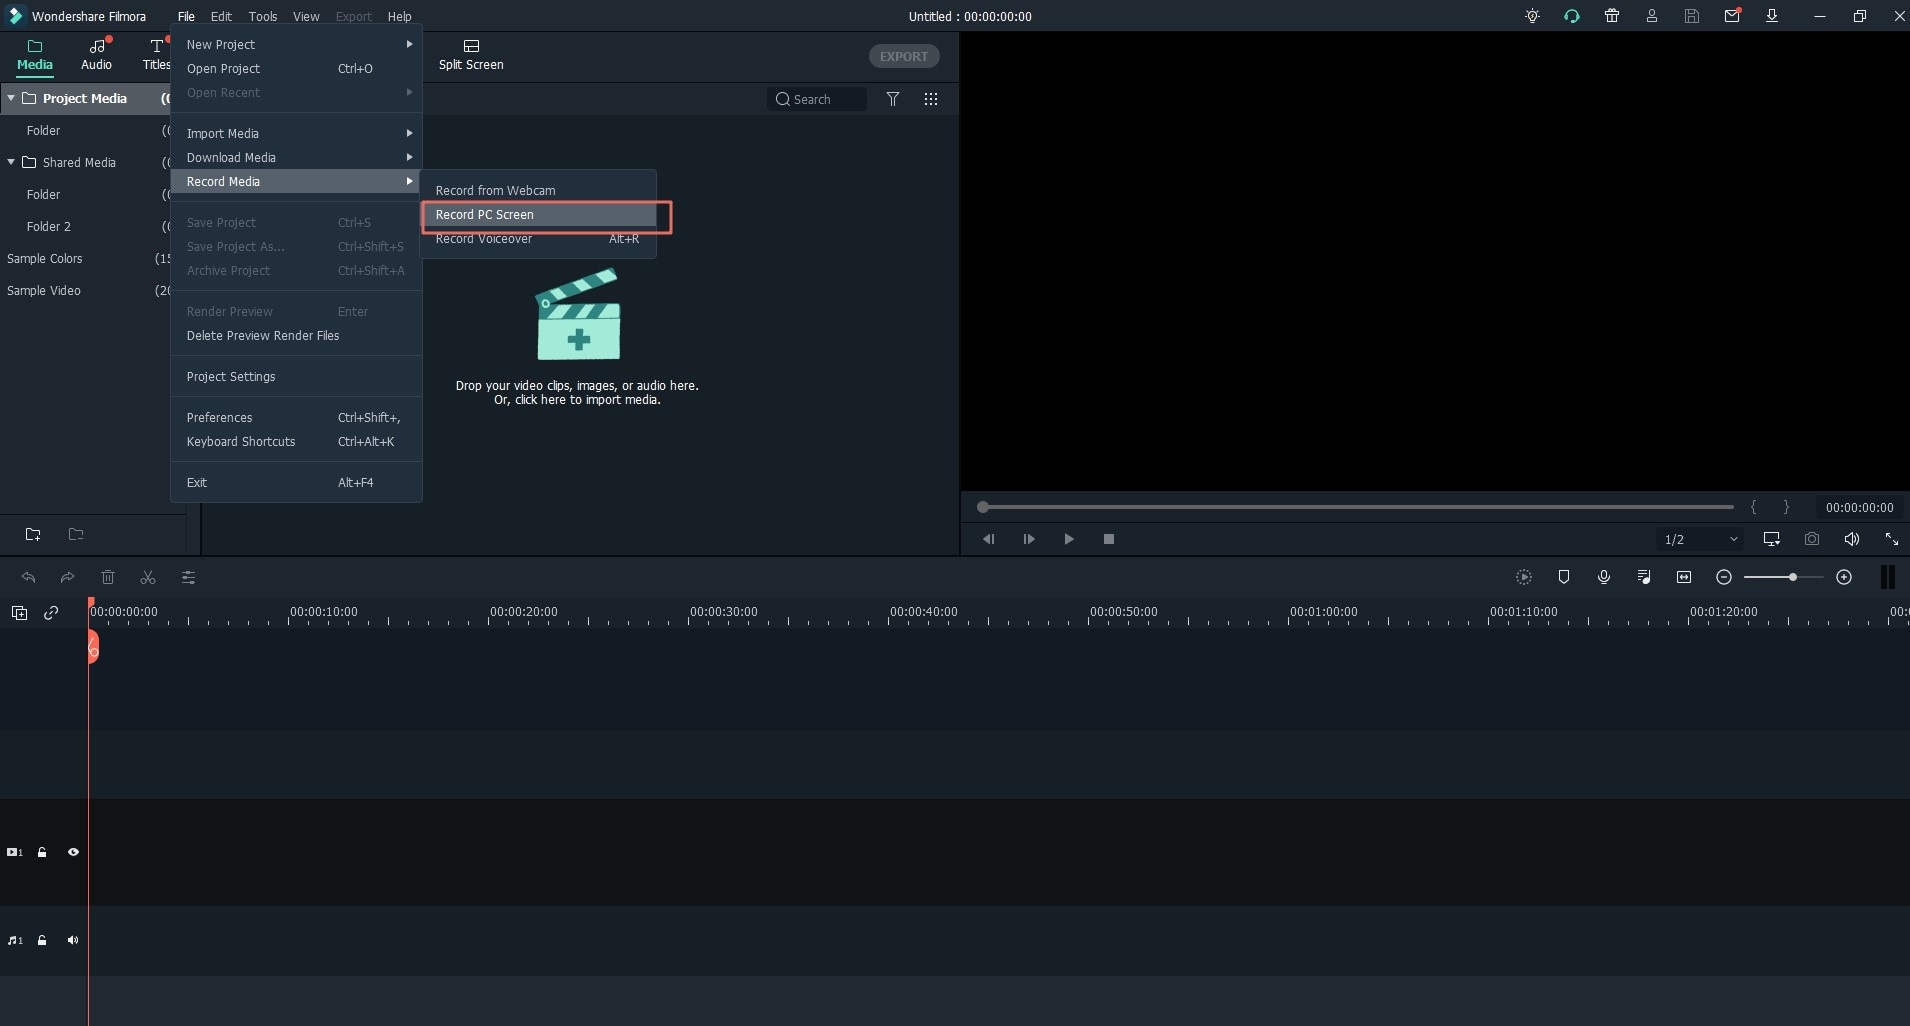
Step 1. Directly choose "Record > Record PC Screen..." in the main itnerface after launching the program on your computer. Then, you'll be take to the recording window.

Step 2. Set the recording settings according to your specific needs, and click on the "Rec" button to start the recording process.

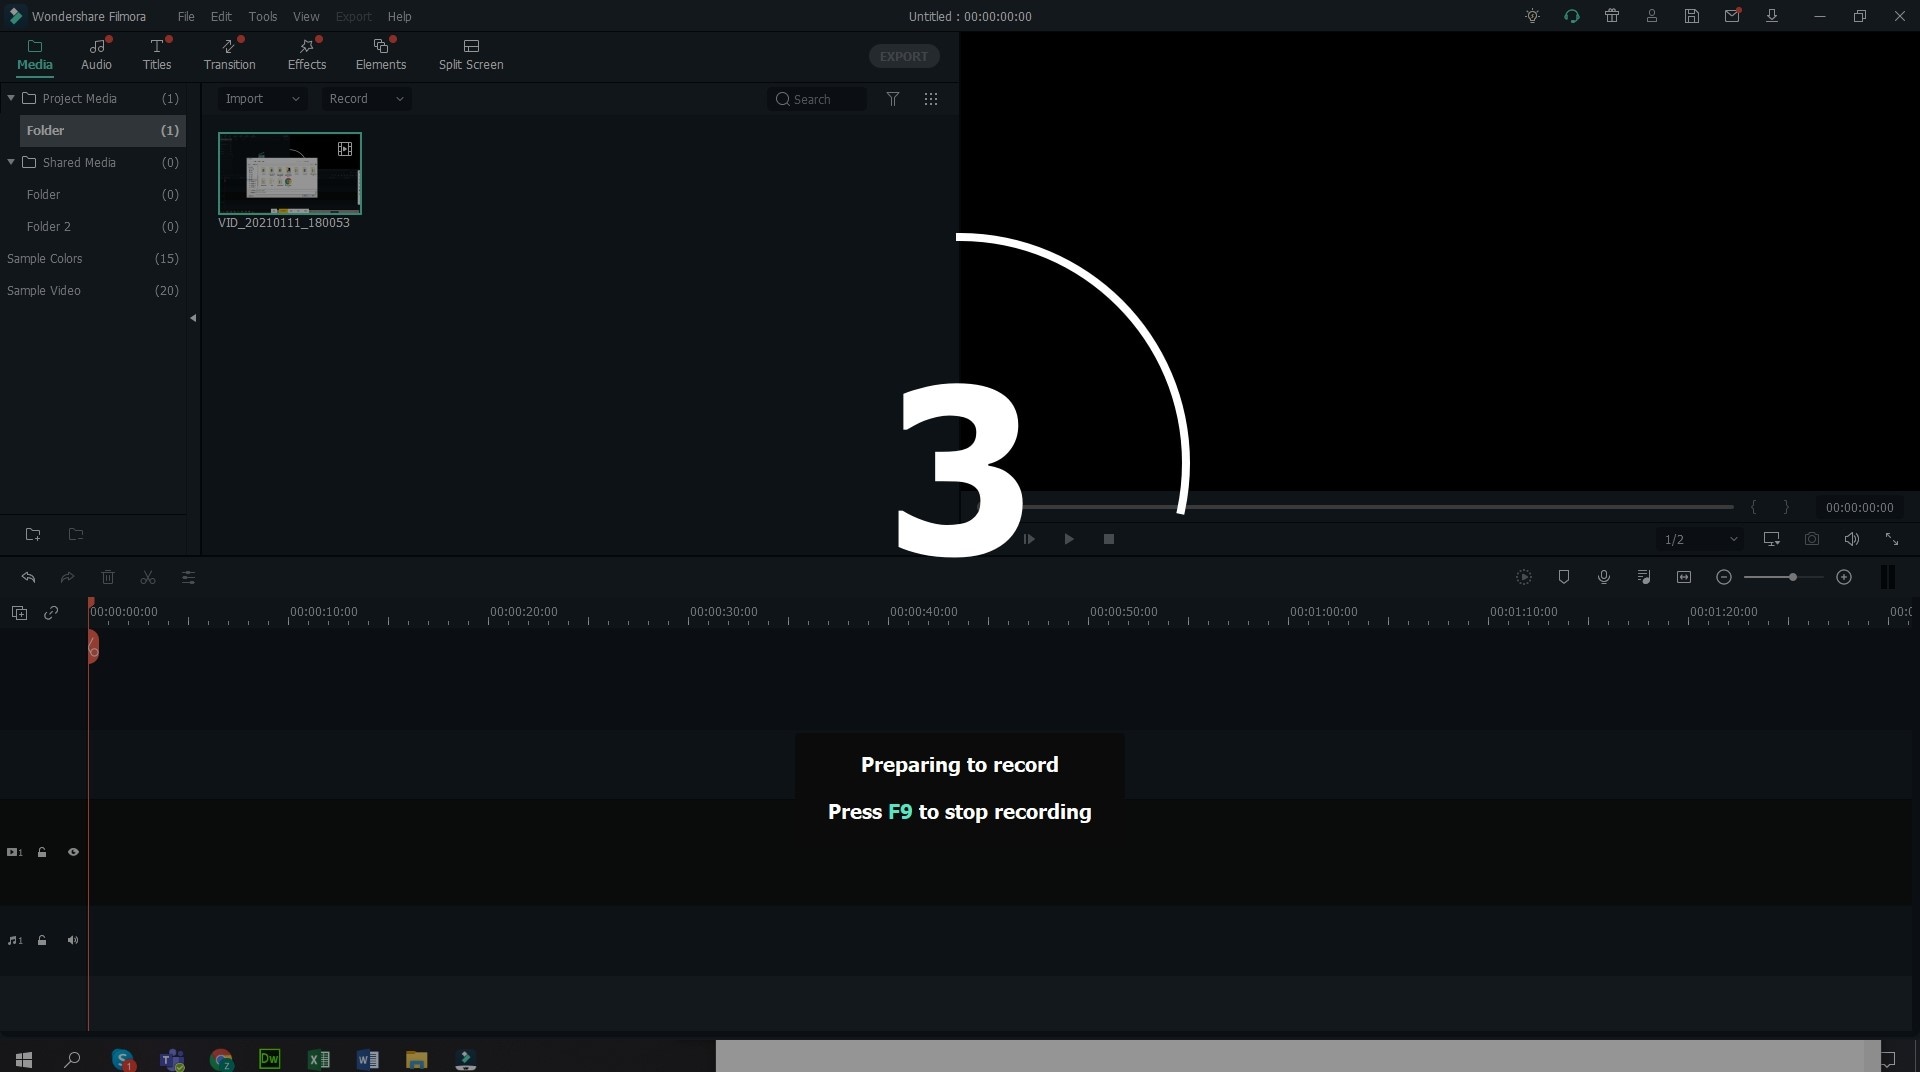
Step 3. The recording starts after a short countdown. Click "Pause" to interrupt recording or "Stop" button to end the recording process completely. The recorded video will be automatically saved to your hard drive.

When the recording is finished, you can find it in the output folder that you've customized before. Or you can use this program to edit and enhance it as you like:
- How to edit a video step by step
- How to apply transition effects to video
After that, you can click "Export" button to save or share the edited video as you like.


