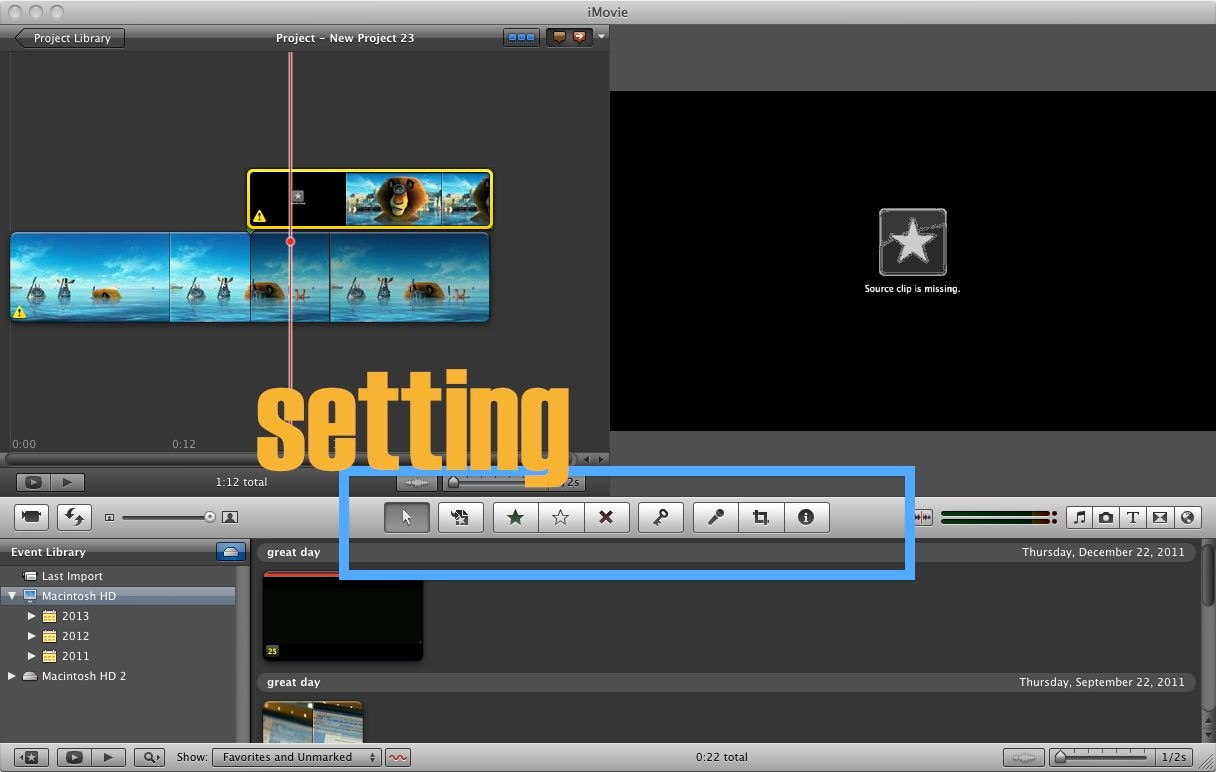
-How do you rotate a video in iMovie?
To rotate videos or photos in iMovie, you must learn many knowledges for iMovie is a little bit complicated. And in some cases, you might encounter iMovie rotate video not working issues. No worry! Here are complete tips on how to rotate a video in iMovie and its alternative.
- Part 1: iMovie Rotate Video or Photo Not Working Fixed!
- Part 2: How to Rotate video with iPhoto
- Part 3: How to Rotate video in iMovie
Part 1: iMovie Rotate Video or Photo Not Working Fixed!
If you have problems when using iMovie to rotate videos on Mac (10.14 included), we highly recommend you to get help from Filmora Video Editor for Mac. It is the best iMvoe alternative and help you to edit videos with powerful video editing tools easily. Follow the below steps to rotate video without hassle. While on iMovie all of these settings are found in different sections of the application, on Filmora Video Editor you can have access and edit them right from the same window. And when the time comes to bring your creations to the show, you can easily export them to Blu-ray, DVD, or choose from the presets for iPad, iPhone, iPod, Android devices and many more.

Key Features of Filmora Video Editor:
- Contains lots of basic editing tools for video rotating, video trimming, video split and joining two or more videos.
- Over 200 filters and overlays to choose from, you can turn simple videos into movie quality.
- Motion graphics and special effects can be added very easily.
- Texts and titles allow easy customization of the videos as you wish.
How to Rotate Video in iMovie Alternative on Mac (macOS 10.14 Mojave included)
Step 1. Install Filmora Video Editor
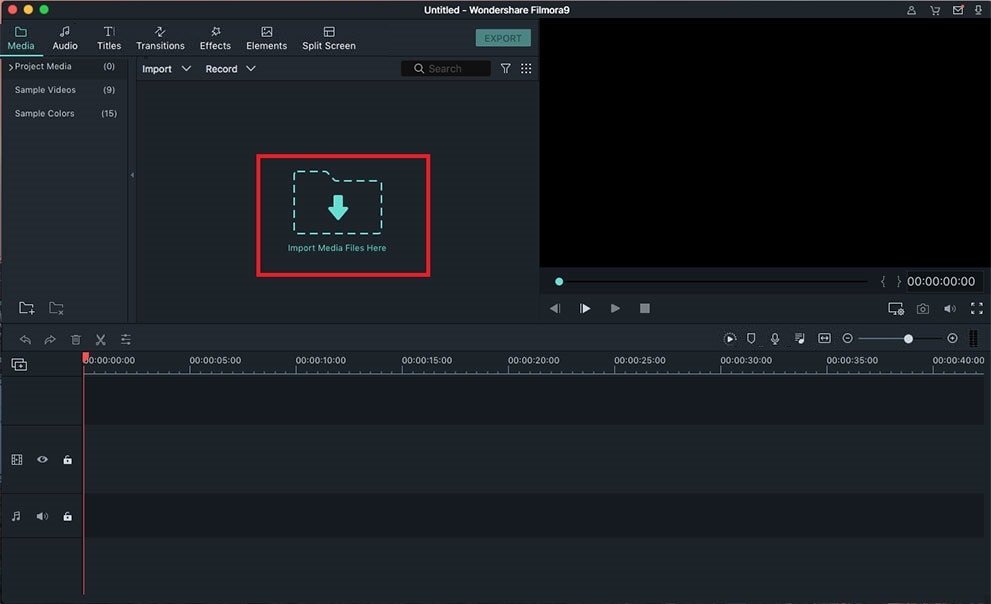
The first thing that you need to do is to install and launch Filmora Video Editor on your PC.
Step 2. Import Media Files
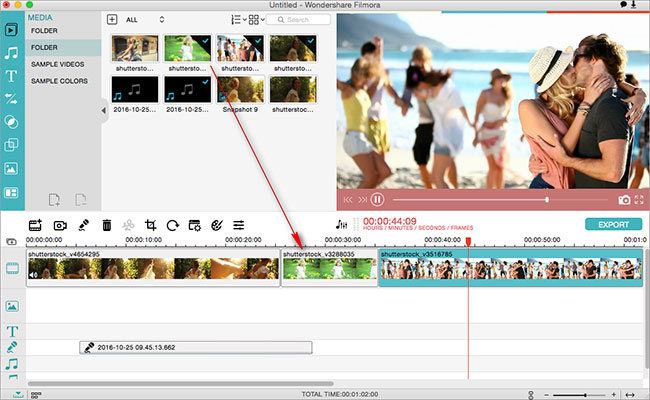
As it happens on iMovie, the first thing that you need to do on Filmora Video Editor is to add the source video files that you will use in your production. To do it, simply drag the files into the application or click on Import at the top of it. Then you need to drag the imported files to the video timeline at the bottom.
Step 3. Rotate the Videos
On the Video timeline, you can click on the video and a small Rotate button will appear upon it. A new section will appear at the top left side of the application. From here you will be able to rotate the video, flip it, adjust other settings like its brightness or even change its speed.

Step 4. Save or Export video
When the video is rotated to the right orientation. You can edit the video with more features supported by Filmora Video Editor if it's needed. When finish the editing, click the "Export" to select the way you want to save the rotated video.
Choose your desired format for the video and then, click on the "Create" button. This will export your video. That's the easiest solution on how to flip video in iMovie alternative - Filmora Video Editor.

Part 2: How to Rotate Videos with iPhoto
Many video editing tools will provide you with advanced features that may come at handy. But let's be honest, most of these advanced products will charge you for functions that most of the time you will not really use. Video rotation, however is a very basic features, that you can easily find available in most tools.
iPhoto is another preinstalled application. Think of it as an iMovie for photos! It doesn't let you rotate video clips, only photos, but you can export them to be rotated in iMovie (via the above steps) or in another video editor of your choice, such as QuickTime Pro.
Step 1: Open iPhoto from your Applications folder. If you deleted it, or for some other reason you don't have it on your Mac, you can download it here: download iPhoto application.
Step 2: Select the video clip you want to export by opening the "File" menu, and then click "Export".
Remember to set the Export option as ":to Original", otherwise all you'll get is a shortcut to the iPhoto video, which you can't upload or copy to another source.
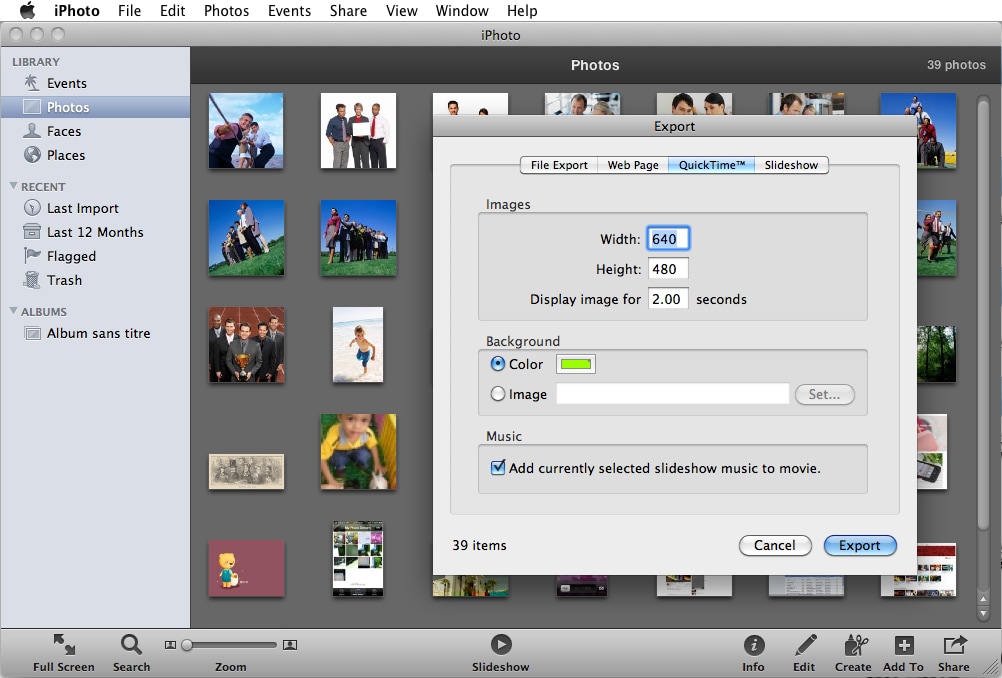
Step 3: Navigate to the exported video on your Mac, and open it in iMovie, QuickTime Pro, or the video editing software of your choice. For steps to rotate the video in iMovie, see above.
Part 3: How to Rotate Video in iMovie
iMovie for Mac is one of the easiest and most known applications to edit video, supporting video rotation along many other basic and advanced options. While using iMovie, you can easily rotate your video with iMovie in 3 steps.
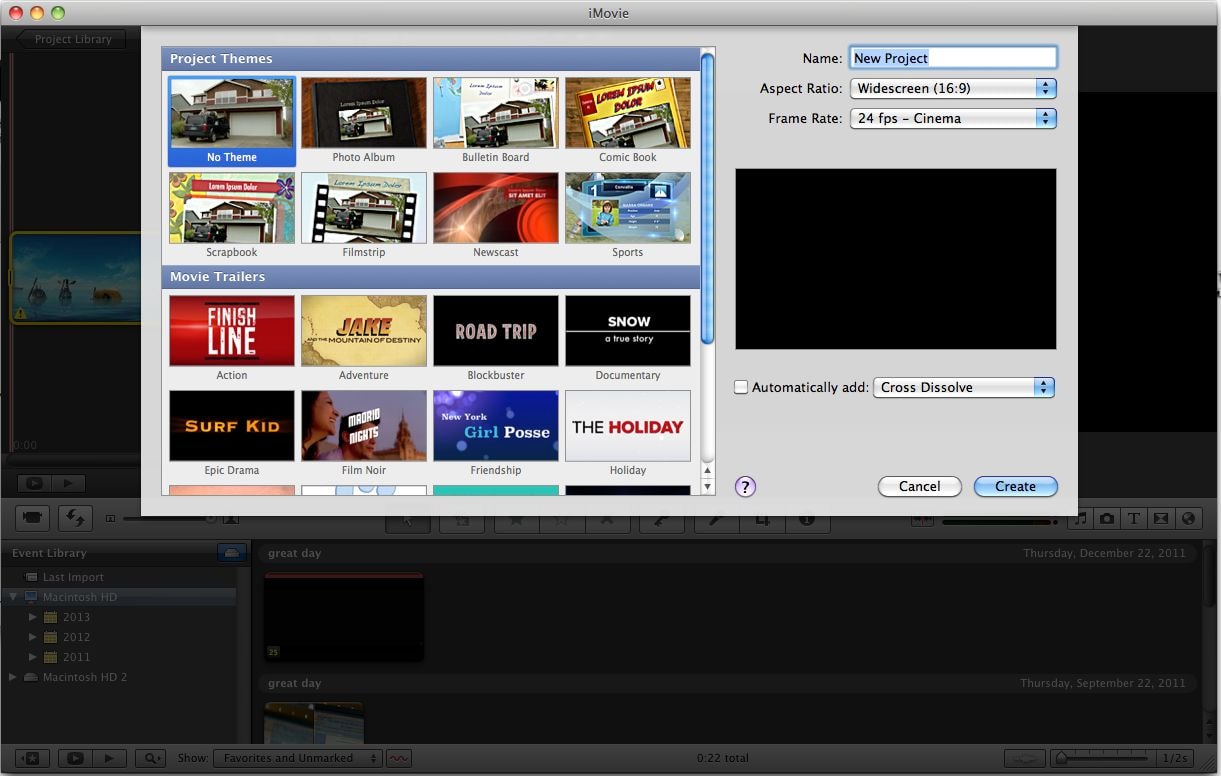
Step 1. Import videos to prepare for cropping:
If you have your video already imported and working already on iMovie, all you need to do is select it and press the Crop button to your right, at the bottom of the video viewer. Remember you can import the video by going to File > Import and use the letter 'C' on your keyboard to crop/rotate.
Step 2. Start to crop video using iMovie:
After clicking on Crop on top of the viewer you will find two arrows pointing left or right at the top of it. You can use them to rotate the video in the direction you need
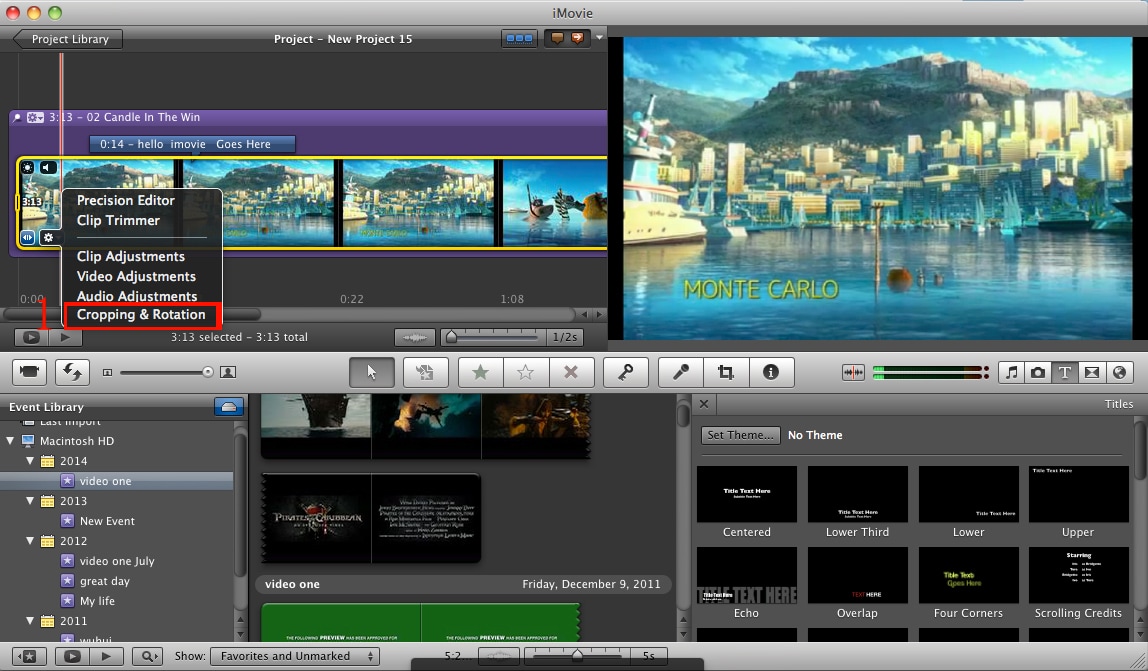
Step 3. Make some settings:
Now that you have adjusted the video just like you need it you need to keep in mind that the video may not fit the screen, so you might have to crop it in order to adjust to the new aspect. You can do this by just clicking on the "Crop" button below the video.
