Can you crop video using Sony Vegas?
Sony Vegas has the event pan/crop button that makes it possible to crop a video in Sony Vegas Pro. When cropping, you can do that on the whole video or select just a few sections that you want removed. Sony Vegas has additional effects that you can add to your cropped video and make it more animated. In case you choose to apply an effect, it will be reflected in each and every frame that has been selected. So how to crop videos in Sony Vegas Pro? Below we will share tips on how to crop video with Sony Vegas Pro and its alternative solution.
Part 1. Best Sony Vegas Alternative to Crop Video- Filmora Video Editor
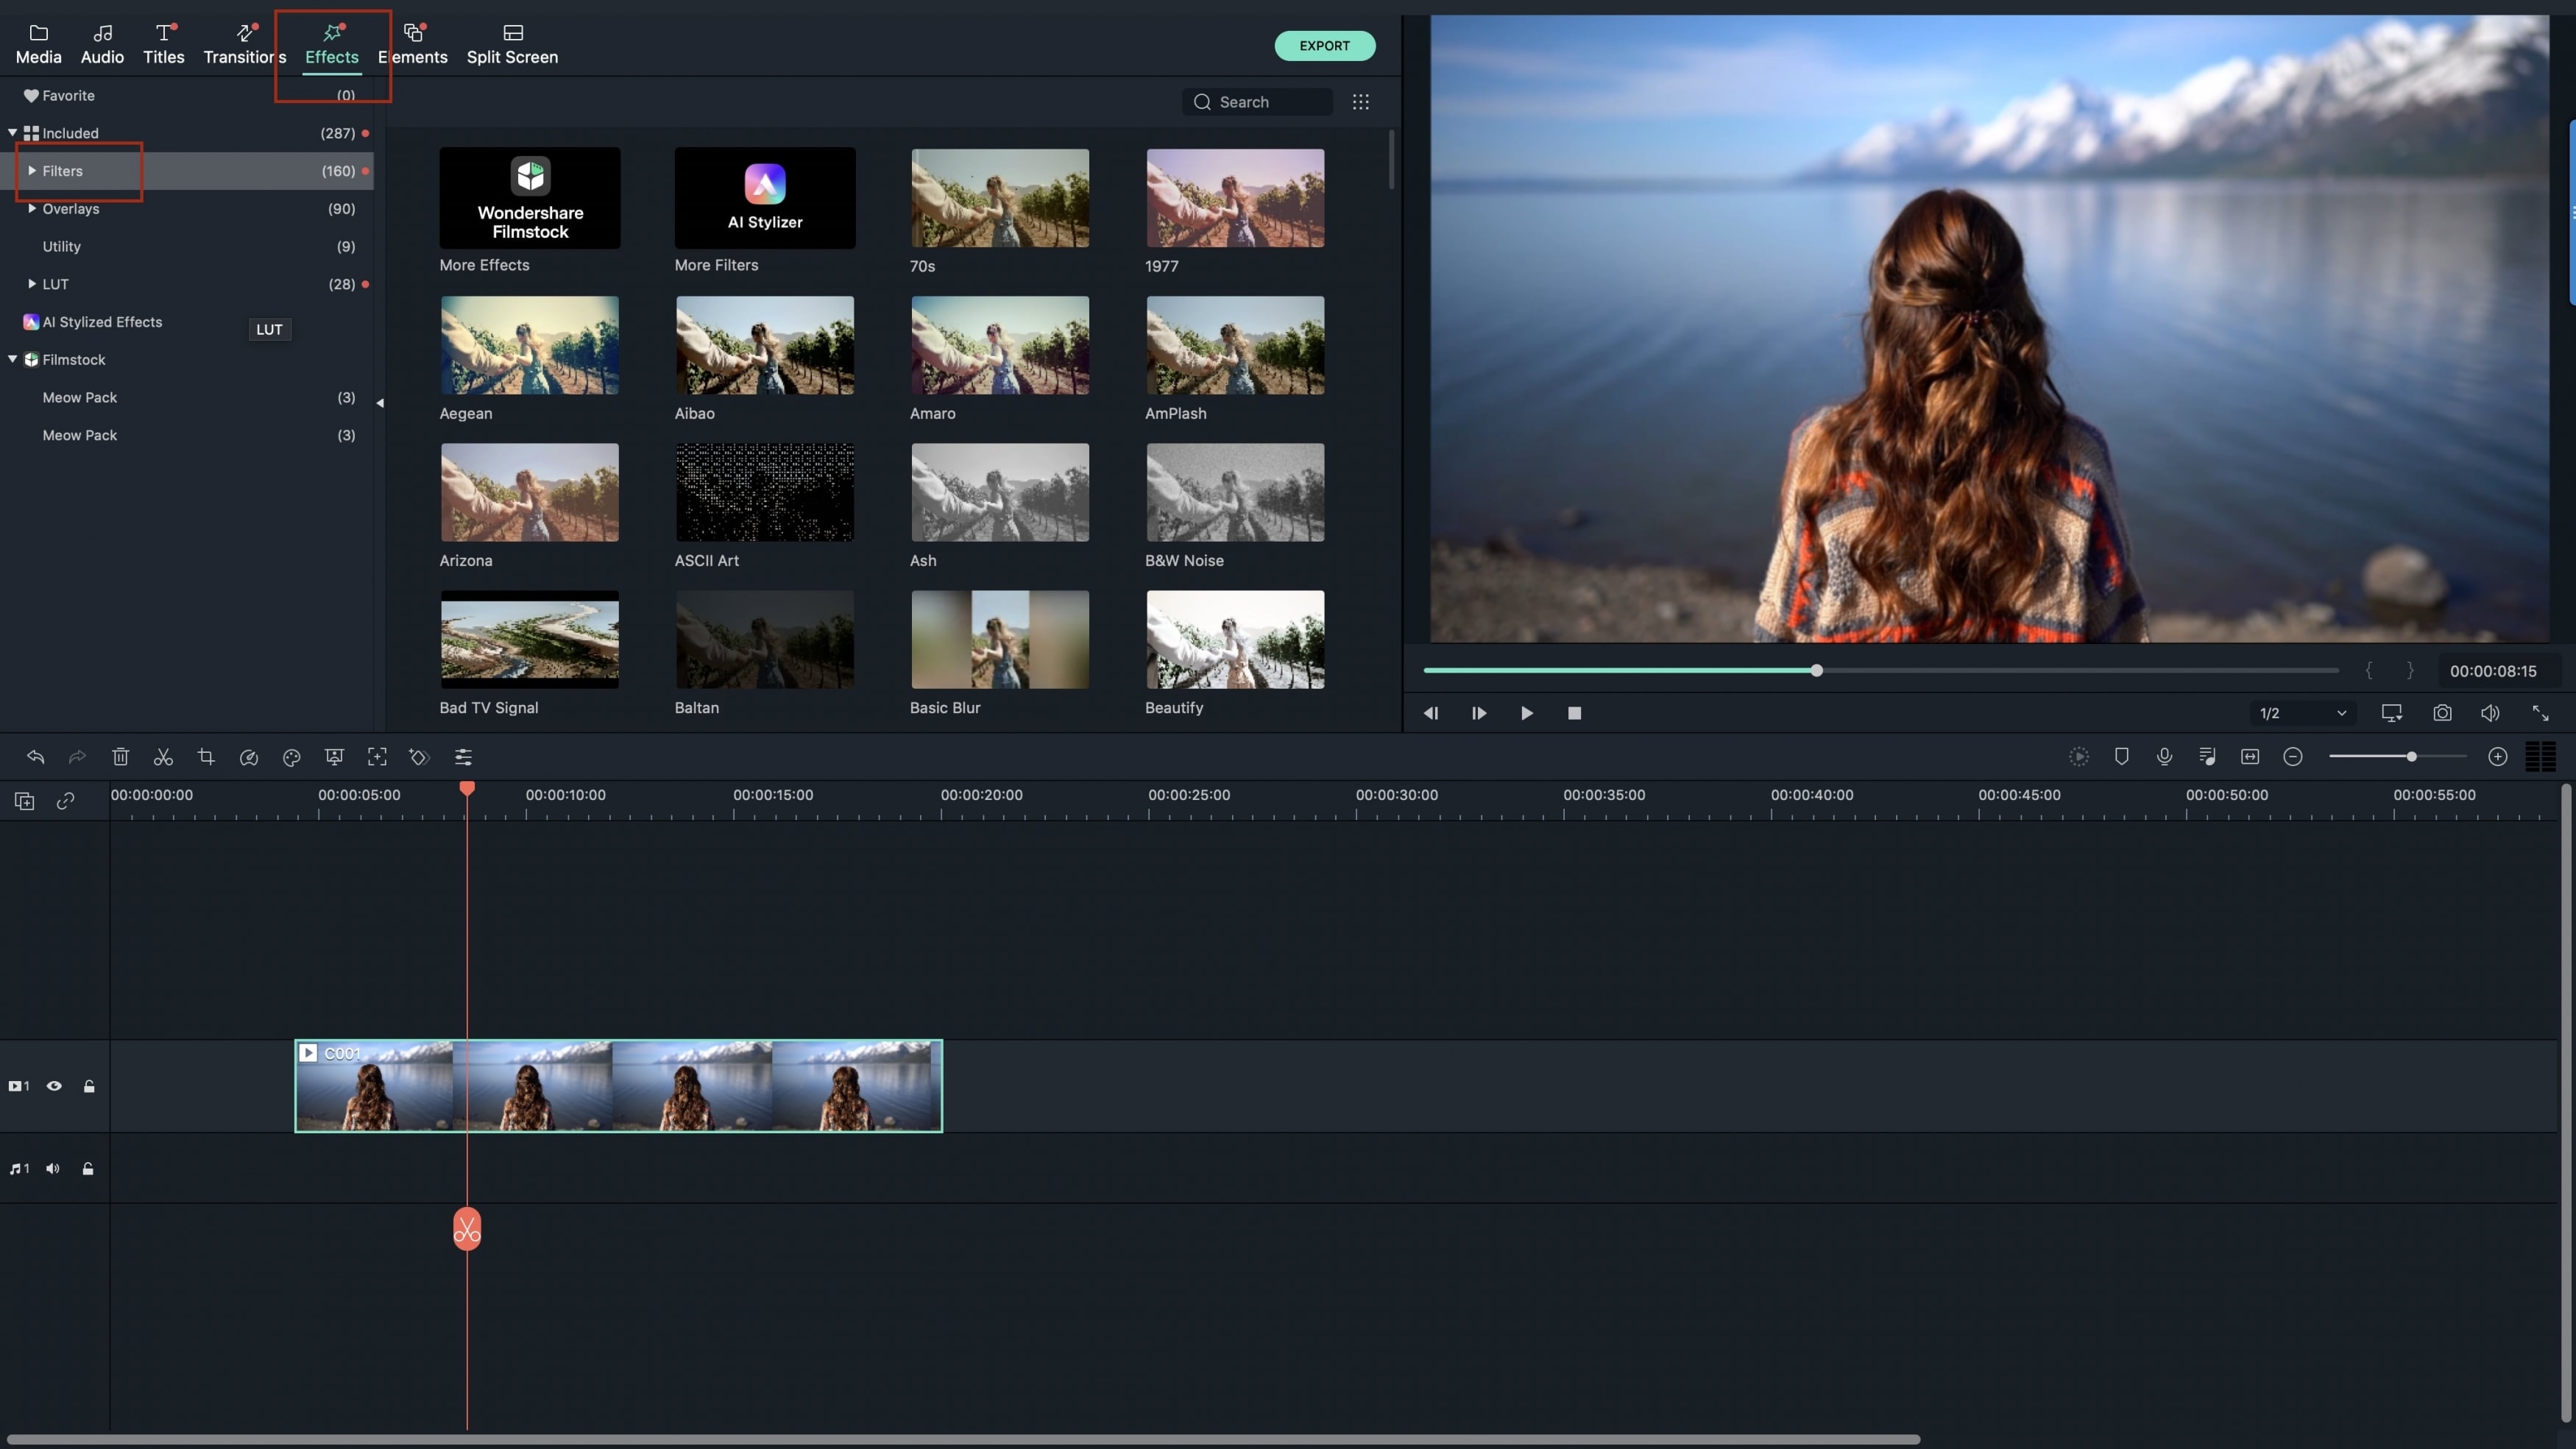
Filmora Video Editor is the easiest video editing software that helps you to edit videos and crop videos with simple steps. You can not only cut, crop or trim down the video but can also add text, pictures, Voice over and perfect animations on the videos. And it comes with thousands of free video effects including titles, transitions, green screen, mosaic, faceoff, PIP, and more.
Key Features of Filmora Video Editor:
- All features are well-displayed in the main windows for users to use easily;
- All the basic video editing tools are prepared for you to rotate, split, trim, cut and crop videos;
- Built-in filters, overlays, motion graphics, transition and titles are added regularly;
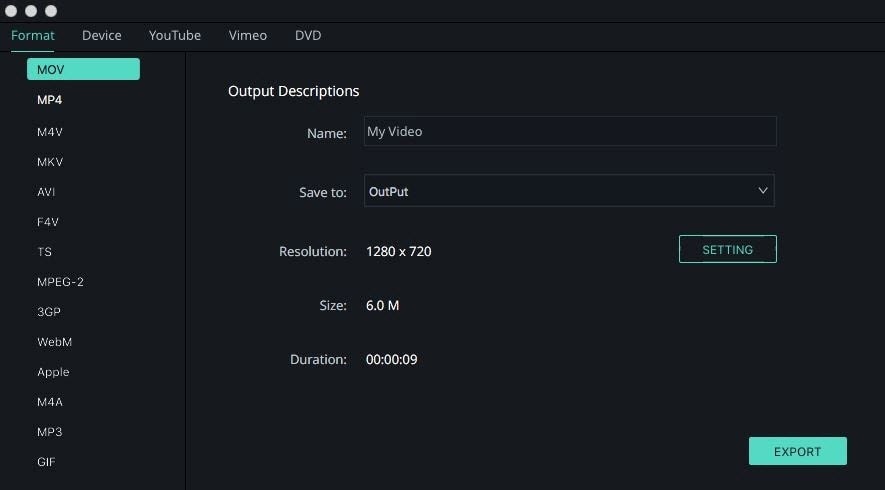
- there are options for exporting the video: all kinds of formats, for devices, sharing online directly and even burn to DVD;
How to Crop Video with Sony Vegas Pro Alternative
Just follow the below simple guide to crop video with Filmora Video Editor:
Step 1. Import the video you want to crop
The first thing to do is add video files to the program. There are two ways to do that: drag and drop the files to the timeline or use the "File" option on the menu bar then click on "Add Files".
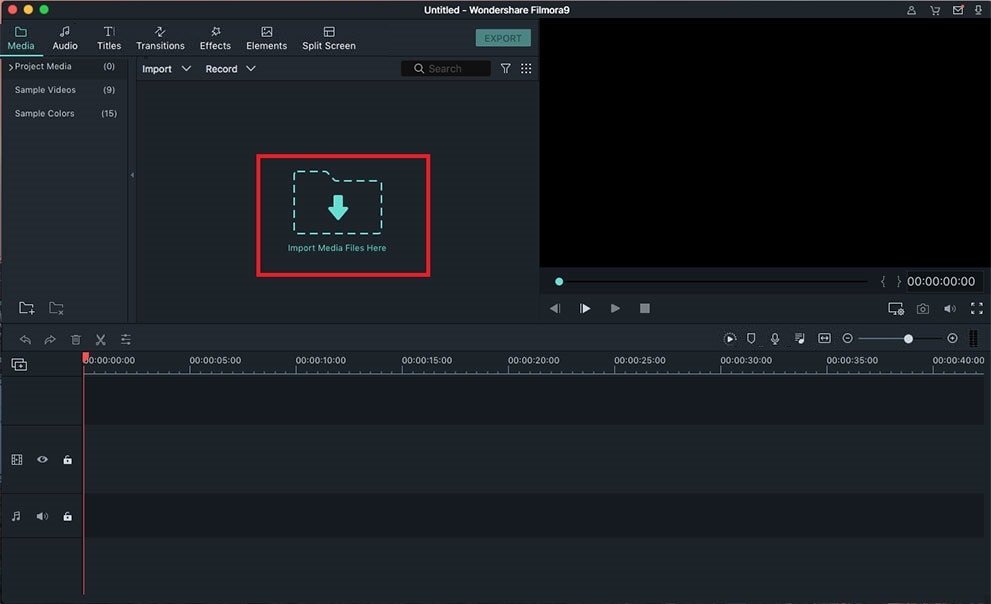
Step 2. Add video to the timeline
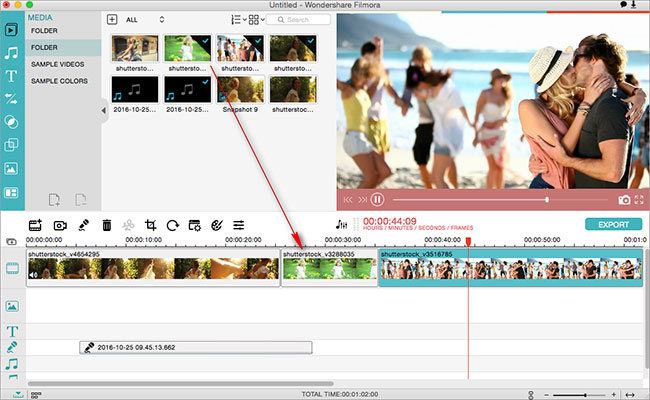
Embarking on actual cropping will be the next step to follow once you drag the videos to the timeline. If you have many files to crop, handle one at a time so don't multitask.
Step 3. Click "Crop" button
Highlight the video to start with and then click on the "crop" option to have all parts for cropping marked out.
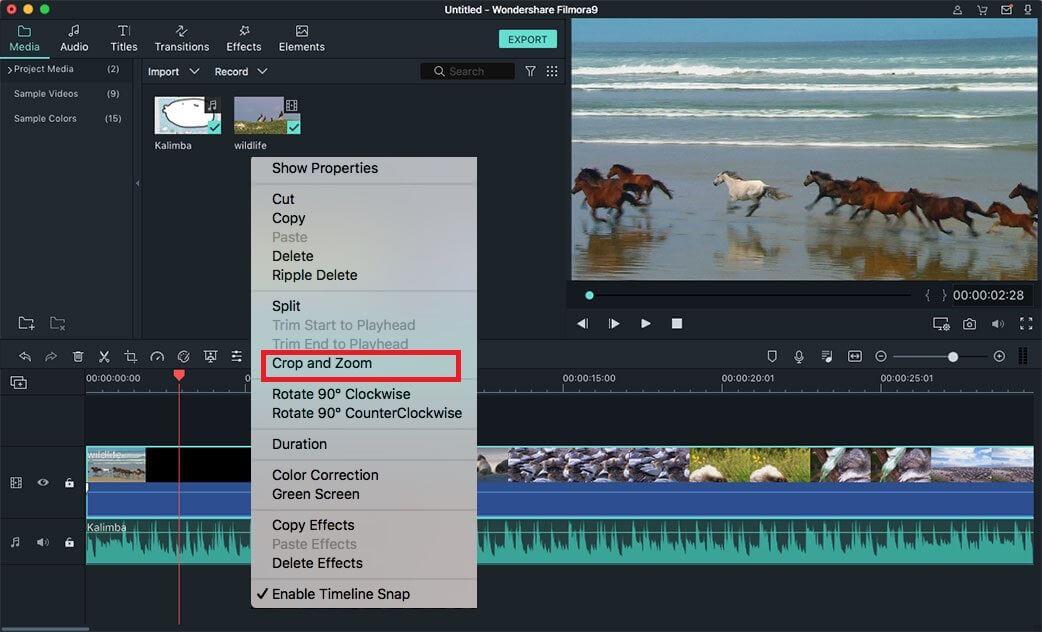
Step 4. Crop video
In this step, open the "Crop" window, and then select cropping options 16:9 or 4:3. You can also crop the video manually.

Step 5. Save the video
Once all that has been completed, save changes made and your video will be ready to play.
Part 2. How to Crop Video in Sony Vegas
Using Sony Vegas is one of the easiest things to accomplish as far as video editing is concerned. Many software programs have complexities when editing but this one will give you an easy time as you crop video.

These steps of how to crop video with Sony Vegas will make your work even easier once you are able to follow them:
Step 1. The first thing will be adding video clips to the program and then start the process of editing. The cursor of your mouse should be placed on the clip to crop and that will make it visible on the preview window.
Step 2. After that, click on the "even pan/crop" button and the window will be opened. Ensure the window is strategically positioned on the screen of your computer so that the preview window is equally visible. You can resize the box by dragging its corner points either inwards or outwards depending on whether you want to decrease or increase size.
Step 3. Using the record button, mark the points that you want to crop out. Press the button at the start and press again at the finishing point after which you can click on the "crop" icon to erase the marked sections. You can render the cropped video using any compatible format and it can be the entire clip or just selected regions.
Step 4. Finally, save your cropped video to make sure changes made don't disappear.


