MOV is a multimedia development and storage technology developed by Apple, commonly used to stream videos over the internet. MOV or QuickTime files combine sound, text, animation, and video in one single file, making it bulky. Splitting MOV files into multiple clips is necessary for easy storage or sharing through email. Here is the simplest way on how to split MOV file.
How to Split MOV File (Quicktime) with Filmora Video Editor
Filmora Video Editor is the best solution to all your video editing related headaches. It offers all the resources you need to make amazing videos. It is simple and easy to use. You do not require any experience in video editing. The interface is user friendly. Best of, it is affordable and delivers on all it promises.
Step 1: Install and launch the MOV video splitter
Installing Filmora Video Editor is a fast, simple and effortless process. To start, click “Free Trial” above to download the program first. From the download folder, you can click on the setup to install the program. Once the program has installed, launch the program and a window with options of “Full Feature Mode” and “Easy Mode” will pop up. Select “Full Feature Mode”, as this gives you complete edit control over your projects.

Step 2: Import MOV files to the program
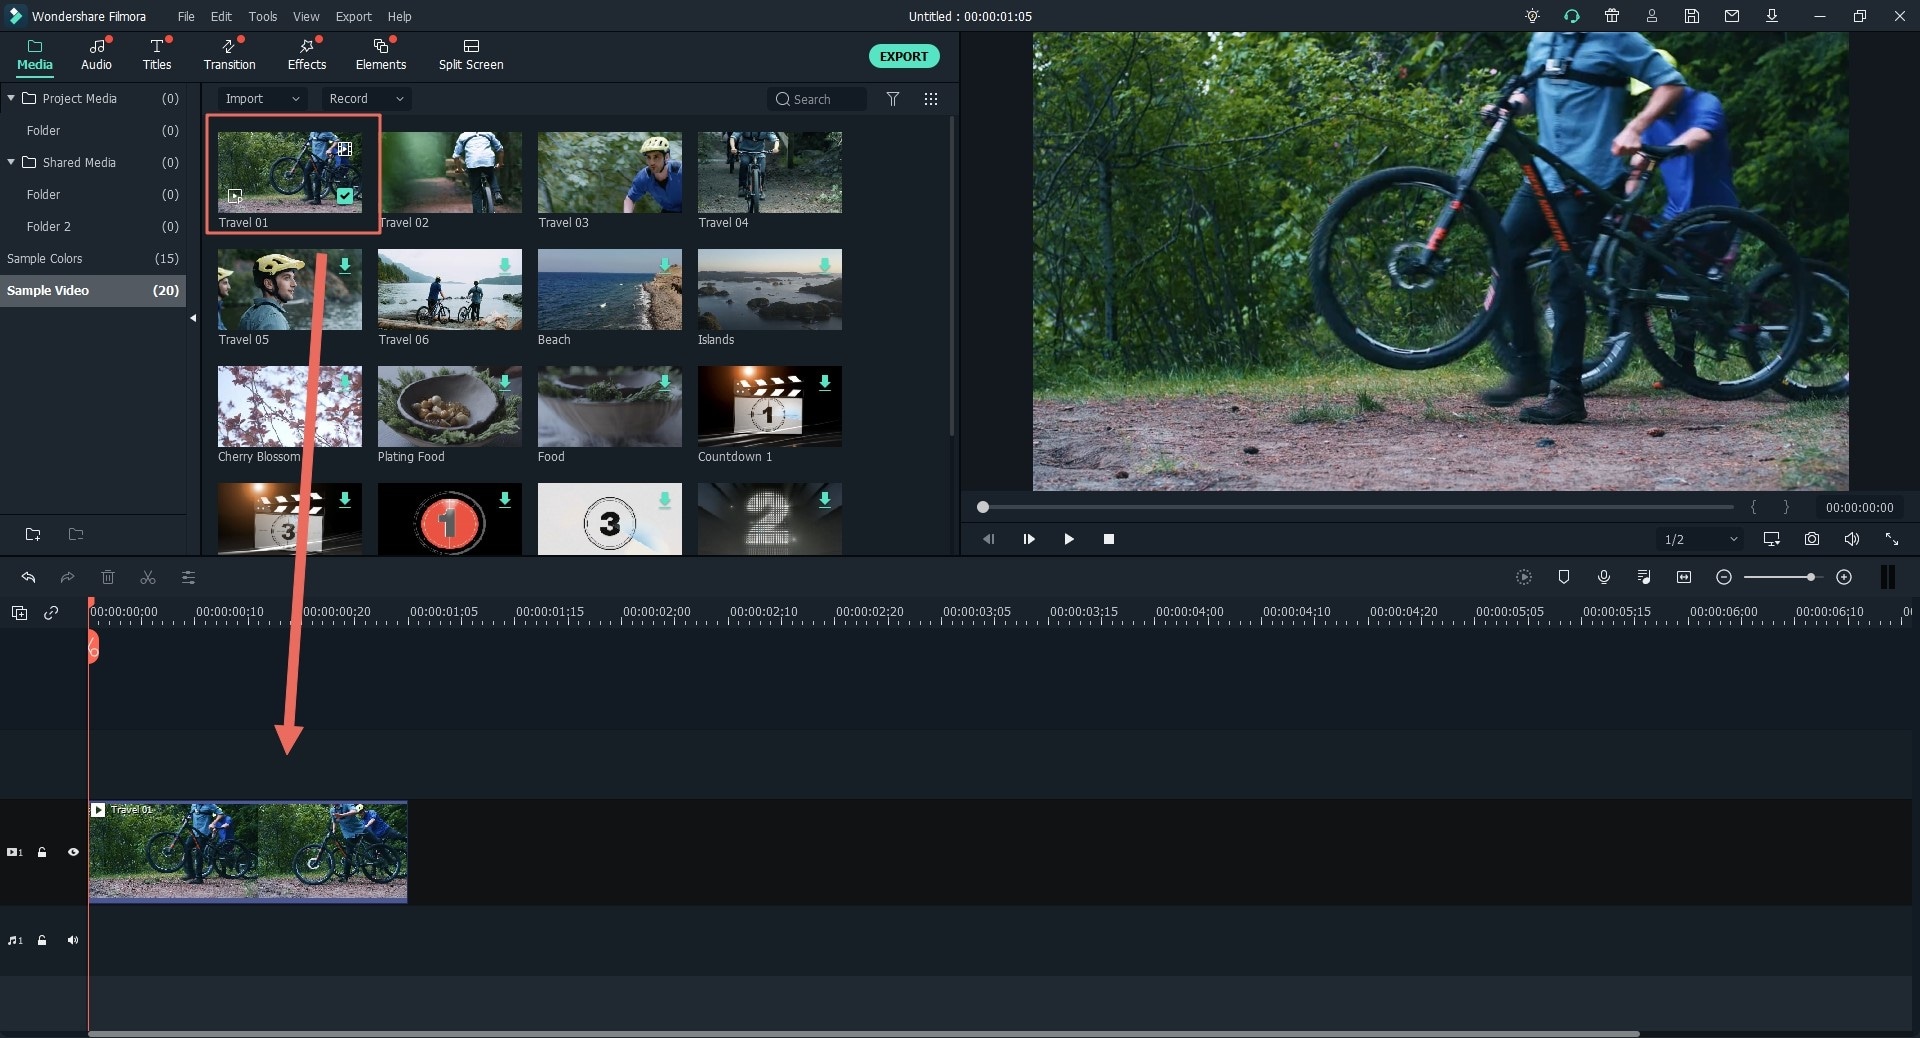
Filmora Video editor interface has three main panels. The media panel on the right side, the video playback panel on the left and the timeline panel at the bottom. To import MOV files you can choose to either, drag and drop the MOV file to program or click on the “Import” button above the media pane. If you click “Import”, a drop-down menu with four options will appear. Select from either folder, device, camera or phone, depending on where your MOV file is stored.

Step 3: Split MOV Quicktime file
On the playback panel click the “Play” button and your video will play in the preview window on the right side. Watch the video and click the Pause button at the precise point you wish to split the video. Click the “scissor” icon above the timeline. The splitter will split your video at the where you stopped the playback.
If you would like to split the video by chapter, Filmora offers a nifty screen detection feature. Right-click the MOV file on the media panel and choose “Scene Detection”. Filmora will automatically split the MOV file into several chapters. You can delete any clip you want. After that, click the “Apply button”, and the split video files will appear on the timeline.

Step 4: Export the video file
Before you export the video, you have to save it first. Click the “Save” button on the top left side of the playback window. After that, click the “Export” button at the top right side. From the drop-down menu, select 'create video' to customize the output settings. To play the video on a device, select the device thumbnail from the device list. Besides that, you can choose to upload the video directly to social media channels (YouTube. Facebook, Vimeo) or burn to DVD.

Why Choose Filmora Video Editor as MOV Splitter

Filmora Video Editor is an easy to use MOV splitter that allows you to split videos accurately. It supports all popular formats such as AVI, DV, MP4, DIF, M4V, NUT and much more. The Filmora special scene detection feature enables you split videos into different coaters seamlessly. Filmora MOV splitter is an efficient and versatile splitter. It is also simple and fast. As a MOV splitter, it allows you to save multiple clips at a time. Best of all, the Filmora maintains the quality of all split MOV files.


