Learning how to split video in Movie Maker will be helpful for you to trim the required portions of a particular video. The scenario is useful if the video is large. Windows provided the opportunity to split video in Movie Maker. Although Movie Maker is a good option, there exist disadvantages making it impossible for you to have the required tools necessary to divide the needed video quickly and with ease.
Split Video in Movie Maker Not Working Problems:
1. If you are trying to edit a sophisticated video, Windows movie maker will crash automatically.
2. The software provides the opportunity to edit only one video and audio track at any instance.
3. Video reversing option requires patience and more effort compared with other editing programs.
4. Video overlaying option is absent, and a user cannot uninstall the same from the Control Panel.
How to Split Video in Movie Maker Alternative
As Windows Movie Maker split video does not provide the needed features for editing or cutting a video, opting for an alternative is the right choice. Today, we will introduce you to Filmora Video Editor, which is the best alternative to the Windows Movie Maker.
Filmora Video Editor & Filmora Video Editor for Mac consists of options suitable for everyone. It means that even a beginner, as well as a professional, can utilize the platform to split videos with ease. The clean interface shows all the options and effects for quick editing.
Although split video feature for Windows Movie Maker helps in splitting, choosing Filmora Video Editor is the right choice for it offers additional advantages over the later.

- Choose a video and drag into the interface to crop, rotate, split, and join. The automatic Scene Detection feature helps in displaying large videos according to the scenes.
- Availability of over 200 freighters and overlays provides the opportunity to personalize videos according to requirement. Users can add light leaks, old film, lens flare, and cinema flare to change the output as desired.
- Advanced editing feature enables the user to add titles, transitions, green screen, and split screen.
- After completion of the editing procedure, users possess the opportunity to save the video in different video formats, share it directly to social media such as Facebook and YouTube, or create a DVD.
- Additional features include recording computer screen, recording voice-over, and previewing video with full screen.
Step 1: Download and intall Filmora Video Editor
First download Filmora Video Editor on your Mac or Windows PC. Installation is similar to other programs that users carry out on their system. Beginners can follow the simple instructions provided by the software to complete the installation process.

Step 2: Import video files
Filmora Video Editor gives five different ways to import videos for editing. The most easy one is to click the “Import Media” on the main window and browsing to the file on the computer. In addition to these, users can also import videos from smartphones, camcorders, and social media websites.

Step 3: Split video
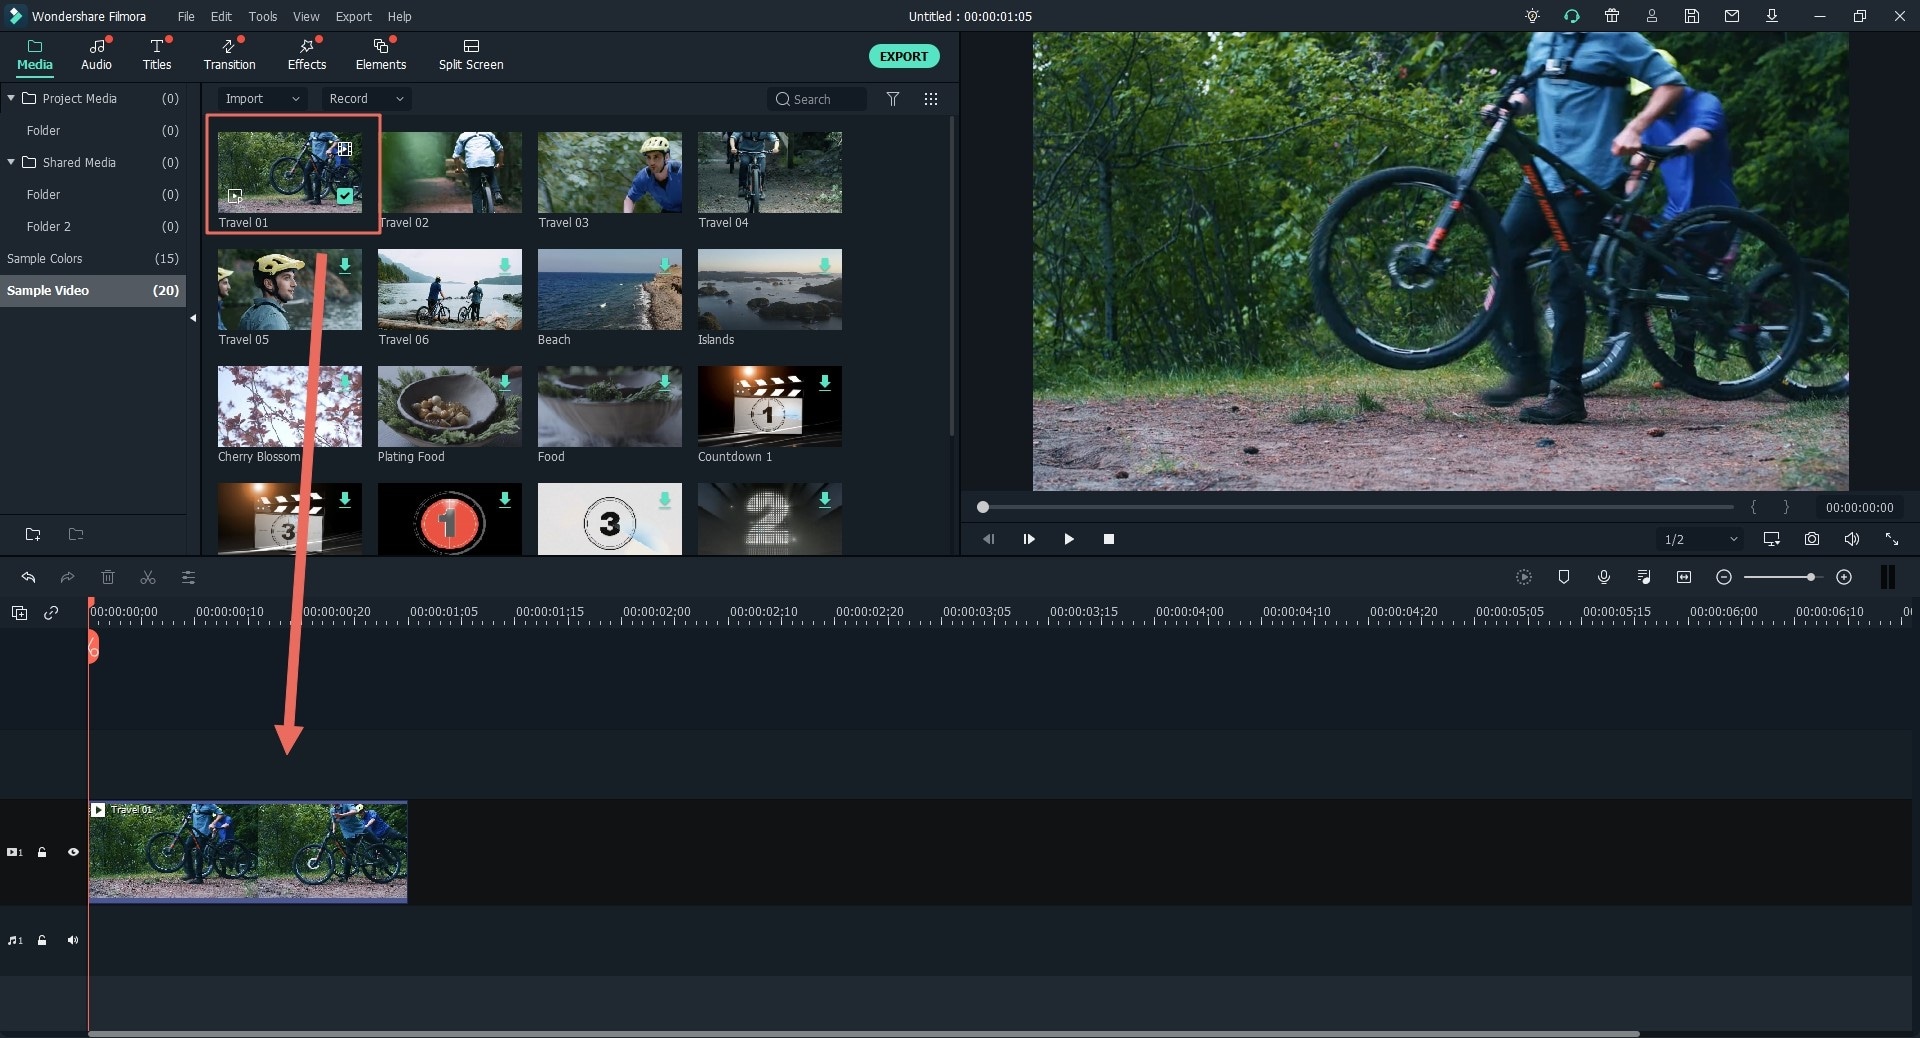
Now that you have uploaded the required video to the software, then drag the video to the timeline, and it is time for you to proceed with the option of “Split Video.” The function helps in cutting the video into separate portions. You can delete or save the cut portion for later use.
From the timeline, use the cursor to the start point of the split section and choose the “Split” symbol, or select the same option by clicking the right button on the mouse.

Step 4: Export the video
After splitting the video, you can export the divided video either by format or devices. Filmora offers 13 formats, and you can select the one based on the need. You can also choose the output according to the device.


