Adobe Premiere is one of the finest programs for video editing. Professionals usually use this software to edit their videos. This program works smoothly in any specific area. Most of the YouTubers, Videographers, and Filmmakers prefer using Adobe Premiere for splitting video. It is considered as the best video editor so far in the technical field.
Disadvantages of using Adobe Premiere for splitting video
• Adobe Premiere is very expensive and cannot be affordable to everyone.
• Its small buttons are not easy to access and it takes a lot of time to find those buttons.
• The computer to be used for Adobe Premiere should be powerful enough so as to run the program efficiently.
The Best Adobe Premiere Alternative

Overall Filmora Video Editor is a great video editor with almost all the important and beautiful features in it that a video editor should have. These features made it the best video editor among all the editors and this is the reason why it is the most popular video editor of the time.
- It is easy and clean to use. Every tool and effect can be clearly displayed on the interface. It will not take much of your time to understand this editor.
- Hundreds of types of fonts and titles are available in Filmora Video Editor for different purposes such as different titles for vacation,
- Different features include video trimming, rotating, splitting, picture-in-picture, motion graphics, transitions, split screens, green screen, reverse video and many more wonderful features and effects that made a video worth watching.
How to Split Video in Premiere Alternative
Step 1: Launch Filmora Video Editor
In order to split the video in Filmora Video Editor, we must have the program installed in the system. If the program is not already installed in the system, download it from the official website of Filmora and install it on the PC.

Step 2: Import video to the program
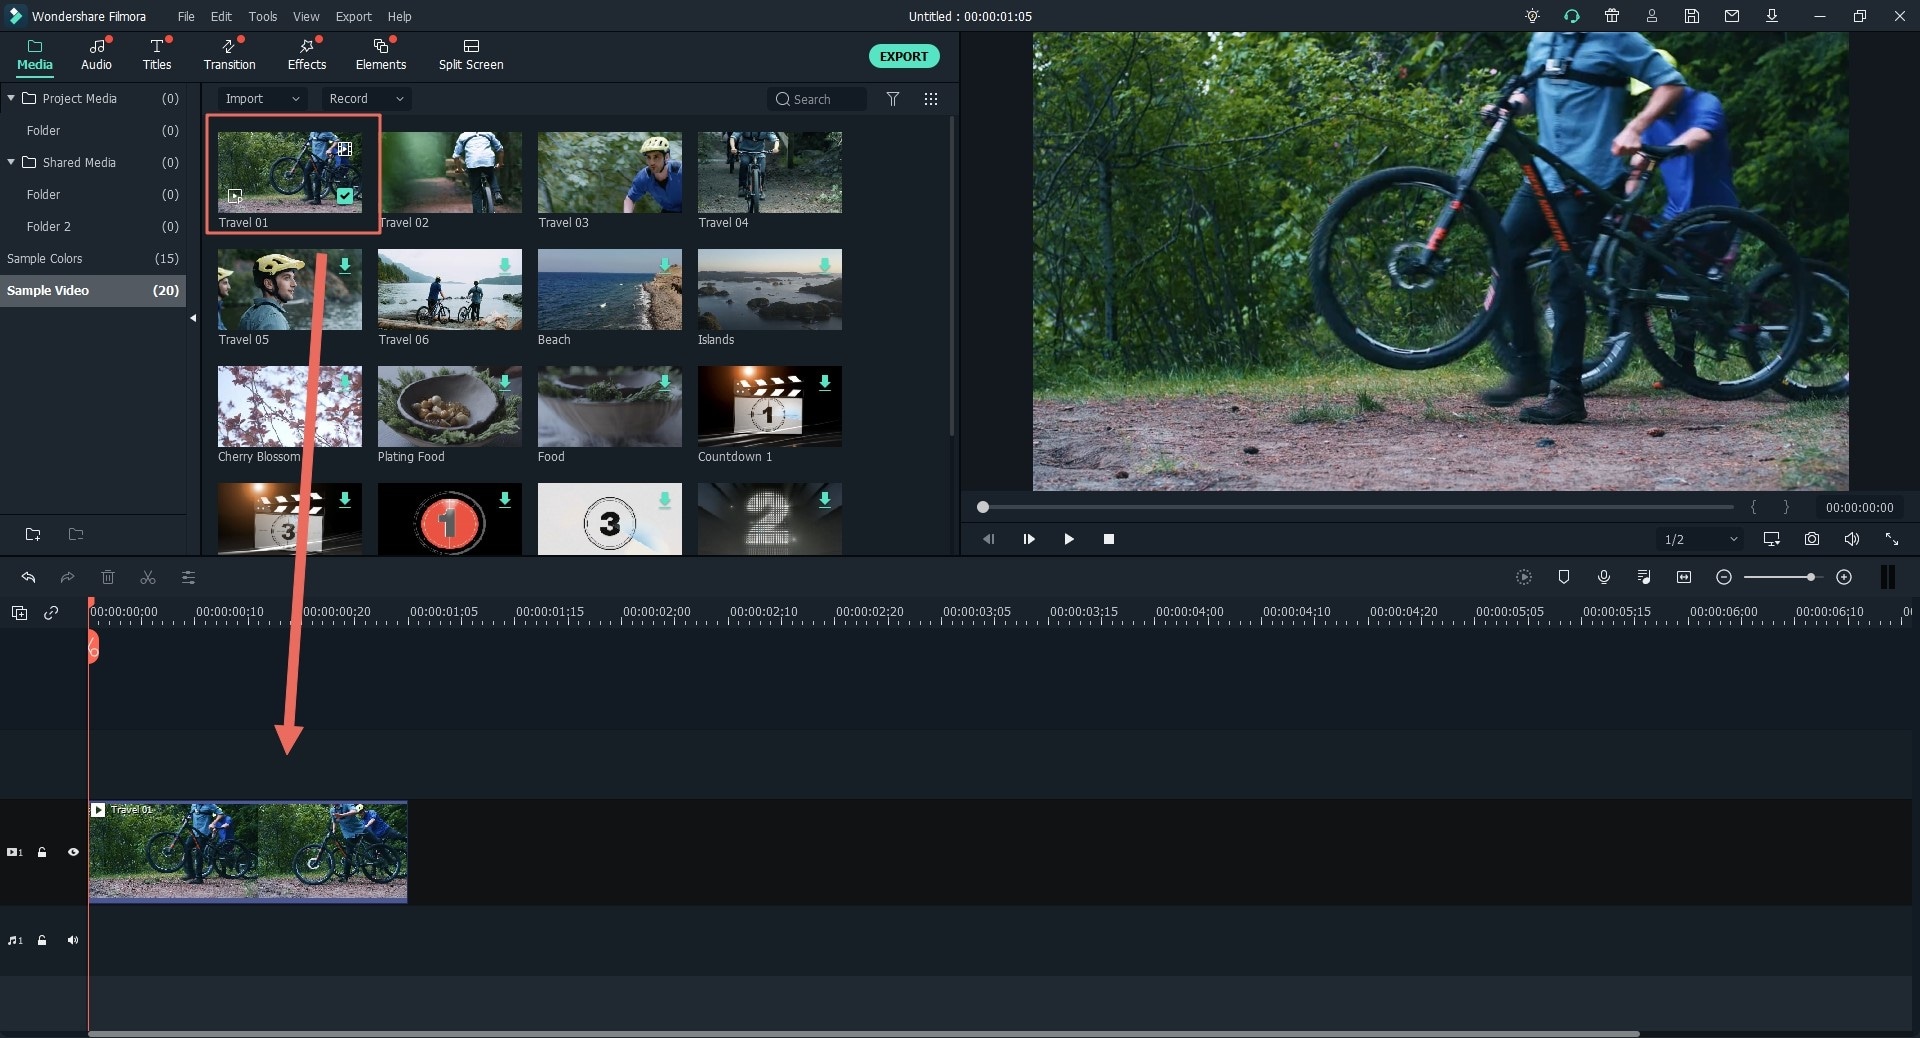
As the program is installed successfully, start importing the media files in the media panel i.e. video clip that you want to split into small parts.

Step 3: Split video into parts
Now move the video on the timeline and place the cursor over the starting position of the video clip. And drag the slider from the starting position of the split to the point where you want to finish the clip. Now click on the “Split” button above the timeline and video splitting is done.

Step 4: Export the video file
Before exporting the video, take a preview of the video clip you split whether it did or any changes required in the splitting. If no changes are required, click on the “Export”button. This saves your video clip and exports it to the media files. You will find many options to export the video and in different formats. You can also have the options to share the video online with your friends and loved ones and you can burn it to the DVD. You can save to any popular format of video commonly used in smartphones and PCs.


